
Living in a studio means every square foot must earn its keep, and the line between living, sleeping, and getting ready can blur quickly. A dedicated dressing zone offers a sense of order without sacrificing the open‑plan feel you love. Below are seven approaches that turn a modest corner into a functional, semi‑private space where you can change clothes, style hair, or simply pause before the day begins.
1. Choose a location and define boundaries with flexible dividers
© 2026 AI Illustrator — Inspiration Only
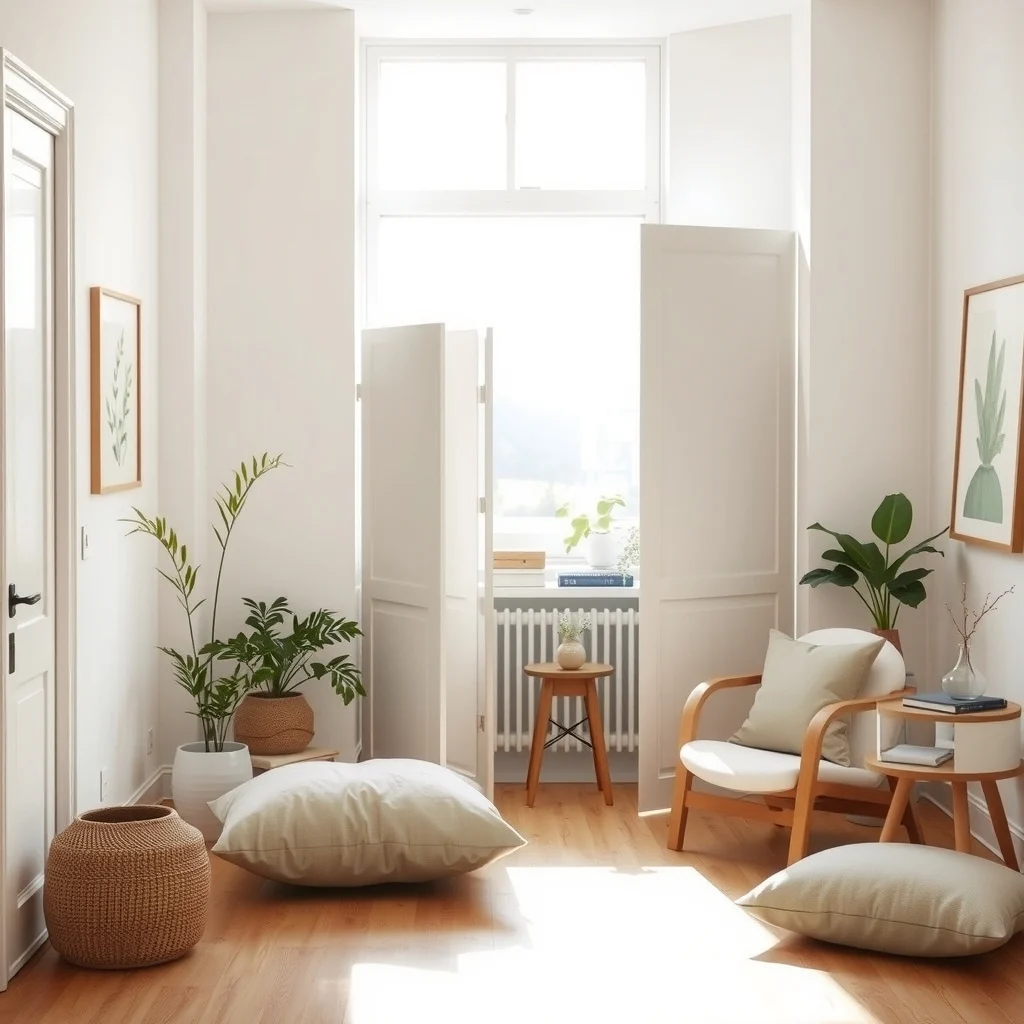
Start by locating the spot that receives the most natural light or, if that’s not possible, the area farthest from the main traffic flow. A corner near a window often works because daylight reduces the need for extra lamps, and the view can make the space feel larger. Once the spot is chosen, create a visual barrier that can be opened or closed as needed. Floor‑to‑ceiling curtains on a ceiling track slide smoothly and can be pulled back to open the studio. If you prefer something sturdier, a folding screen made of reclaimed wood or light‑weight metal adds texture while keeping the footprint low. The trade‑off is that curtains require a ceiling hook and may collect dust, while screens occupy floor space when folded.
What’s Your Apartment Decor Style?
Answer these quick questions to discover your perfect decor vibe.
2. Layer lighting to mark the dressing zone without harsh glare
© 2026 AI Illustrator — Inspiration Only
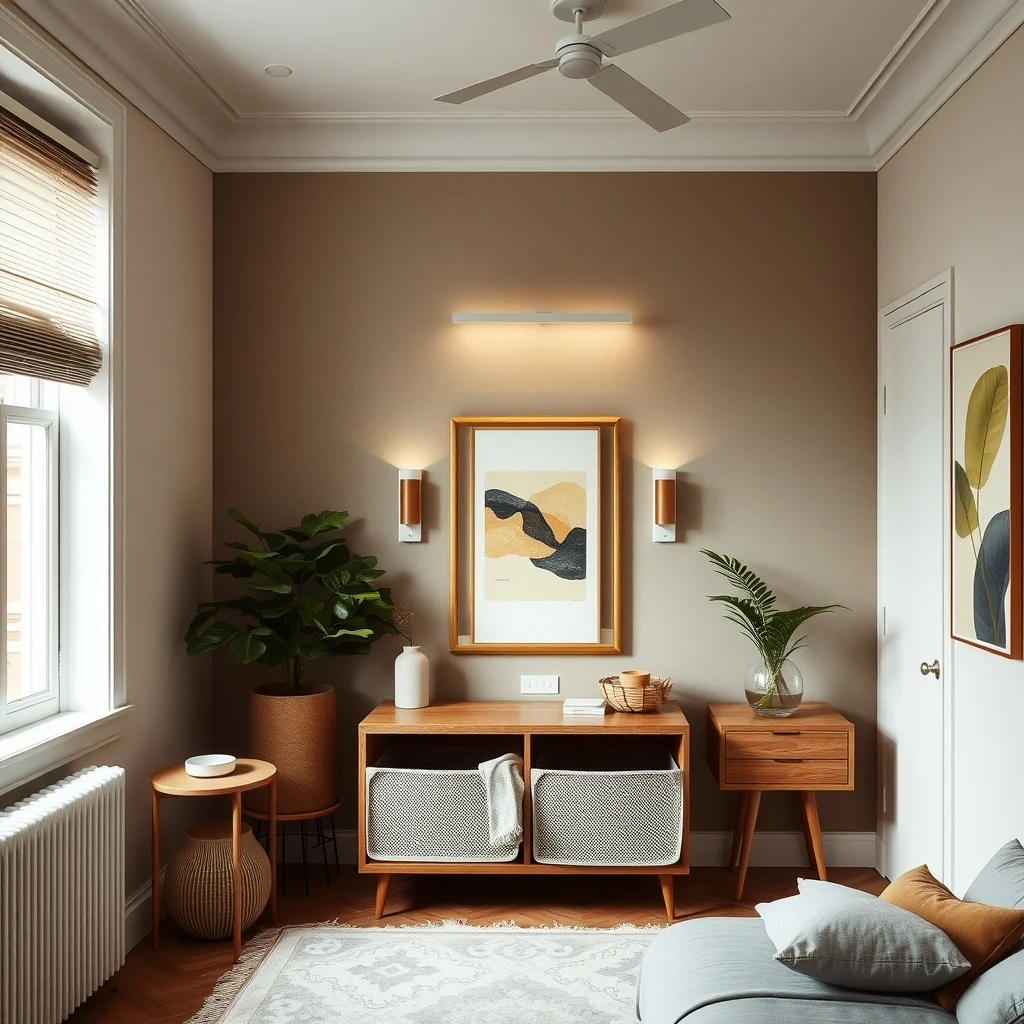
Lighting does more than illuminate; it signals a shift in function. Overhead recessed fixtures provide general illumination, but adding a pair of wall sconces on either side of the mirror creates a softer pool of light ideal for outfit checks. A thin LED strip tucked behind a headboard or along the top of a wardrobe adds a subtle accent that delineates the area without overwhelming the rest of the studio. Choose bulbs with a colour temperature around 3,500 K; this mimics daylight enough for colour accuracy while remaining gentle on the eyes. Be mindful that too many fixtures can increase electricity usage, so opt for LED models with dimming capability to adjust brightness throughout the day.
3. Select storage pieces that double as partitions
© 2026 AI Illustrator — Inspiration Only
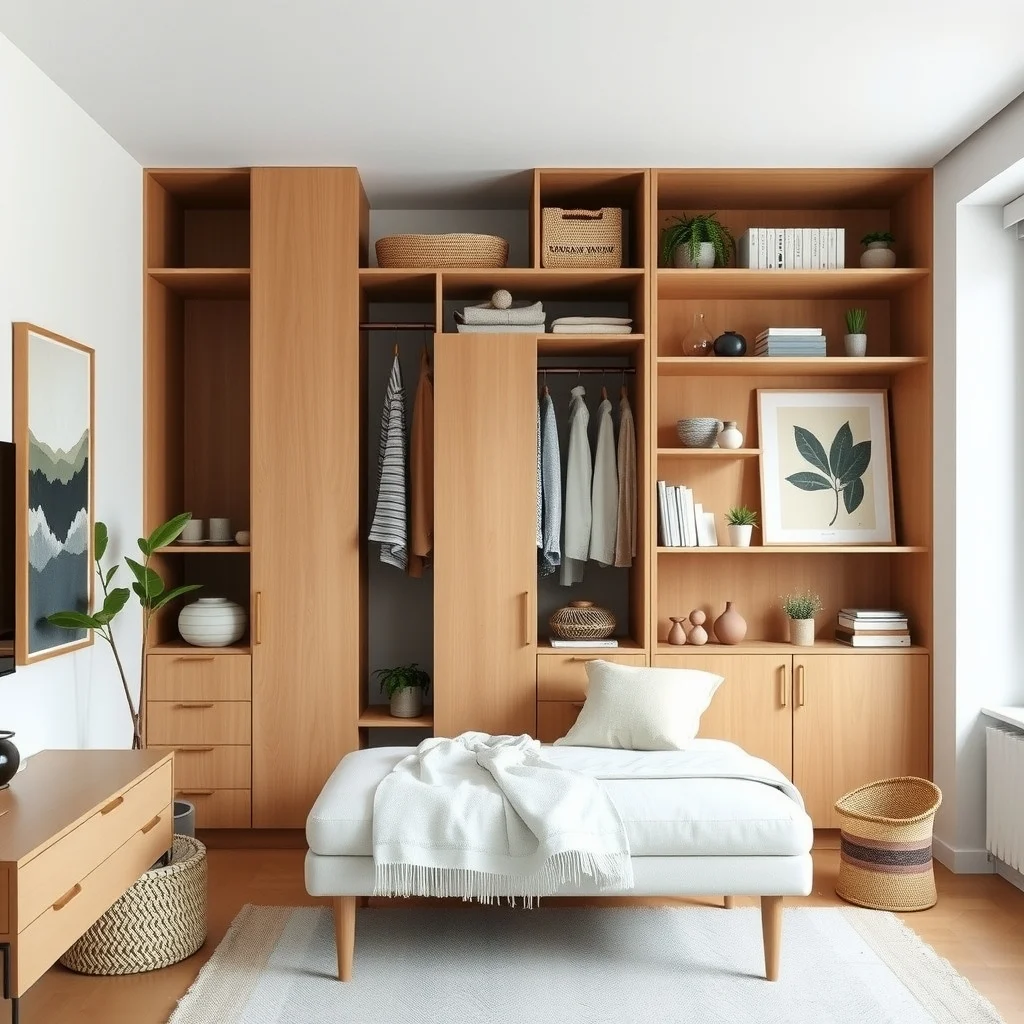
When space is at a premium, furniture must wear multiple hats. A tall wardrobe placed perpendicular to the wall can act as a solid barrier, shielding the dressing area from the living space. Open shelving units made from powder‑coated steel or reclaimed pine let you display shoes, bags, and accessories while preserving a sense of openness. If you prefer a lighter feel, a clothing rack with a sleek metal frame and wooden crossbars provides hanging space and a visual break without blocking sightlines. The downside of an open system is that dust settles more quickly on exposed items, so regular cleaning becomes part of the routine.
4. Use floor treatment to signal a transition
© 2026 AI Illustrator — Inspiration Only
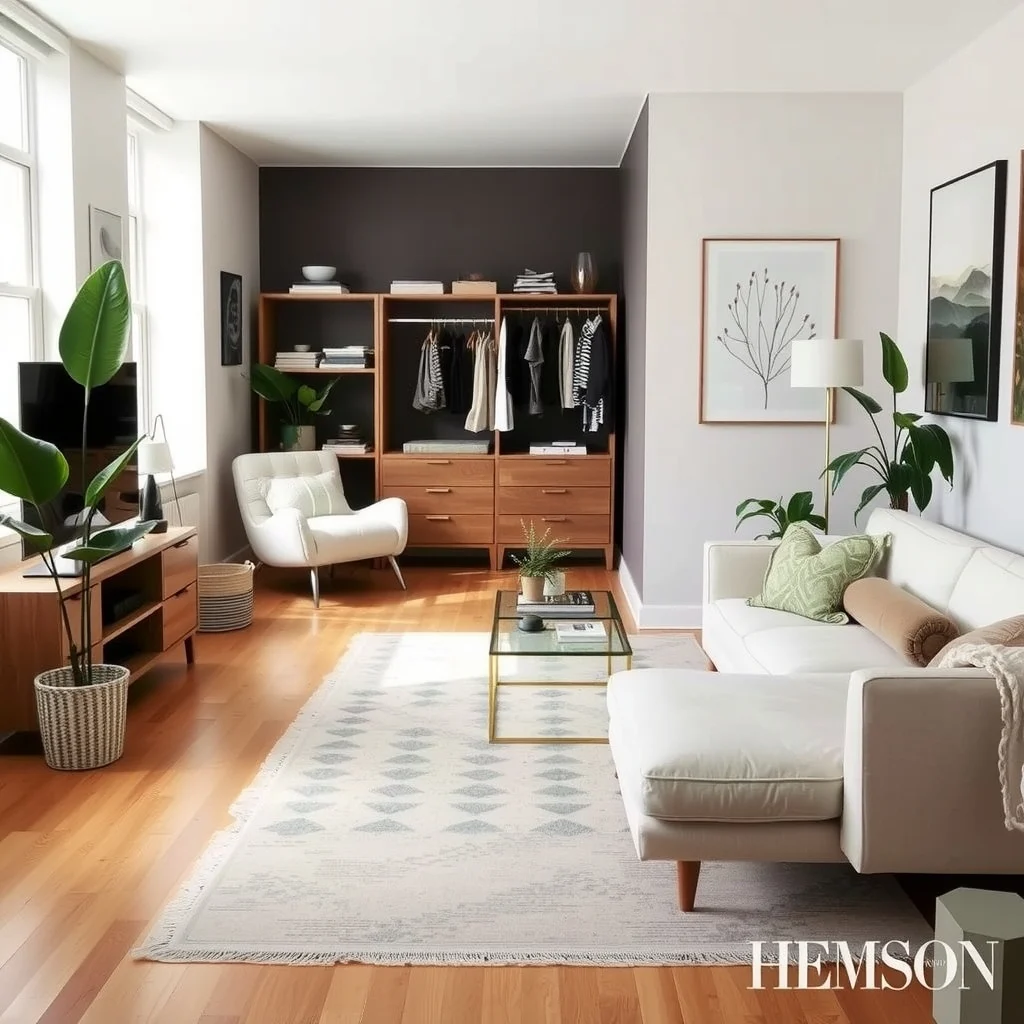
The floor often goes unnoticed, yet a change in texture can cue the brain that you’ve entered a different zone. Lay a low‑pile area rug in a neutral shade such as warm greige beneath the dressing furniture; the rug defines the perimeter and adds a plush surface for standing barefoot. If a rug feels too bulky, consider a thin woven mat made of jute or sisal that offers grip for shoes while keeping the aesthetic minimal. Remember that rugs can trap moisture, so choose a material that is easy to vacuum and spot‑clean. A well‑chosen floor covering not only separates spaces but also contributes to comfort during morning routines.
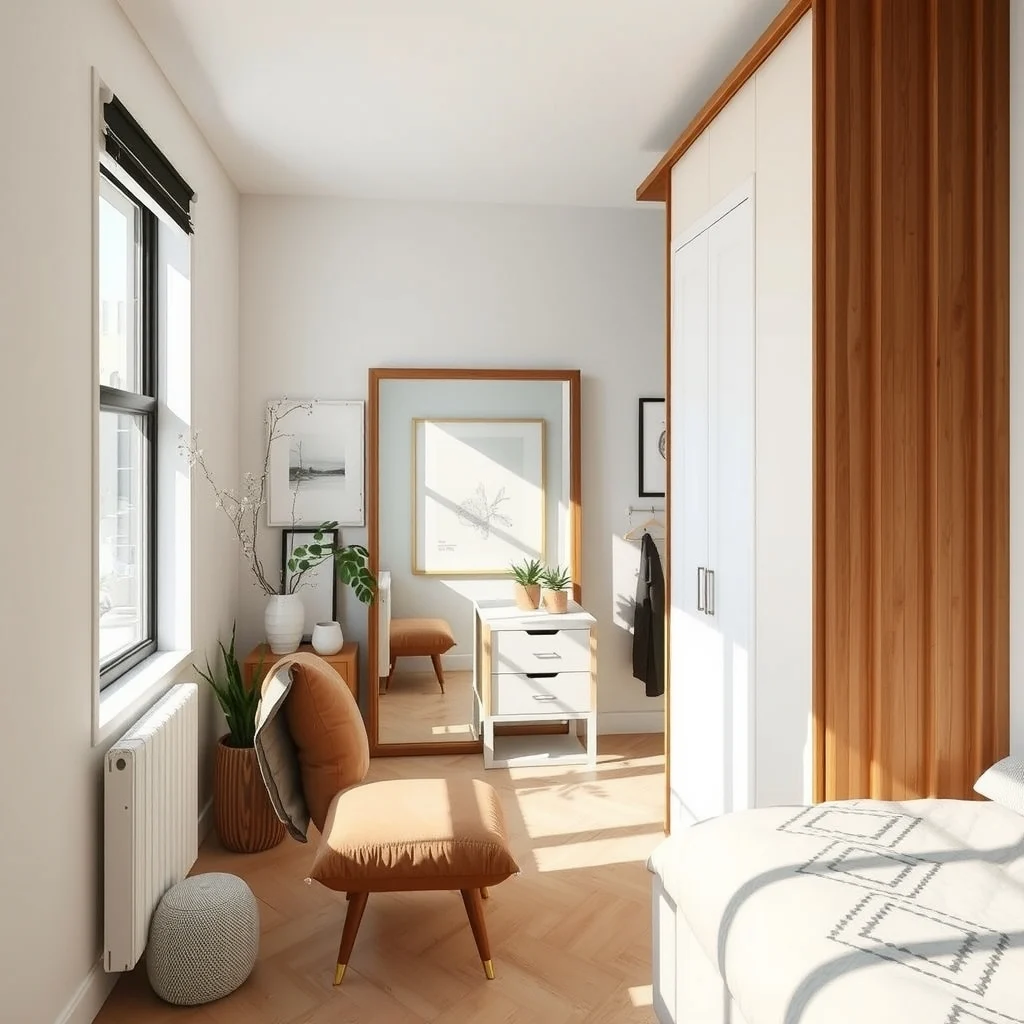
5. Position a mirror that expands the room and serves as a focal point
© 2026 AI Illustrator — Inspiration Only
A full‑length mirror placed on the wall opposite the wardrobe reflects both natural and artificial light, making the dressing area feel more spacious. Frameless glass creates a sleek look, while a wooden frame in a tone that matches the wardrobe adds cohesion. Mount the mirror at eye level, leaving a few inches of wall space above for a small piece of artwork or a decorative hook. If wall‑mounting isn’t an option, a freestanding mirror with a slim metal base can be positioned on the rug, but be aware that it occupies floor space that could otherwise be used for a stool or ottoman.
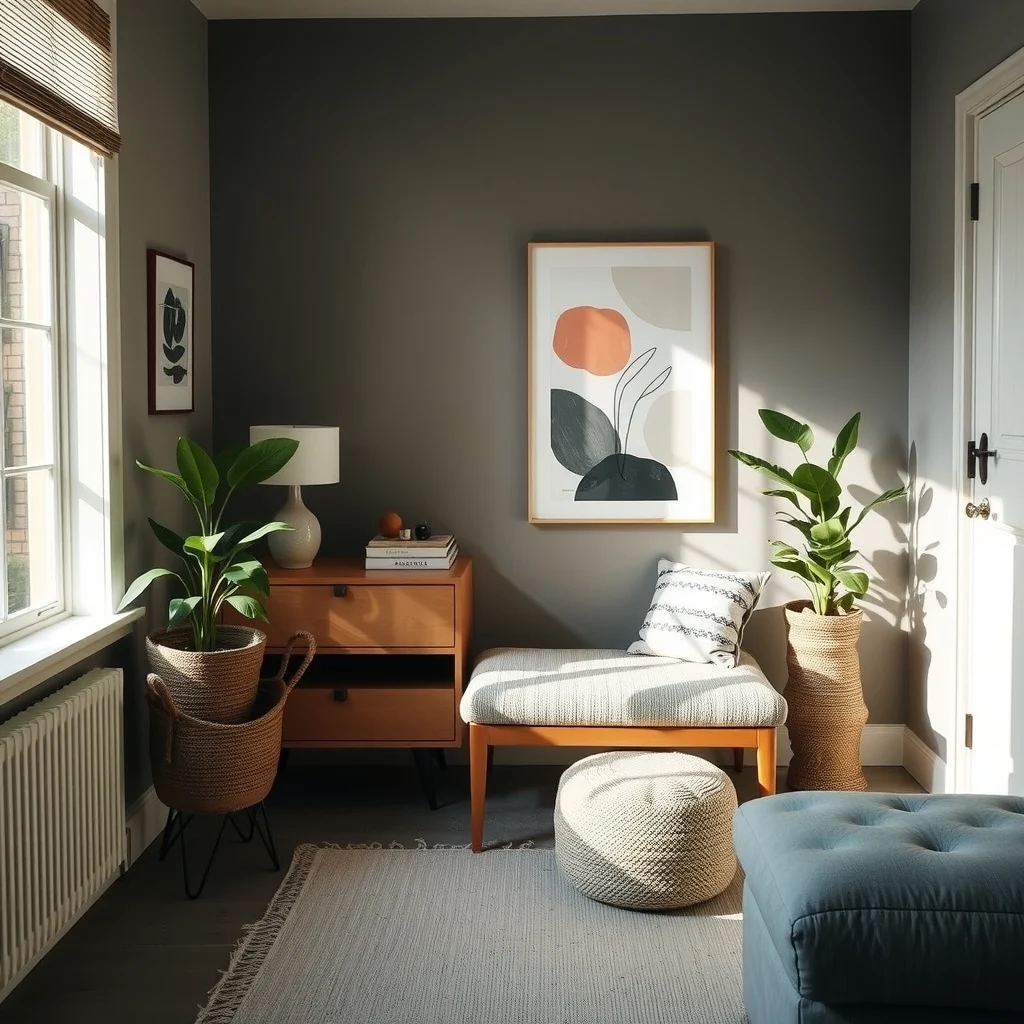
6. Add seating and soft textures for comfort
© 2026 AI Illustrator — Inspiration Only
Standing for minutes while trying on shoes can be tiring, so a modest bench or upholstered pouf offers a place to sit and slip into footwear. Choose a seat with legs that lift it off the floor, allowing cleaning underneath, and upholster it in a durable fabric such as linen‑blend in a muted tone that complements the rug. Throw pillows in a coordinating colour add visual interest and can be swapped out seasonally for a quick refresh. While seating enhances comfort, keep the profile low to preserve the open feel of the studio; a bulky sofa would dominate the space.
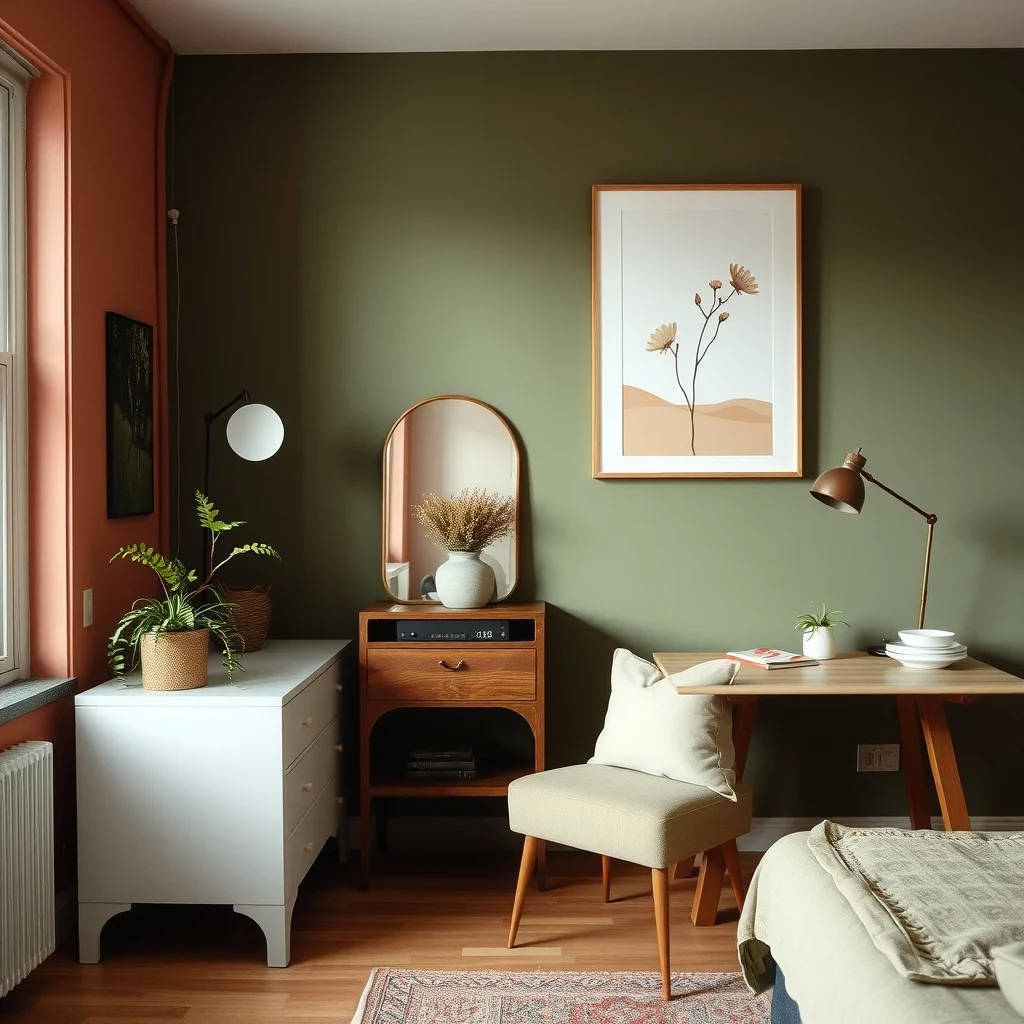
7. Keep the colour palette cohesive yet distinct
© 2026 AI Illustrator — Inspiration Only
To maintain flow throughout the studio, base the dressing area on the same colour family used elsewhere, such as soft terracotta or muted olive, but introduce a slightly deeper shade on the wall behind the mirror. This subtle shift signals a separate function without creating visual clutter. Materials like brushed brass for hardware or a matte black finish for drawer pulls add a touch of sophistication while echoing details found in the kitchen or bathroom. The risk of a colour clash is minimized by limiting bold accents to one or two items, ensuring the overall aesthetic remains harmonious.
FAQ
© 2026 AI Illustrator — Inspiration Only
How can I hide the dressing area when I have guests?
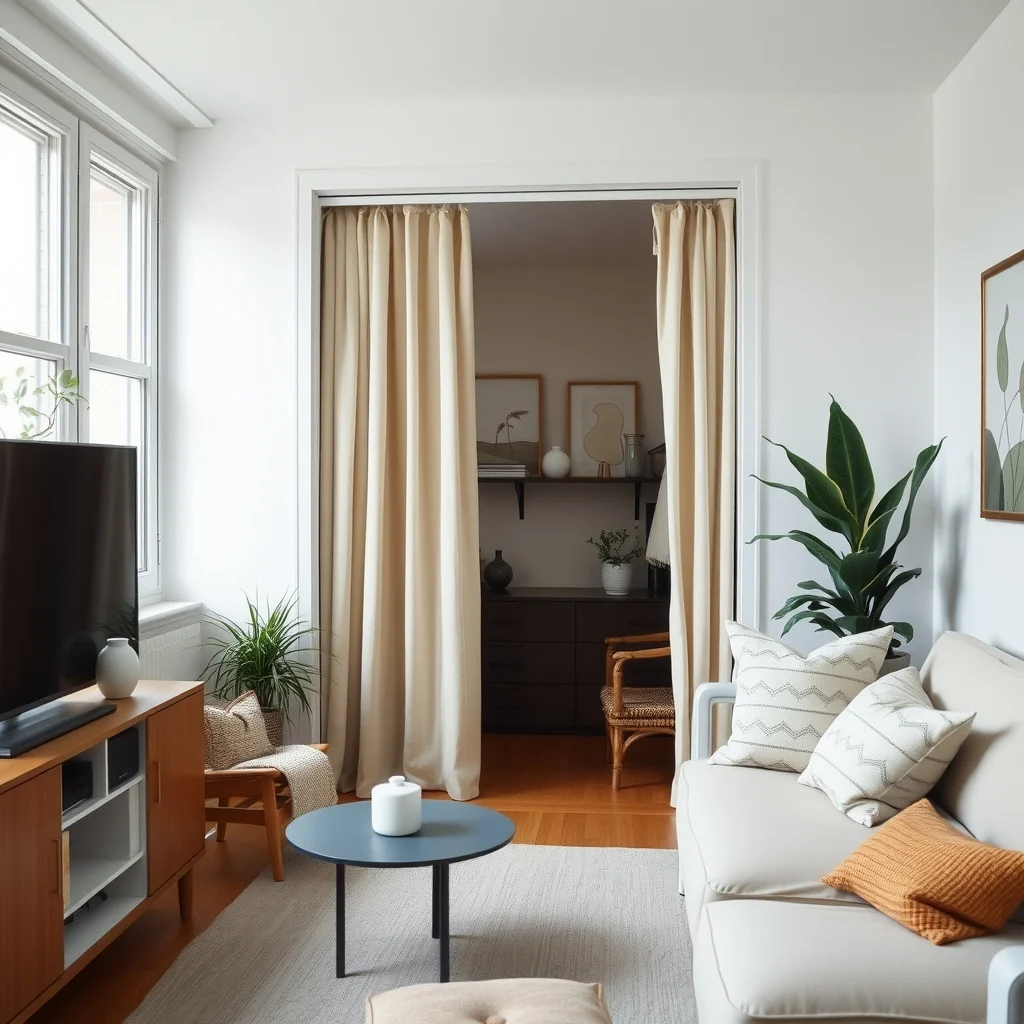
You can pull the curtain or fold the screen closed, turning the space back into part of the living area. Using a lightweight fabric that matches the studio’s décor helps the transition feel seamless.
What if my studio lacks a solid wall for a wardrobe?
A freestanding wardrobe with a back panel can act as a temporary wall, providing both storage and privacy. Choose a model with wheels for occasional repositioning, but be aware that it will occupy floor space.
Can I use a room divider without drilling into the ceiling?
Yes, tension‑rod systems or floor‑standing dividers avoid permanent installation. They are ideal for renters, though they may be less stable than ceiling‑mounted options.
What lighting is best for makeup and outfit checks?
Daylight‑balanced LED bulbs around 3,500 K give accurate colour rendering, which is essential for makeup and clothing. Pairing a central ceiling light with side sconces eliminates shadows on the face.
How do I keep my clothes organized in such a small space?
Use a mix of hanging rods, drawer units, and open shelves to separate categories. Adding clear bins for accessories or a pull‑out shoe rack maximizes vertical space without creating visual chaos.
Final Thoughts
© 2026 AI Illustrator — Inspiration Only
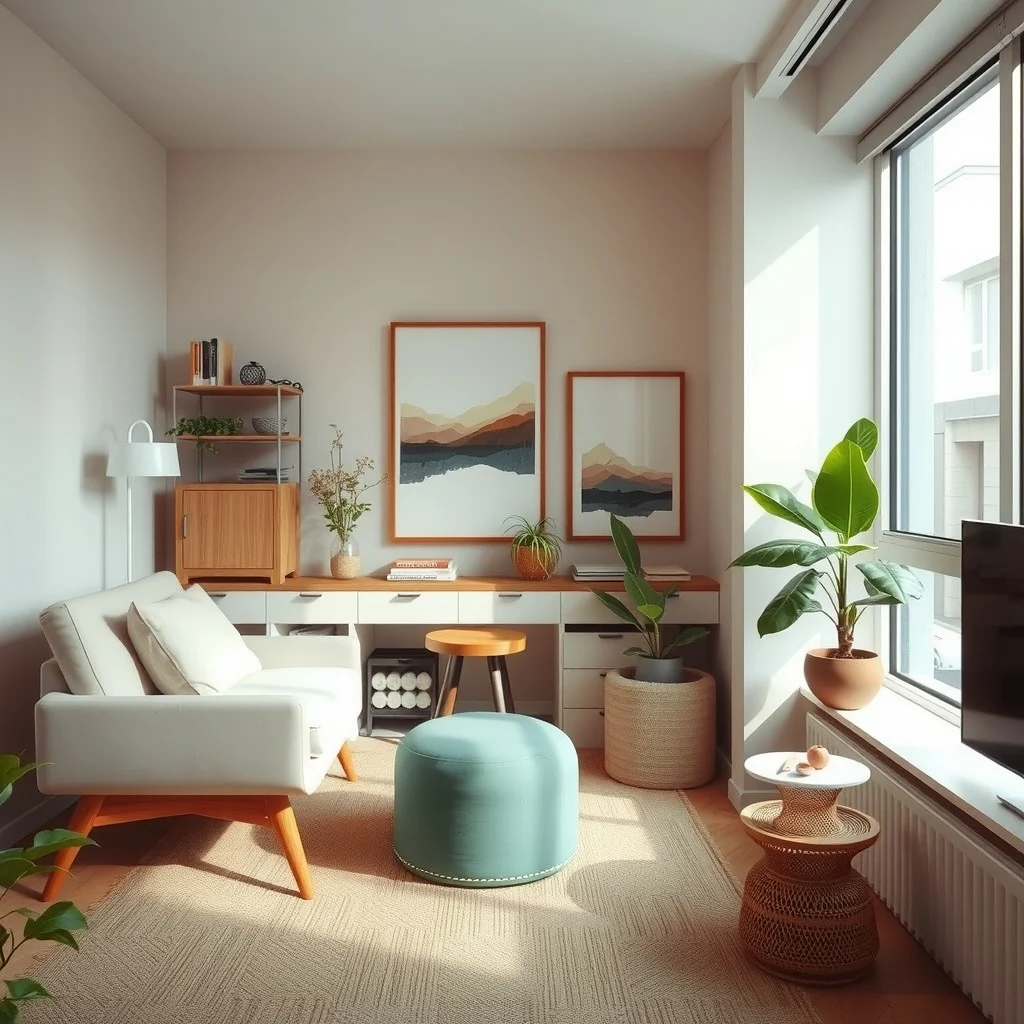
Creating a private dressing area in a studio apartment is less about sacrificing space and more about thoughtful layering—visual, functional, and tactile. By selecting flexible dividers, purposeful lighting, multipurpose storage, and subtle colour cues, you can carve out a zone that feels both separate and integrated. The result is a studio that supports daily routines without compromising the airy, open atmosphere you value.