
Living in a studio can feel like a constant juggling act between sleeping, cooking, and relaxing, all within the same open box. The good news is that with thoughtful arrangement, strategic visual cues, and a few clever storage tricks, you can carve the space into distinct zones that behave like separate rooms. Below are seven approaches that work together to give a studio the sense of a bedroom, a living area, and a kitchen without building permanent walls.
1. Define Zones with Area Rugs
© 2026 AI Illustrator — Inspiration Only
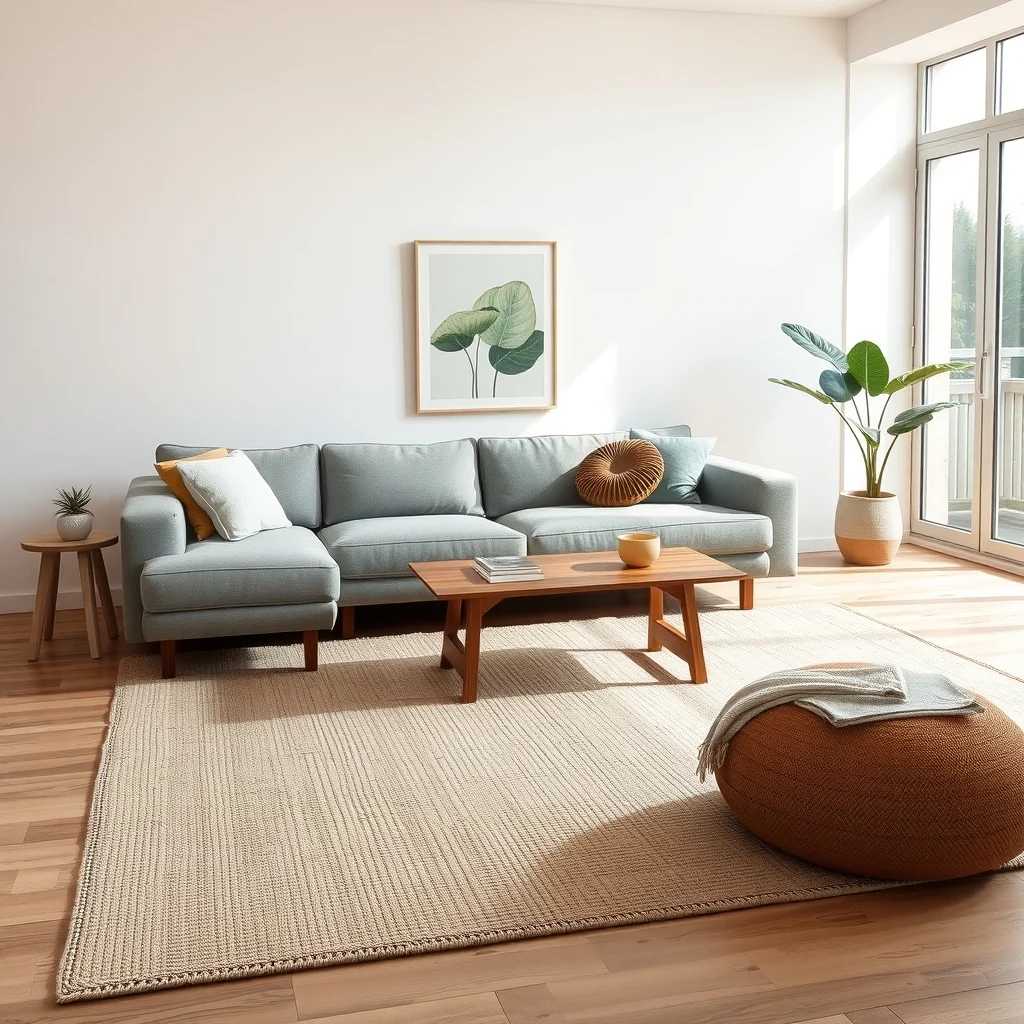
One of the simplest ways to signal a shift in function is to lay a rug that anchors each activity. A low‑pile, natural‑fiber rug in a warm greige can sit under the sofa and coffee table, instantly telling the eye that this is the living zone. Across the room, a smaller, perhaps hand‑woven rug in muted terracotta placed under the bed creates a visual cue that this spot is meant for rest. Because rugs are soft underfoot, they also add a layer of comfort that encourages you to linger where you intend to spend time.
What’s Your Apartment Decor Style?
Answer these quick questions to discover your perfect decor vibe.
The trick lies in scale and placement. Choose a rug that leaves a border of bare floor around it—about 12‑18 inches—so the transition between zones remains clear. If the studio has hardwood, a rug with a subtle pattern helps hide any scratches while reinforcing the room’s personality. When you need to move furniture, the rugs can be rolled up and stored, making the approach flexible for occasional gatherings.
2. Use Tall Furniture as a Visual Divider
© 2026 AI Illustrator — Inspiration Only
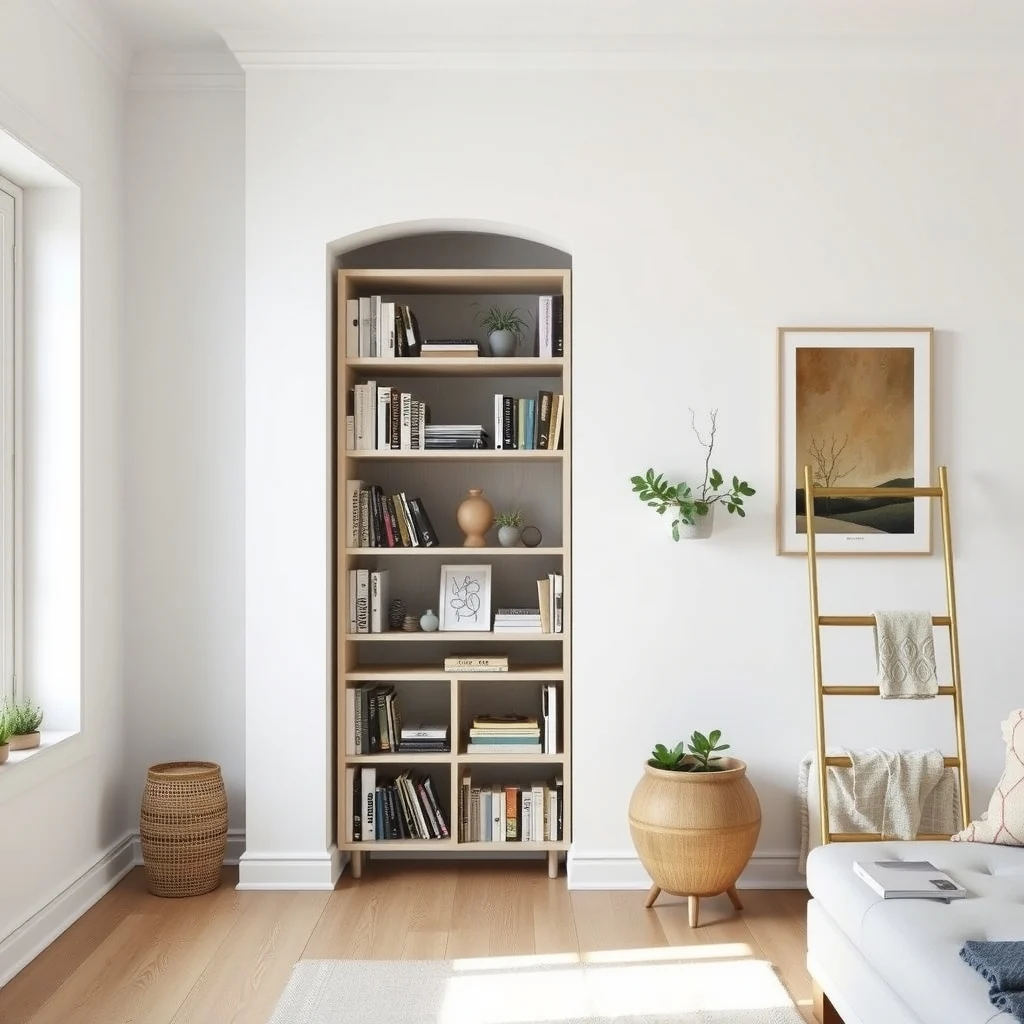
Instead of erecting a wall, position a tall bookshelf, a narrow wardrobe, or a freestanding shelving unit between the sleeping and living areas. A piece finished in matte white oak or brushed brass provides a clean line that separates spaces without cutting off light. Open shelving lets you display books, plants, and decorative bowls, turning the divider into a functional display rather than a barrier.
Because the divider is not a solid wall, sound can still travel, which is useful for keeping the studio airy. However, if privacy is a priority, consider adding a lightweight curtain that can be drawn when needed. The trade‑off is that the divider occupies floor space, so choose a piece that also offers storage to justify its footprint.
3. Create Distinct Ceiling Lighting Layers
© 2026 AI Illustrator — Inspiration Only
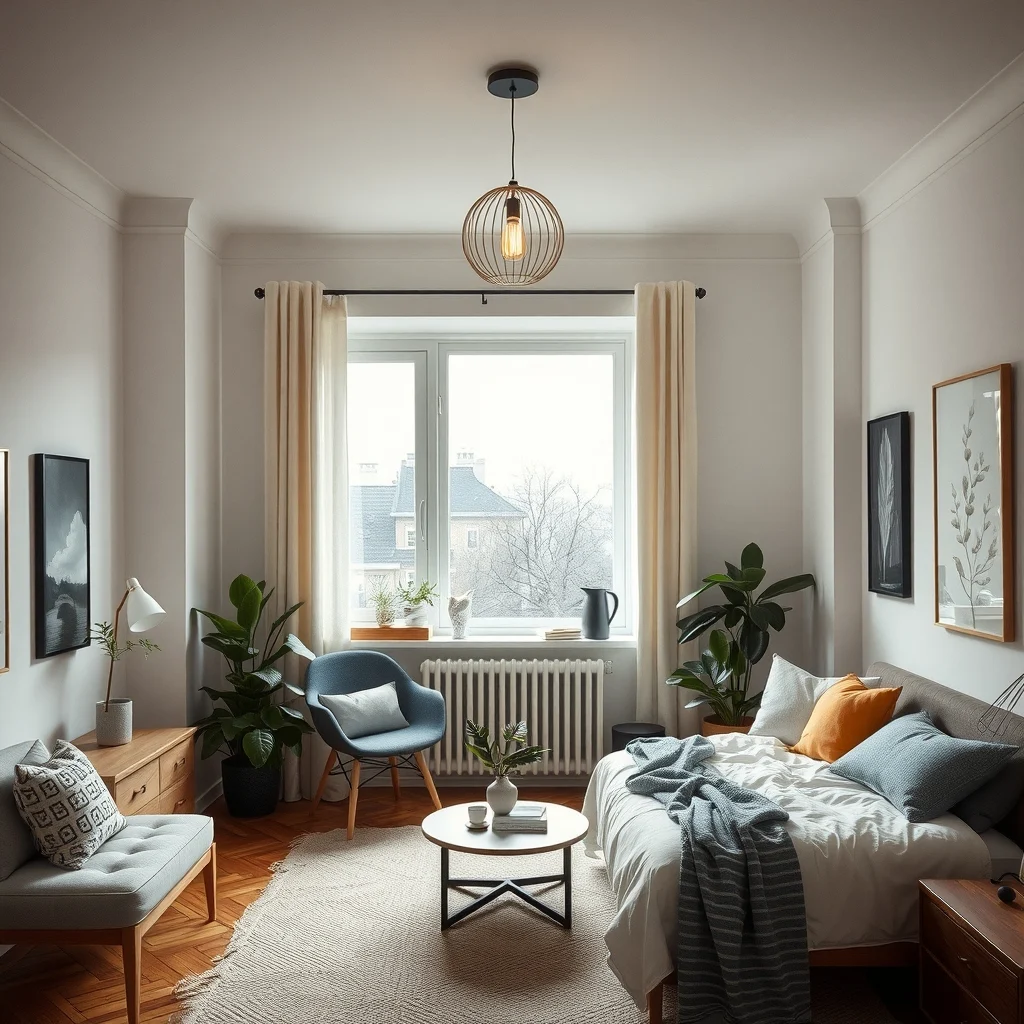
Lighting can tell the brain which part of a room you’re in, and a studio benefits from having separate light sources for each zone. In the sleeping area, install a soft, dimmable pendant or a pair of wall sconces that cast a warm glow, encouraging relaxation. Over the living space, a brighter, adjustable floor lamp or a sleek track lighting system can be used for reading, watching TV, or entertaining guests.
Because the fixtures are on the ceiling or walls, they don’t clutter the floor plan. The key is to select shades that complement the overall palette—perhaps a brushed nickel finish for the bedroom lights and a matte black for the living area—to reinforce the visual split. When you need a unified ambience, a single dimmer can control both zones together.
4. Install a Fold‑Away Partition for Flexibility
© 2026 AI Illustrator — Inspiration Only
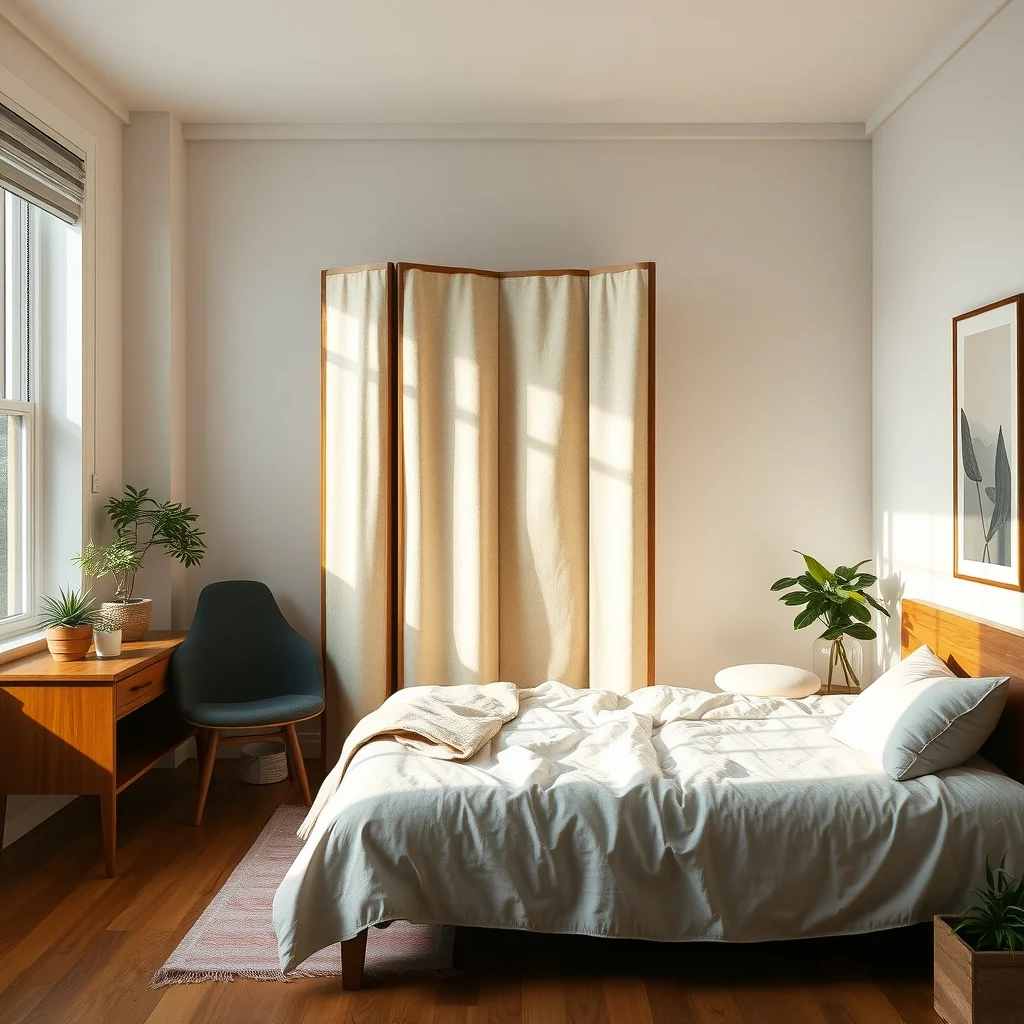
A folding screen made from reclaimed wood or a fabric panel with a subtle geometric print offers a portable way to close off the sleeping area at night. When the screen is closed, it creates a sense of enclosure that mimics a bedroom door, helping you wind down. During the day, the screen can be propped against a wall or stored in a corner, keeping the studio open for socializing.
Choosing a screen with a lightweight frame ensures it’s easy to move, while a fabric that resists fading keeps it looking fresh. The downside is that a screen doesn’t provide sound insulation, so it works best in studios where the main goal is visual separation rather than acoustic privacy.
5. Leverage Color Blocking on Walls
© 2026 AI Illustrator — Inspiration Only
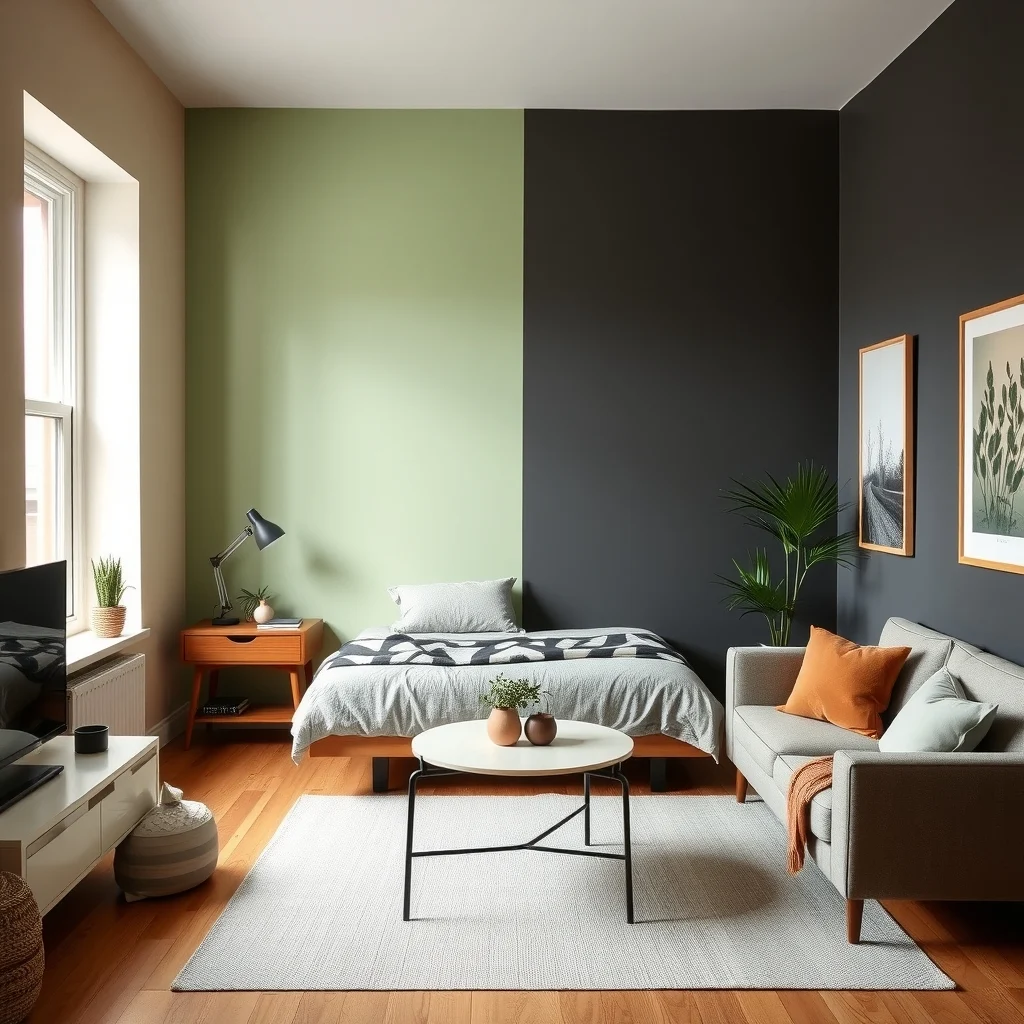
Painting or applying removable wallpaper in two complementary hues can delineate zones without permanent alteration. A soft sage green behind the bed creates a calming backdrop, while a muted charcoal accent wall behind the sofa adds depth to the living area. If you’re renting, peel‑and‑stick wallpaper offers the same effect without damaging the surface.
Because color influences mood, the cooler tones in the sleeping zone promote rest, whereas the richer shade in the sitting area encourages activity. The trade‑off is the need for careful coordination so the colors don’t clash; using a shared neutral like warm greige in the ceiling and trim ties the two palettes together.
6. Incorporate Multi‑Purpose Furniture
© 2026 AI Illustrator — Inspiration Only
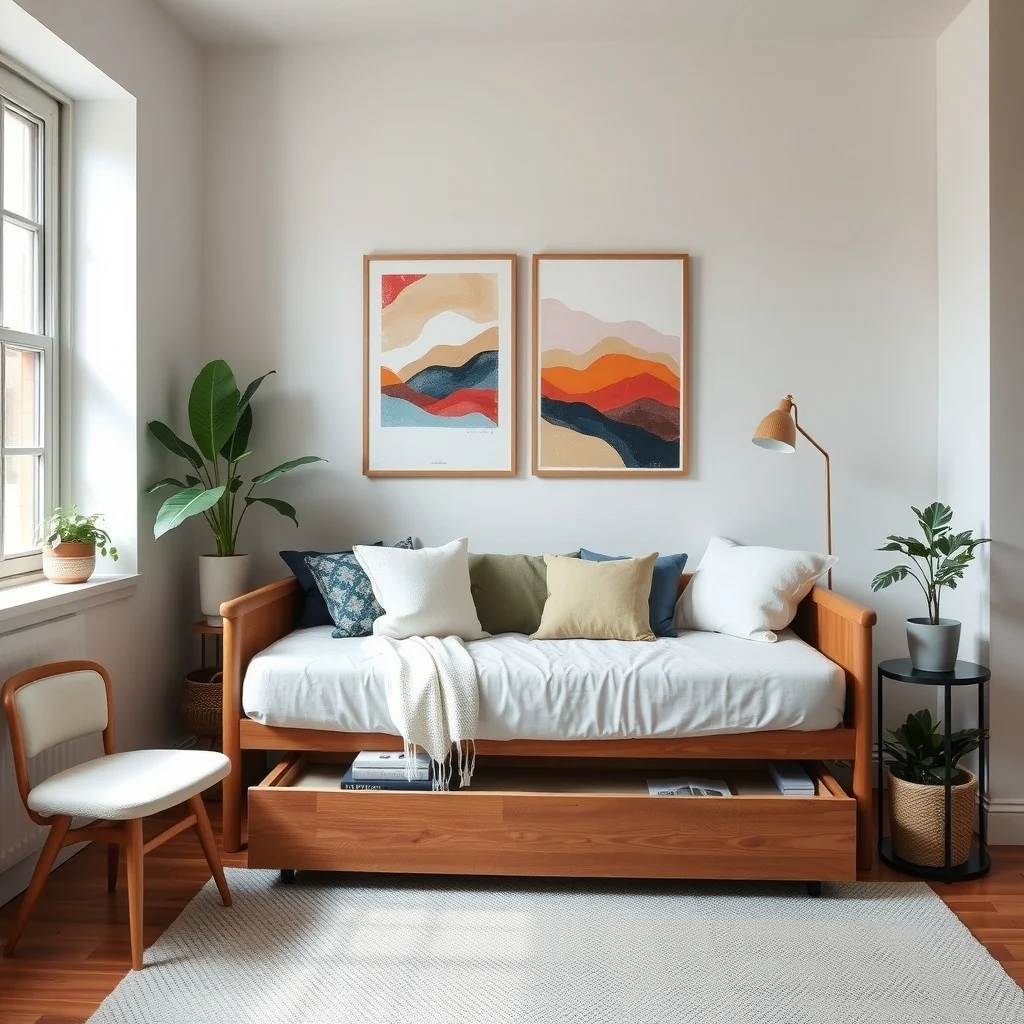
Choosing pieces that serve more than one function helps maintain clear zones while conserving space. A daybed with a pull‑out trundle can act as a sofa during the day and a bed at night, clearly marking the transition between living and sleeping. A compact kitchen island that doubles as a dining table provides a defined eating area without adding a separate table.
When selecting multi‑purpose items, look for sturdy construction and easy conversion mechanisms. The benefit is a streamlined layout, but the compromise is that you may sacrifice some specialization—such as a dedicated dining chair—so be prepared to balance comfort with versatility.
7. Optimize Storage to Keep Zones Uncluttered
© 2026 AI Illustrator — Inspiration Only
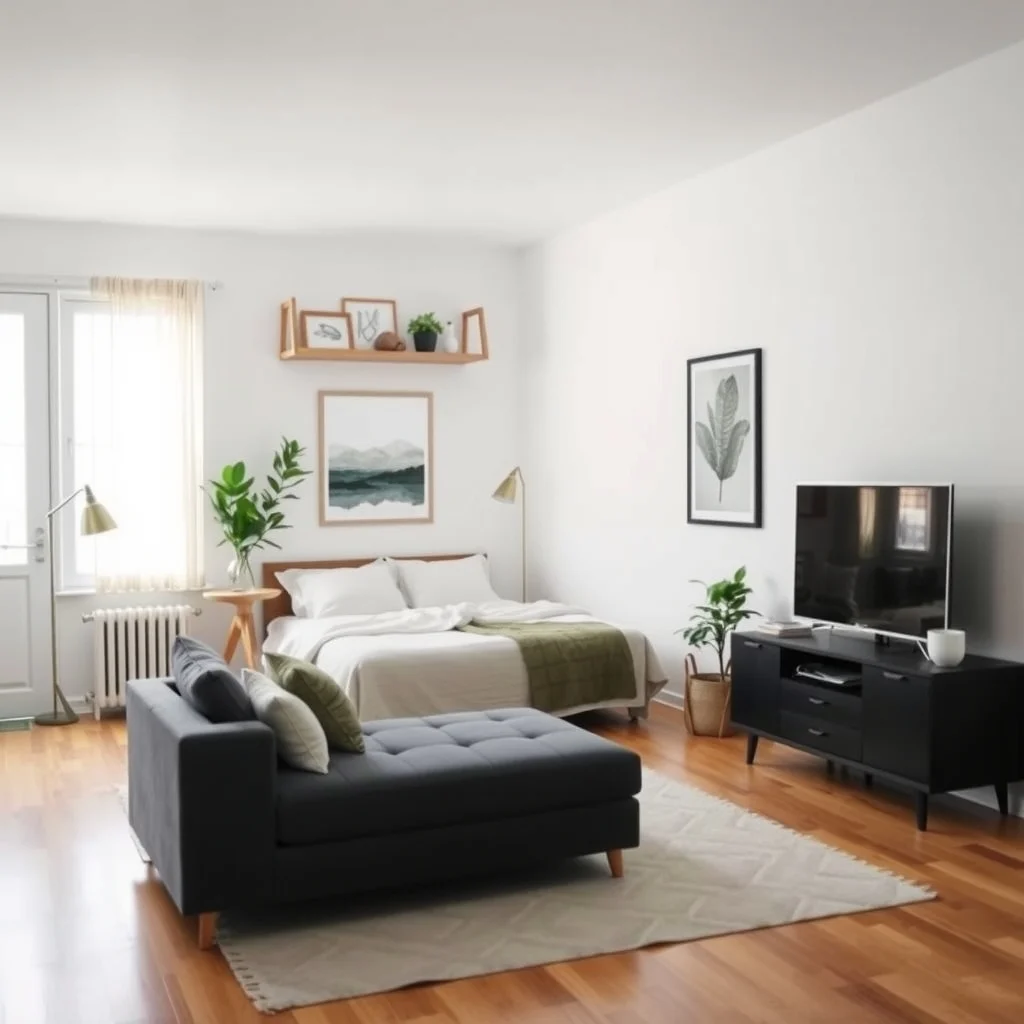
Clutter blurs boundaries, so integrating storage that aligns with each zone preserves the sense of separation. Install floating shelves above the bed for night‑stand items, while a low console beneath the TV can hold media accessories and magazines. In the kitchen corner, a series of wall‑mounted racks for pots and pans frees up cabinet space, keeping the cooking area tidy.
Materials like powder‑coated steel or reclaimed pine add durability and visual interest. The downside is that installing wall fixtures may require drilling, which renters should check with their lease. When drilling isn’t an option, freestanding storage units with wheels can be positioned strategically and moved as needed.
How can I make a studio feel larger while separating spaces?
Use light-colored rugs and furniture to reflect light, and keep floor space open by selecting pieces that serve multiple purposes. Visual separation comes from color, lighting, and strategic placement rather than adding bulky walls.
Is a folding screen enough for privacy in a studio?
A folding screen provides visual privacy but does not block sound. It works well for creating a bedroom feel at night, and you can add a lightweight curtain for extra concealment if needed.
What lighting options are best for defining zones?
Layered lighting works best: dimmable sconces or pendant lights over the sleeping area and brighter floor or track lighting in the living space. Choose finishes that complement each zone’s color scheme for a cohesive look.
Can I use paint in a rental studio to separate areas?
Yes, removable wallpaper or low‑odor paint approved by the landlord can create color blocks. Pick complementary shades that share a neutral trim to maintain flow throughout the apartment.
How do I keep the studio organized without permanent fixtures?
Floating shelves, wall‑mounted racks, and freestanding storage units with wheels allow you to add organization without drilling. Choose pieces that match the room’s palette to keep the aesthetic unified.
Final Thoughts
© 2026 AI Illustrator — Inspiration Only
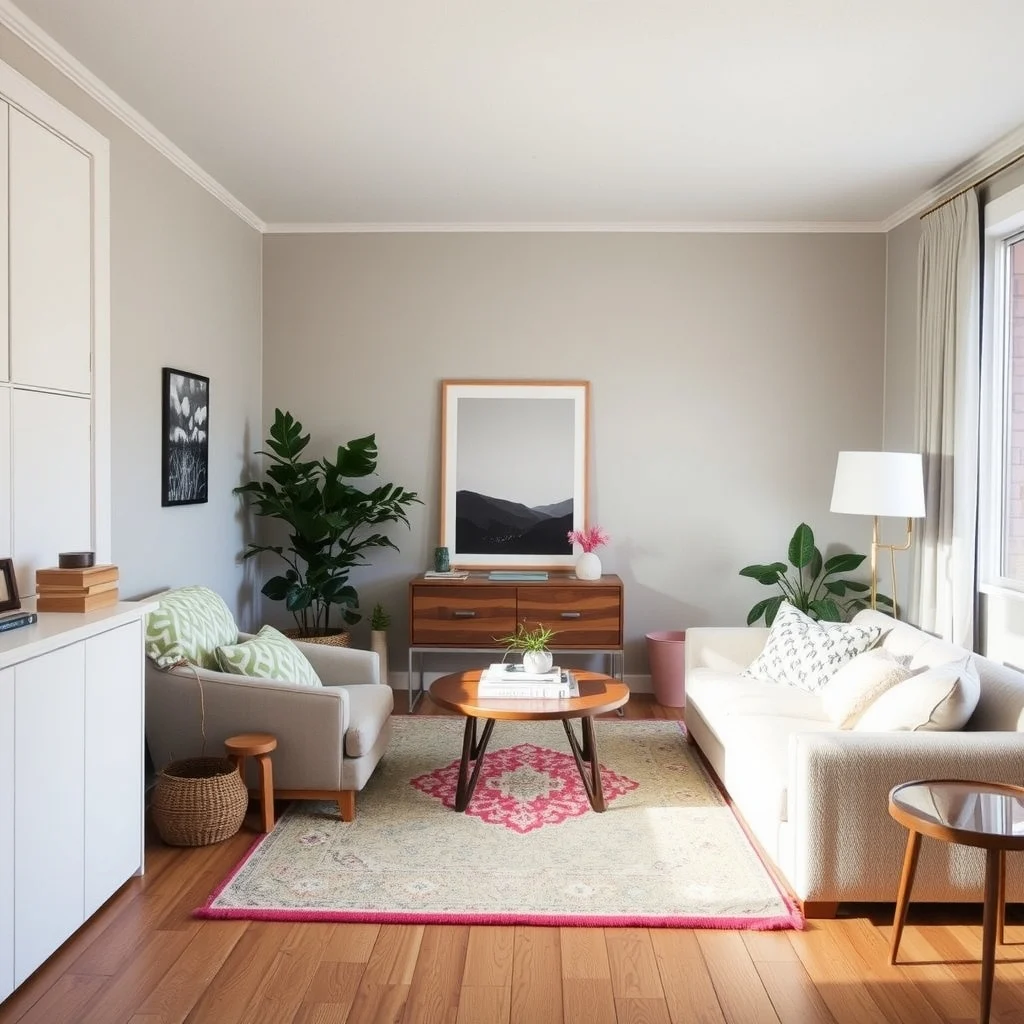
Turning a studio into the feeling of two separate rooms is less about adding construction and more about shaping perception. By using rugs, tall furniture, layered lighting, flexible partitions, color, multi‑purpose pieces, and thoughtful storage, you can create clear, inviting zones that respect both function and style. Each strategy can stand alone, but together they weave a harmonious layout that feels spacious, organized, and tailored to your daily rhythm.