
Your studio can feel like one giant “everything room”… until it doesn’t. The secret sauce? smart zoning. Carve out mini-destinations—sleep, work, chill, dine—without building walls or losing that airy vibe. Ready to make 500 square feet act like 900? Let’s play Tetris with style.

© 2026 AI Illustrator — Inspiration Only
1. Map Your “Mini Rooms” Before You Move a Single Chair
© 2026 AI Illustrator — Inspiration Only
What’s Your Apartment Decor Style?
Answer these quick questions to discover your perfect decor vibe.
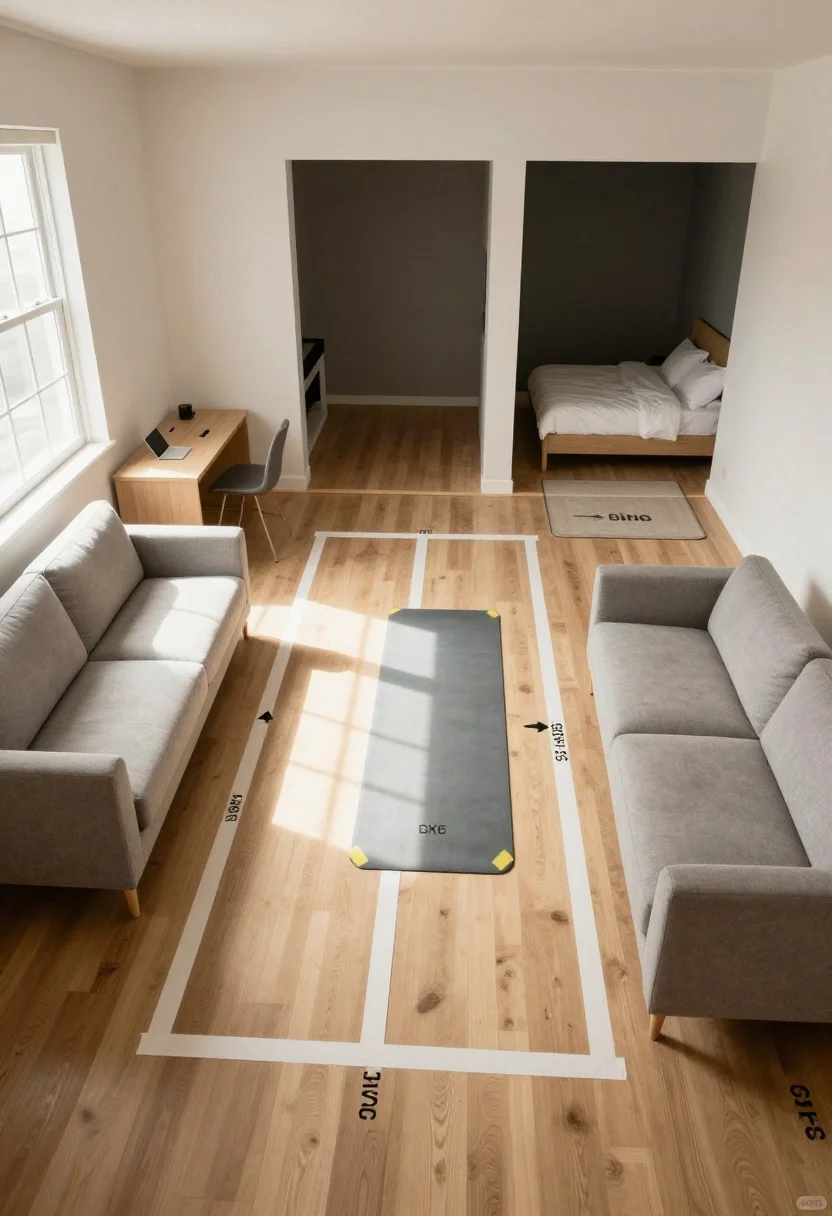
Start with a floor plan—sketch it, tape it out, or use an app. Define your must-have zones: sleep, work, lounge, and dine. If you game, do yoga, or have a pet, add zones for those too. Your layout should support your actual life, not Pinterest’s.
Pro Layout Moves
- Anchor with rugs: A 5×7 under the sofa says “living room.” A 3×5 next to the bed becomes a cozy “bedside.”
- Float furniture: Don’t shove everything against the wall. A sofa can be a low-profile “divider” with a console behind it.
- Plan pathways: Leave 30–36 inches for circulation so you’re not parkouring over ottomans at 7 a.m.
FYI: Sketch where light hits throughout the day. Morning light may make one corner perfect for a desk, while the darkest nook might scream “bed zone.”
2. Use Vertical Dividers That Don’t Kill the Light
© 2026 AI Illustrator — Inspiration Only
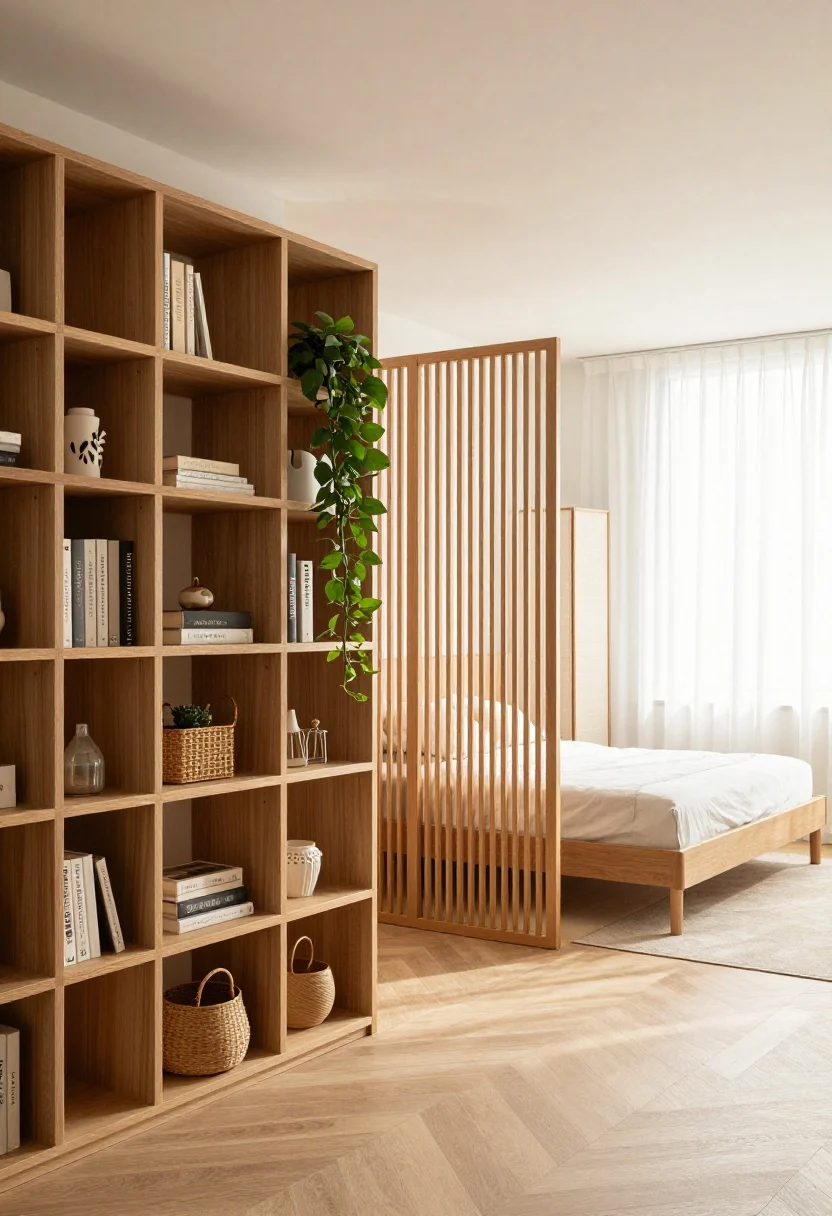
Hard walls? Nope. But you can hint at separation with pieces that feel airy and intentional. Think semi-transparent or open forms that frame space instead of blocking it.
Best Light-Loving Dividers
- Open shelving: Display books, baskets, and a trailing pothos. Bonus: storage plus division. Try an 80–90% open design.
- Slatted screens: Wood slats or caned panels feel architectural without the gloom factor.
- Sheer curtains on ceiling tracks: Pull them closed for privacy, open them for that breezy loft look.
- Folding screens: Great for guests. Choose woven or rice-paper styles for diffused light.
Pro tip: Match divider height to eye level when seated (about 42–48 inches) behind a sofa, and go taller (70–80 inches) around beds for a cocoon vibe.
3. Zone With Rugs, Lighting, and Color Like a Set Designer
© 2026 AI Illustrator — Inspiration Only
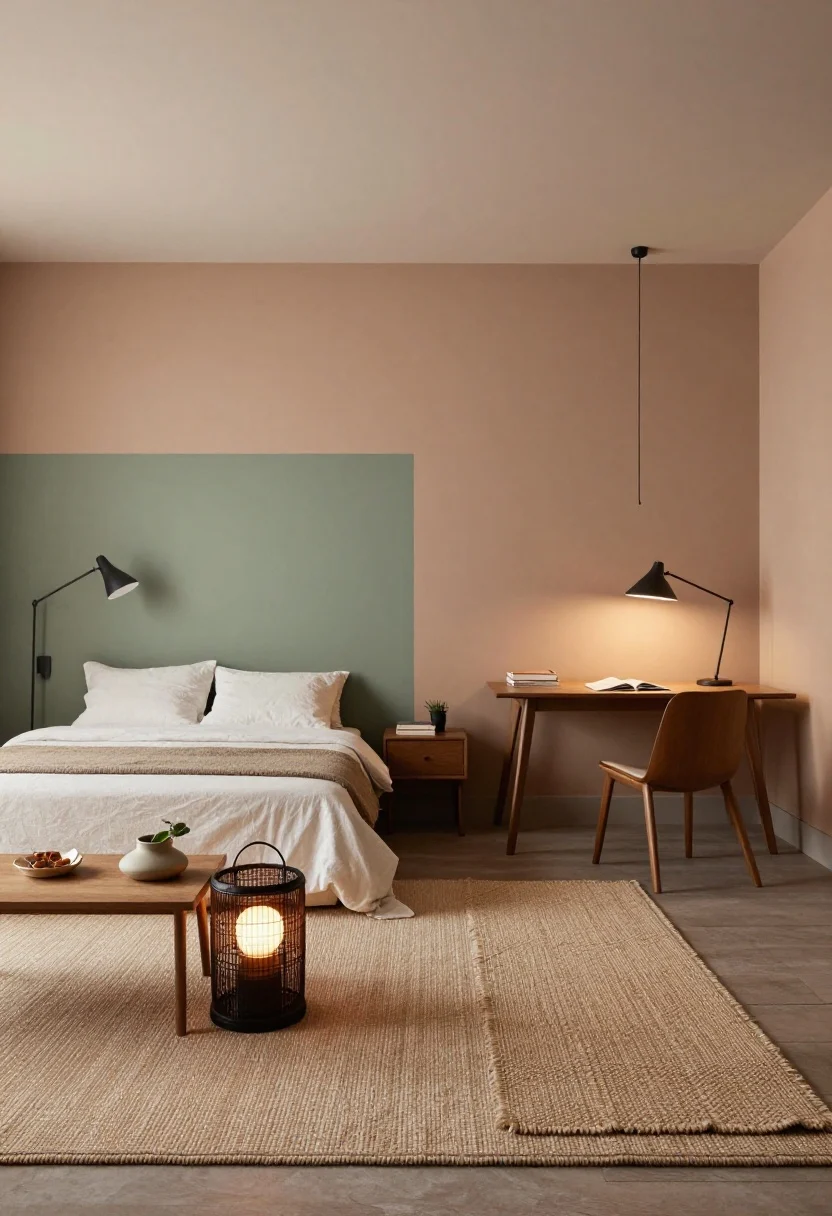
Walls aren’t your only tools. Use layers—rugs, lighting, and color—to signal “new zone, who this?” without overstuffing the space.
Layer Like a Pro
- Rugs: Choose distinct textures per zone: chunky wool under the sofa, flatweave under the table, a plush runner by the bed. Keep palettes cousins, not twins.
- Lighting: One overhead light won’t cut it. Aim for 3–4 light sources: a floor lamp in the lounge, a swing-arm by the bed, a task lamp at the desk, maybe a pendant over dining.
- Color blocking: Paint half-walls, arches, or the inside of a nook. A soft clay behind the bed, sage near dining—instant separation.
Rule of three: Each zone gets its own anchor (rug), focus (lighting), and accent (color or texture). It’s subtle but transformative.
4. Double-Duty Furniture That Works Overtime
© 2026 AI Illustrator — Inspiration Only
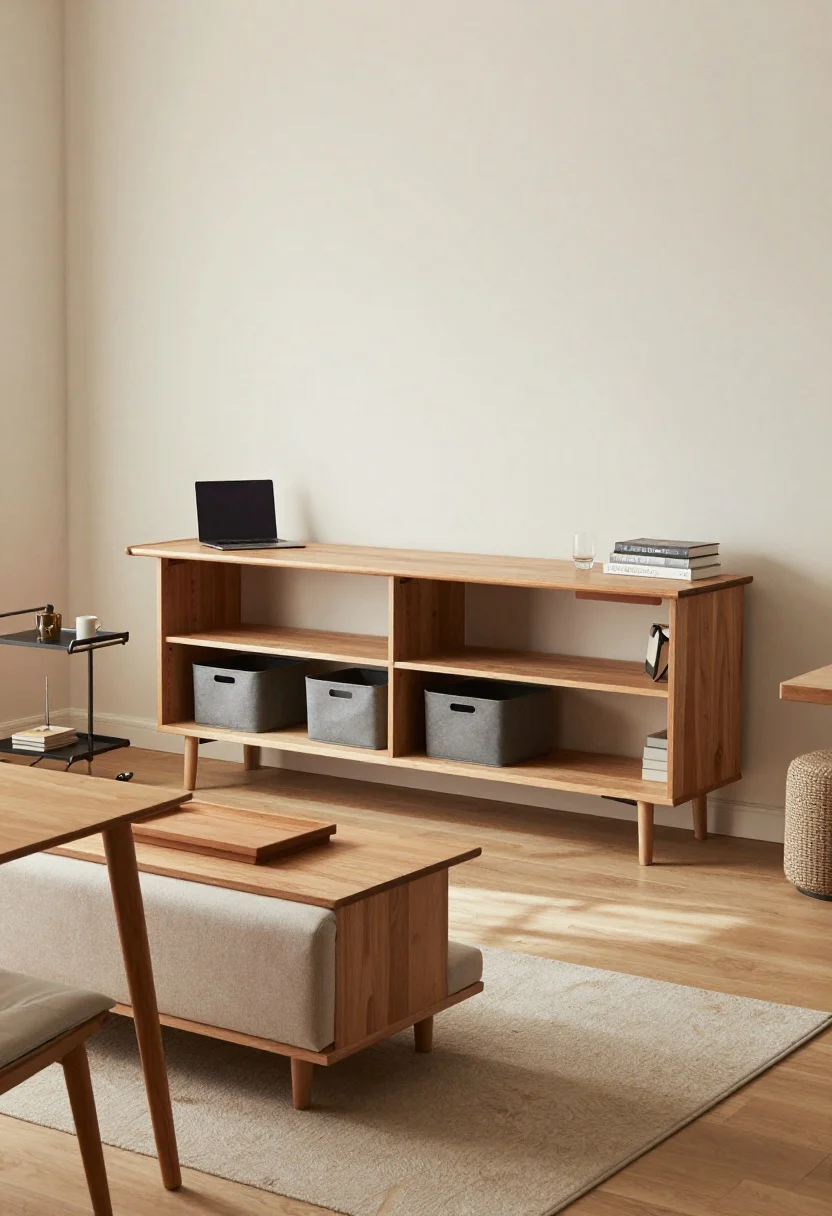
In a studio, furniture should audition for multiple roles. If it doesn’t pull double duty, it’s not earning rent.
Smart Swaps
- Sofa + Console: Place a narrow console behind the sofa for storage and a visual boundary. Add stools under it for extra seating.
- Murphy bed or daybed: Sleep at night, sit by day. Or try a platform bed with deep drawers—clothes go under, calm goes up top.
- Drop-leaf table: Desk on weekdays, dining for four on weekends. Park it along a wall; swing leaves out when needed.
- Ottomans with storage: Coffee table, footrest, and secret blanket bunker in one.
- Bar cart: Rolls between lounge and dining zones, then becomes a nightstand in party aftermath mode (we’ve all been there).
IMO, choose legs over boxy bases. Visible floor keeps zones feeling open and reduces visual bulk.
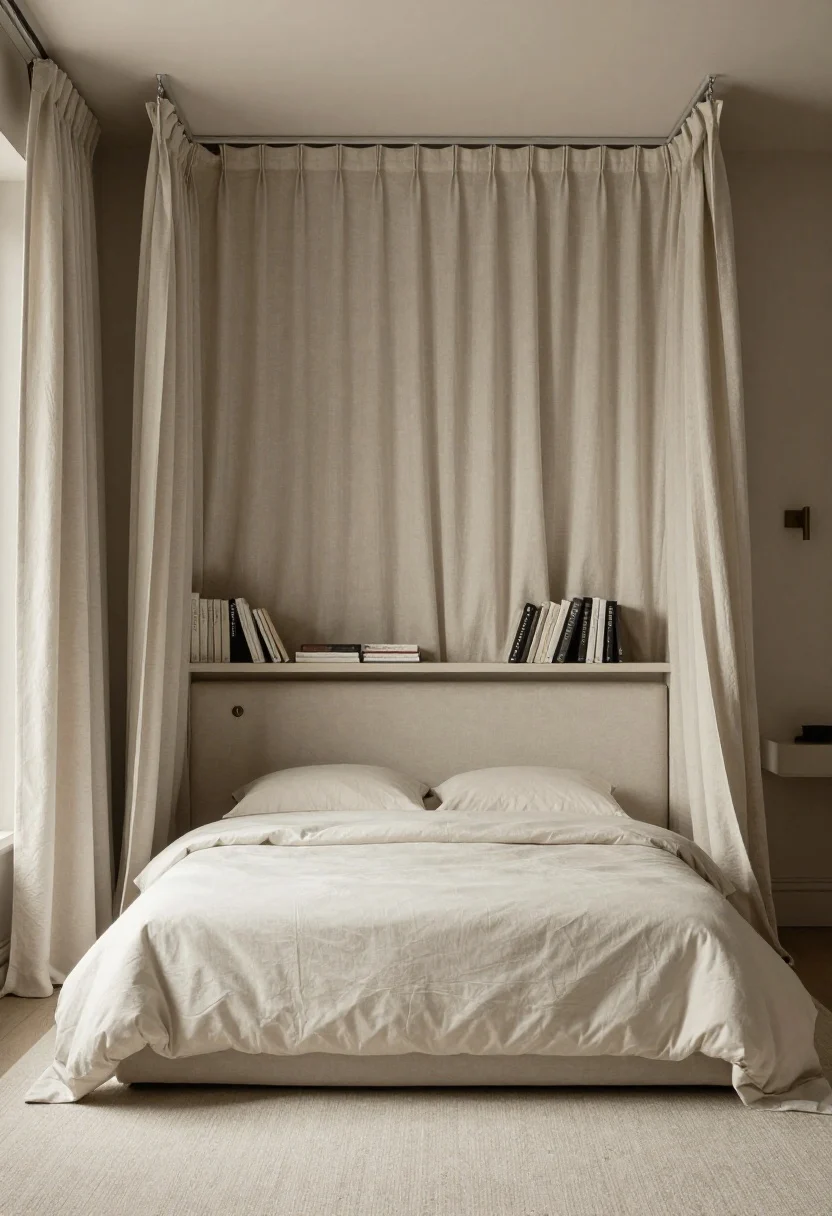
5. Create a Bedroom Nook Without Building Walls
© 2026 AI Illustrator — Inspiration Only
Yes, you can have a serene “bedroom” in a studio—not with drywall, but with soft boundaries and scale-savvy choices.
Cozy Without Clutter
- Headboard-as-divider: Use a tall upholstered headboard with a slim console or bookcase behind it to form a mini vestibule.
- Ceiling track + drapes: Linen or gauze curtains add privacy and soften acoustics. Keep them just brushing the floor for polish.
- Scale down the nightstands: Try wall-mounted shelves or slim C-tables. Add a sconce to free surface space.
- Monochrome bedding: Keep the bed visually quiet—solid tones or micro-prints—so it doesn’t “shout” across the room.
Bonus: Layer a low-pile rug under two-thirds of the bed to anchor the nook. Your toes will thank you every morning.
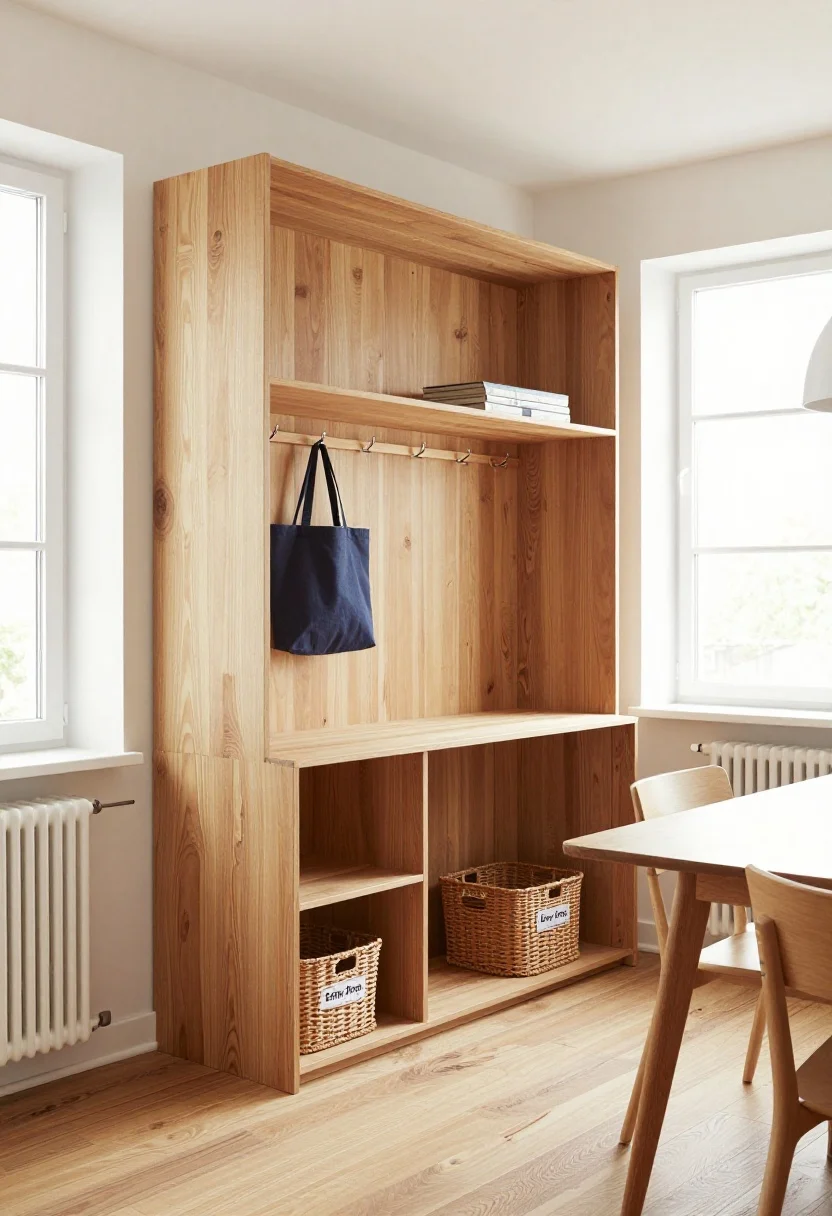
6. Build Storage Walls That Also Shape Space
© 2026 AI Illustrator — Inspiration Only
Nothing kills zoning faster than clutter. Hide the chaos with storage that also divides, and your zones stay crisp and calm.
Storage That Steers Traffic
- IKEA-hack bridge: Stack modular cabinets to create a “bridge” around a desk or doorway—instant architectural moment.
- Wardrobe-as-partition: Put a shallow wardrobe at the foot or side of the bed (back finished nicely) to form a pseudo-wall. Add hooks on the back.
- Window-height credenza: Lines a wall, doubles as a room divider, and keeps sight lines low.
- Under-table bins: Slide lidded baskets under the dining table for seasonal swaps. Out of sight, out of mind.
Label zones inside storage too. A basket labeled “Entry Drop” near your door keeps keys from migrating to the sofa abyss. Small systems = big sanity.
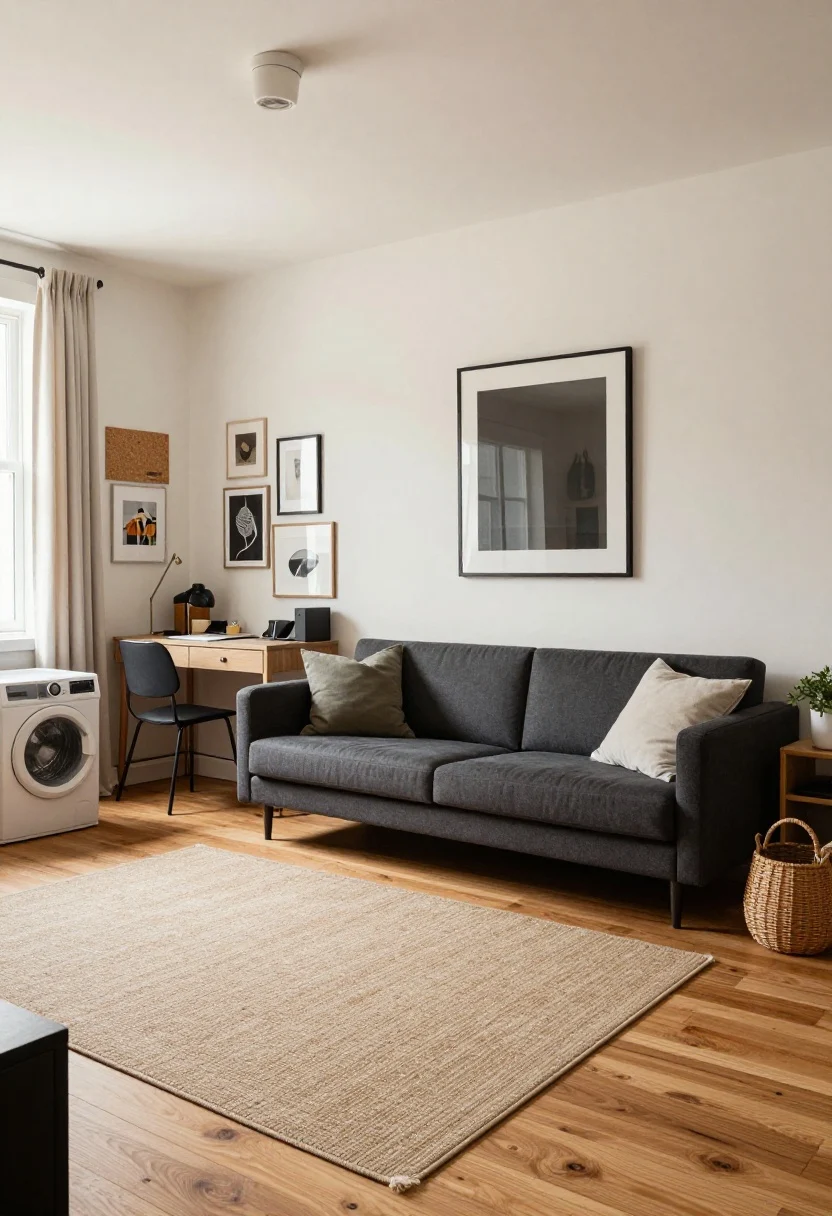
7. Curate Sight Lines and Sound to Make It Feel Bigger
© 2026 AI Illustrator — Inspiration Only
Zoning isn’t just furniture. It’s what you see (and hear) from each spot. Fine-tune sight lines and acoustics so the studio feels luxurious, not chaotic.
Design the View
- Hide the mess: Place the laundry bin and kitchen clutter zones where they’re not visible from the sofa or bed.
- Art clusters per zone: Small gallery above the desk, a statement piece behind the sofa, calming prints near the bed. Different moods, unified frames.
- Reflect wisely: Mirrors opposite windows bounce light and visually expand. Avoid mirroring the bed directly—feels busy at night.
- Sound zoning: Add rugs, curtains, upholstered panels, or even cork art to absorb echo. A plush runner near the entry stops heel-click noise.
Final polish: Use a repeating material—like black metal, warm oak, or brushed brass—in every zone. That thread ties it all together so it reads “intentional home,” not “furniture store aisle.”
Quick Room-by-Room Example
- Entry: 24-inch console, round mirror, narrow tray, boot mat. Hooks behind the door.
- Living: 70-inch sofa floating center, slim console behind, floor lamp, 5×7 wool rug.
- Dining/Desk: Drop-leaf table against wall, task lamp, two stackable chairs, memo board.
- Sleep: 12-inch platform bed with drawers, ceiling-track sheers, single sconce, 3×5 rug.
- Storage: Open shelf as divider with baskets and plants, low credenza under TV.
FYI: Tape out dimensions with painter’s tape first. It saves your back and your patience.
You don’t need more square footage—you need smarter borders. With a few dividers, layers of light, and furniture that moonlights as something else, your open-concept studio becomes a set of stylish, well-behaved “rooms.” Go zone it like you mean it.