Advertisement
Open shelves are like the Instagram of your kitchen or living room—everything’s on display, no filter. They can look dreamy… or like a yard sale exploded. The good news? With a few smart moves, you can nail that curated vibe without giving up your everyday stuff. Let’s get your shelves working harder and looking better—no decluttering meltdown required.
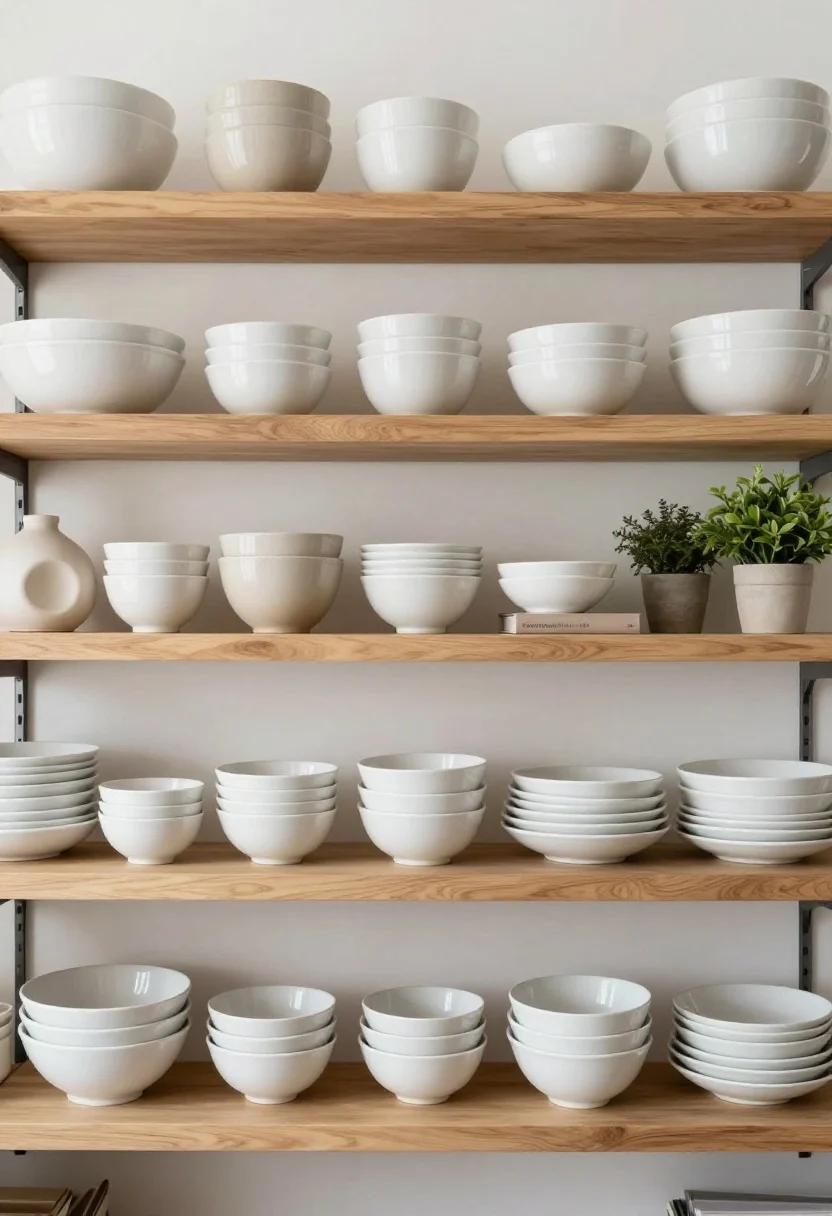
1. Edit Ruthlessly (But Keep It Real)
© 2025 AI Illustrator — Inspiration Only
Before you buy baskets or coordinate labels, start by editing. You don’t need 12 mugs from college. Keep what you love, what you use, and what looks good together.
What’s Your Apartment Decor Style?
Answer these quick questions to discover your perfect decor vibe.
What to Keep vs. What to Stash
- Keep: Matching dishware, neutral bowls, pretty cookbooks, sculptural vases, a few plants.
- Stash: Branded cereal boxes, mismatched tupperware, old mugs, stained bakeware.
FYI: Editing isn’t minimalism; it’s intention. The goal is fewer, better, cohesive. Once the visual noise is gone, everything else snaps into place.
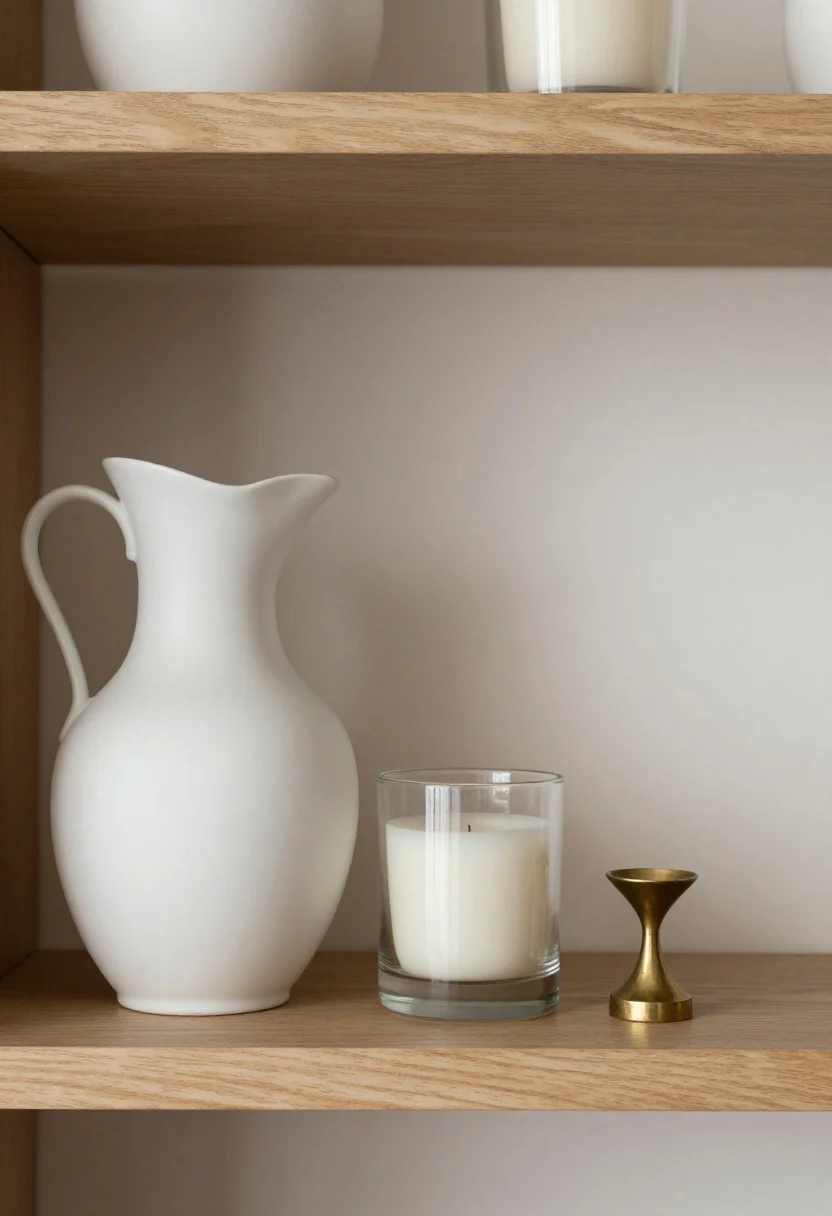
2. Create Visual Triangles (Your Secret Styling Formula)
© 2025 AI Illustrator — Inspiration Only
Trios are magic. Arrange items in varying heights to create subtle triangles that guide the eye and keep things balanced. It’s the difference between “ehh” and “editorial.”
How to Build a Triangle
- Anchor: A taller piece (pitcher, stack of books, large bowl) at one point.
- Medium: Candle, jar, or plant at a lower level.
- Small: A small object—match striker, seashell, object d’art.
Repeat these triangles across shelves, but flip the tall piece side to side so it doesn’t look too “copy-paste.” Symmetry is cool; mirrored sameness is not.
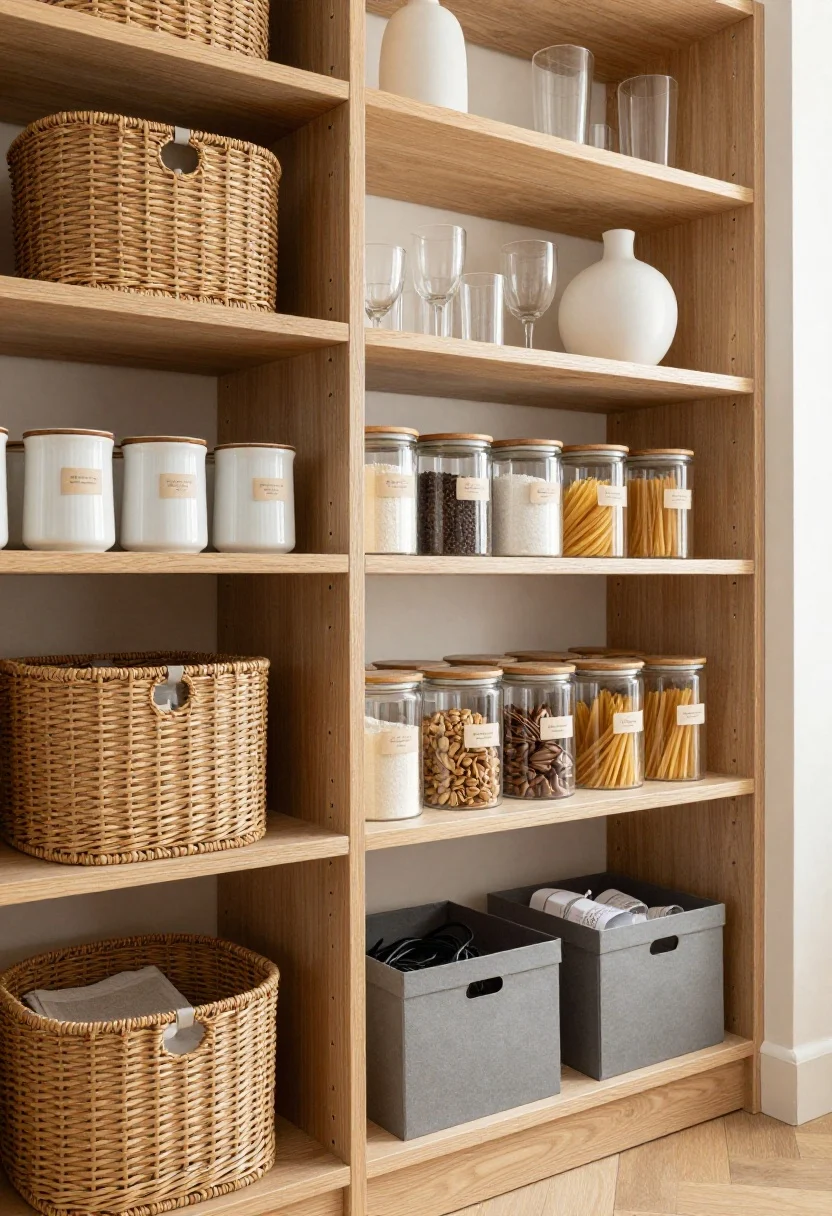
3. Mix Closed Storage With Display (Hide The Chaos)
© 2025 AI Illustrator — Inspiration Only
The prettiest open shelves always have a few places for the not-so-pretty stuff. Baskets, bins, and boxes are your besties. They add texture and swallow clutter whole.
Smart Conceal + Reveal
- Baskets: Woven seagrass or rattan for warmth. Perfect for napkins, tea, snacks.
- Canisters: Clear or ceramic with labels for flour, coffee, pasta—functional and clean.
- Boxes: Slim lidded boxes for receipts, cables, lighters. Keep labels discreet.
Pro tip: Keep closed storage on lower shelves (heavier visually), and lighter, airier pieces up top for lift. It’s like contouring for your shelving.
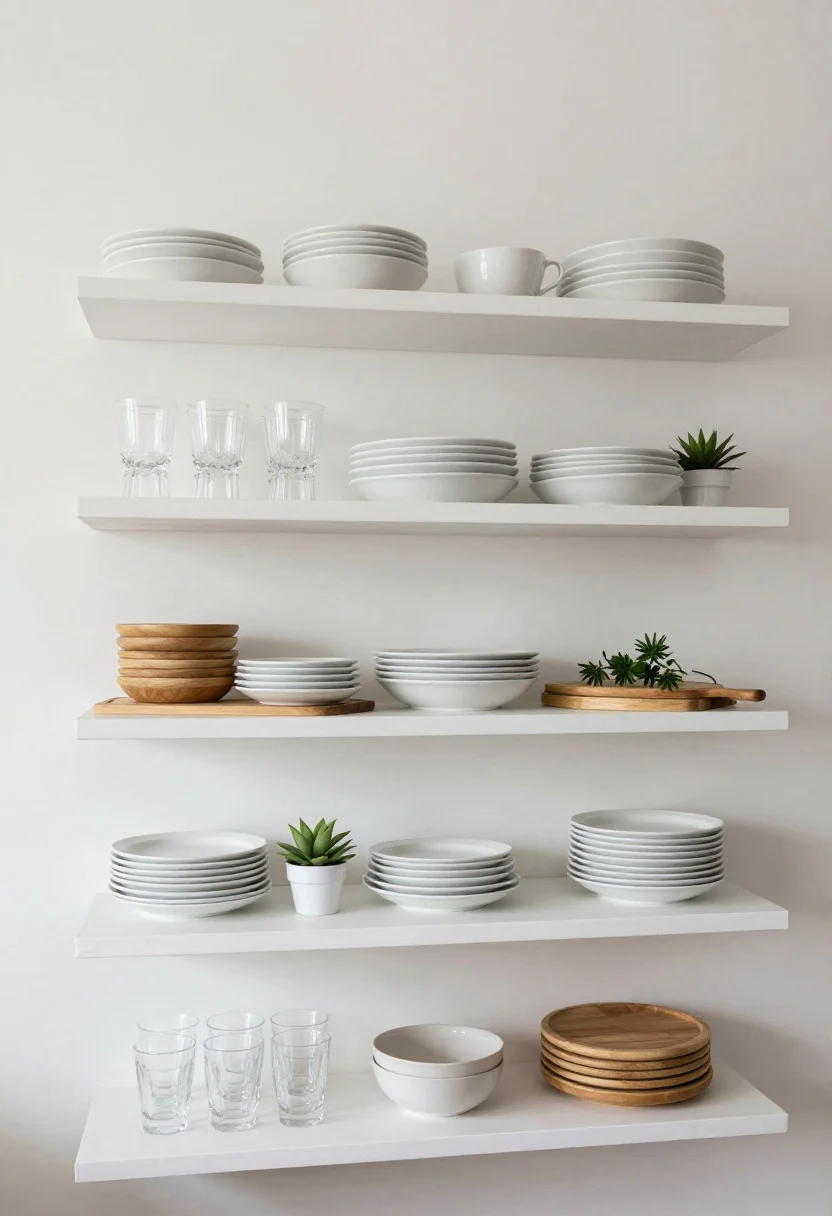
4. Stick To A Tight Color Palette (Seriously, This Changes Everything)
© 2025 AI Illustrator — Inspiration Only
Nothing kills open shelving faster than a rainbow of randoms. Choose a two- to three-color palette with one accent and stick to it. Think white + wood + black, or cream + glass + brass.
Palette Ideas That Always Work
- Neutral & Natural: White dishes, clear glass, warm wood, a touch of greenery.
- Modern Monochrome: Black, charcoal, matte ceramics, a little linen for softness.
- Coastal Calm: Soft blues, sandy beiges, woven textures, white pottery.
IMO, color repetition is the fastest way to make thrifted and new pieces look like a set. Repeat your accent color at least three times in small doses so it feels intentional.
5. Layer Heights, Depths, And Textures (Flat = Boring)
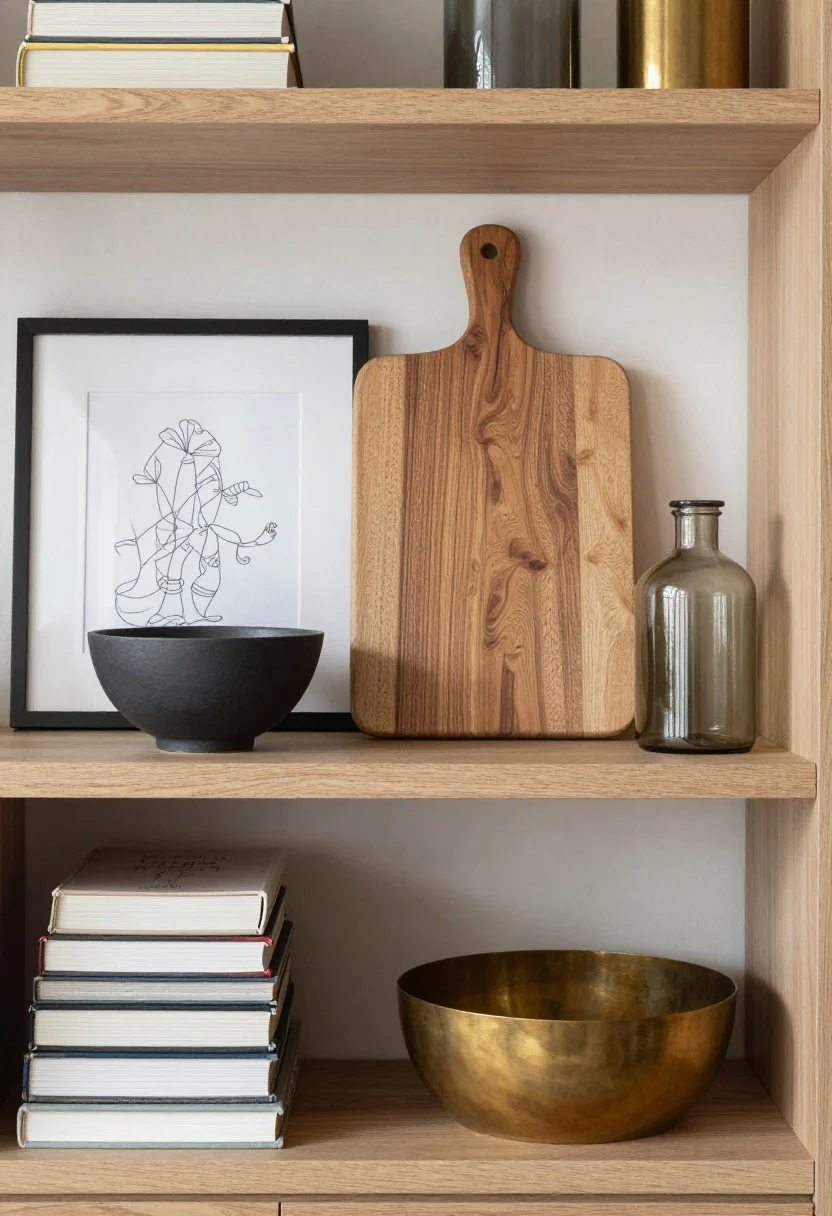
© 2025 AI Illustrator — Inspiration Only
If everything is lined up like soldiers, your shelves will look stiff. You want dimension. Bring pieces forward, tuck others back, and mix finishes to add life.
Layer Like A Stylist
- Backdrops: Lean cutting boards, framed art, or platters against the wall.
- Stacks: Use books or shallow bowls to create risers for shorter pieces.
- Textures: Pair matte ceramics with glossy glass, rough wood with smooth metal.
Quick check: From a side angle, do you see depth? If everything lives on a single plane, add a leaning piece and one object pulled forward by an inch or two.
6. Give Everything A “Zone” (Function First, Then Pretty)
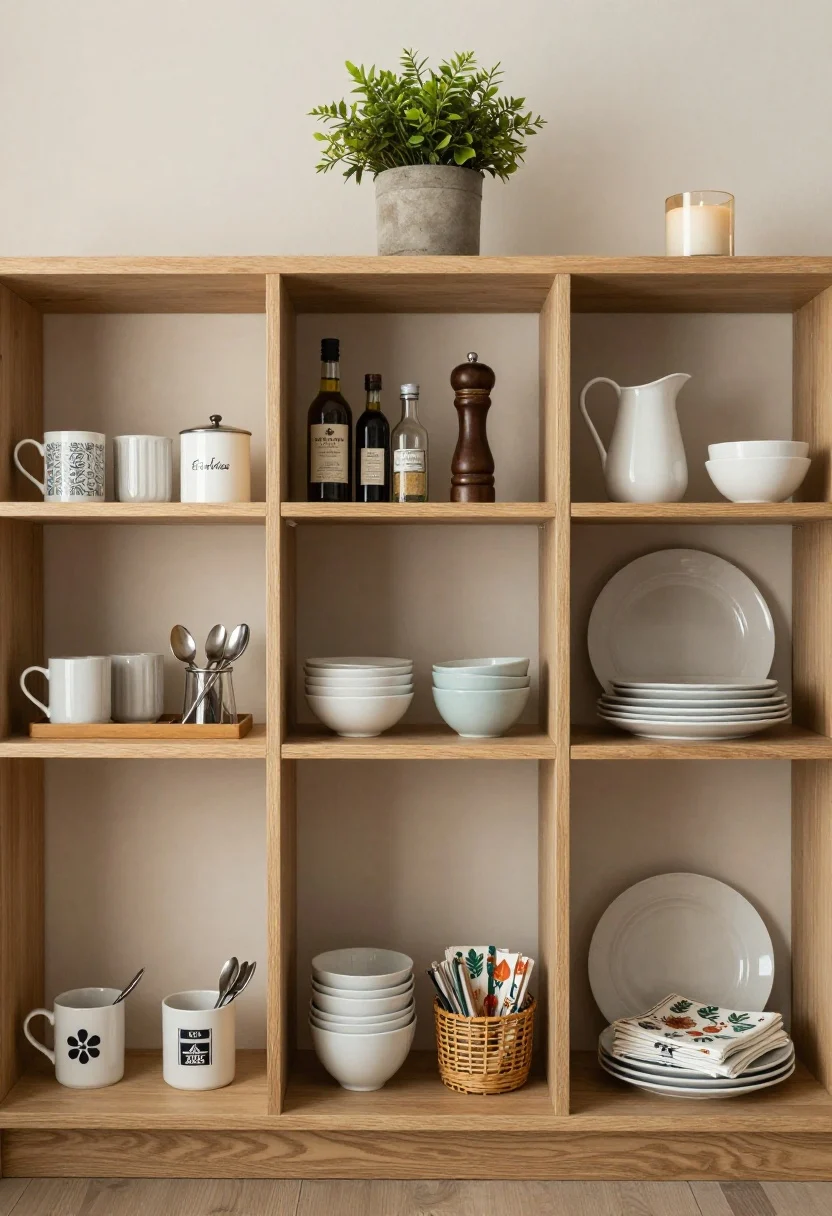
© 2025 AI Illustrator — Inspiration Only
Clutter usually happens when items don’t have a home. Solve that with simple zones by category. It keeps your daily flow smooth and visually tidy.
Easy Zone Map
- Coffee Station: Mugs, sugar, canister, small tray with spoons.
- Cooking Zone: Oils, salts, pepper grinder, small stack of everyday bowls.
- Serveware: Pitchers, platters, seasonal napkins in a basket.
- Style Zone: A plant, a candle, a sculptural object—aka the “breathing space.”
Pro tip: Add a tray to corral small items into one visual unit. Five loose things can read messy. Five things on a tray? Intentional.
7. Leave Negative Space (Because Your Eyes Need A Nap)
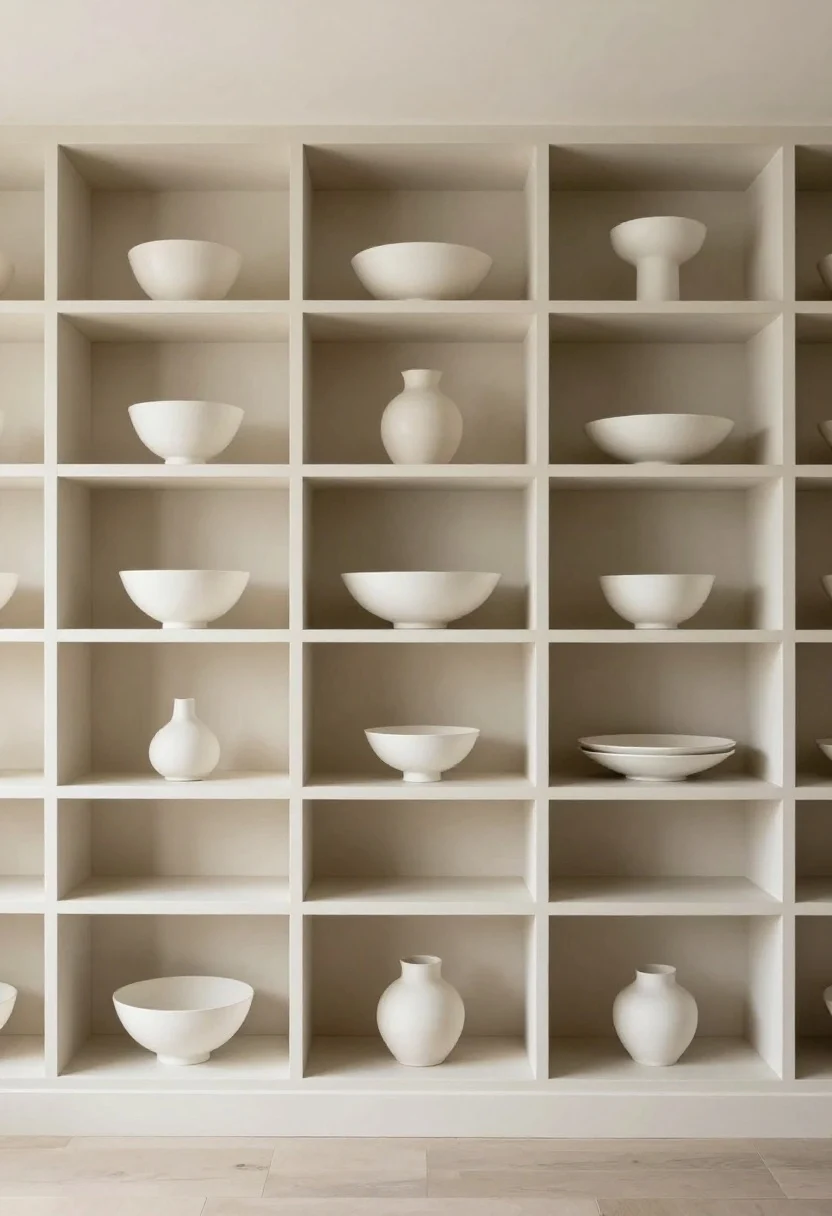
© 2025 AI Illustrator — Inspiration Only
The bravest thing you can do? Leave empty space. Your shelves need “white space” the way rooms need walkways. It lets your favorite pieces shine.
How Much Space Is Enough?
- Rule of Thirds: Fill roughly two-thirds of a shelf; leave one-third open.
- One Hero Per Shelf: Let one larger piece be the star, with small supporting acts.
- Air Gaps: Keep a few inches between groups so the eye can rest.
FYI: If it looks a little “empty” at first, give it a day. Your brain adjusts, and you’ll start to appreciate how calm it feels.
Put It All Together: A Quick Styling Recipe
- Edit to essentials; choose a tight palette (2–3 colors).
- Mix open display with baskets/boxes for the not-cute stuff.
- Style in triangles and layers—vary heights and depths.
- Assign zones so function drives layout.
- Protect negative space like it’s your skincare routine.
You don’t need designer shelves or a shopping spree—just intention and a few fresh moves. Start with one shelf, take a step back, and adjust. Soon your open shelving will look curated, effortless, and totally you—no clutter in sight.