
You don’t need a construction crew to turn your studio into a functional, stylish home. You just need smart zoning, a few strategic pieces, and a sprinkle of confidence. Ready to carve out a bedroom, living room, and even a mini office—without lifting a sledgehammer? Let’s get you that cozy, multipurpose oasis.

© 2026 AI Illustrator — Inspiration Only
1. Map Your Zones With Rugs (Your Floor Plan’s Secret Weapon)
© 2026 AI Illustrator — Inspiration Only
What’s Your Apartment Decor Style?
Answer these quick questions to discover your perfect decor vibe.
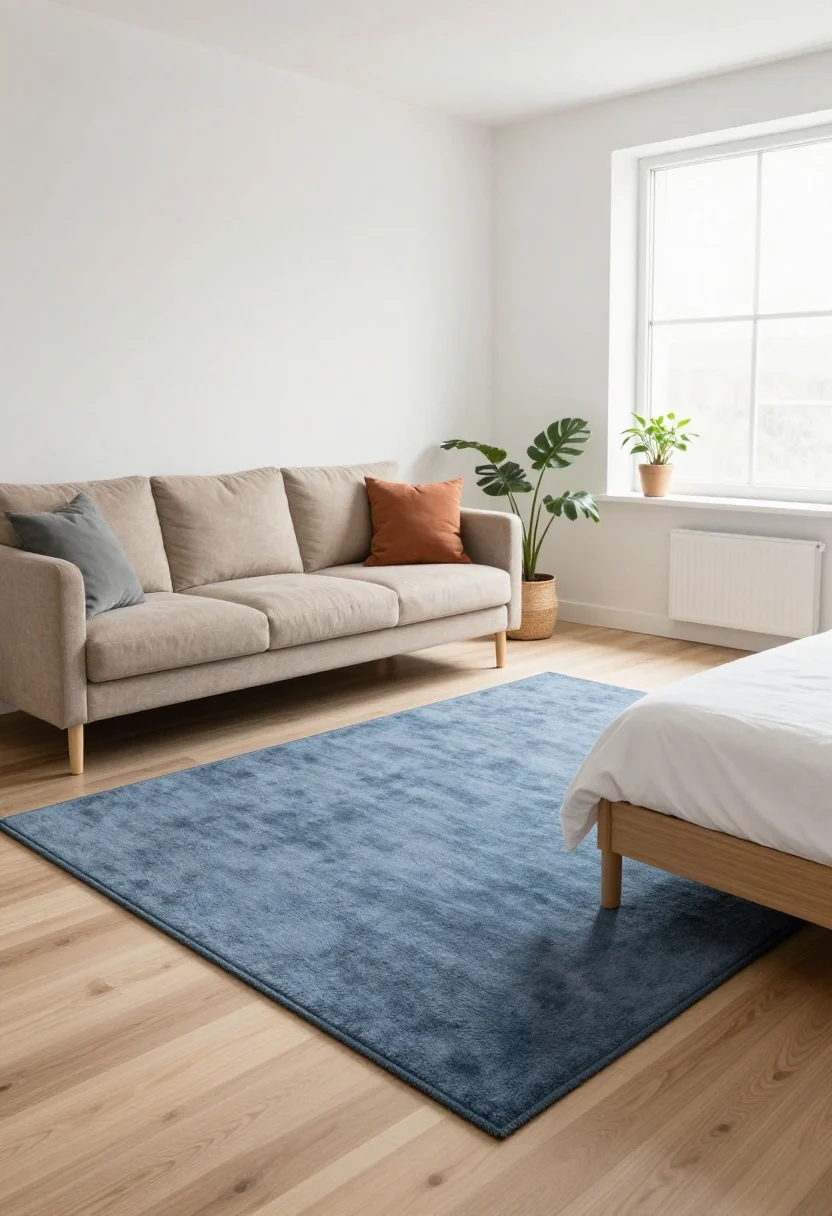
Think of rugs as invisible walls. Place a large, plush rug under your sofa to claim the “living room,” then layer a low-pile rug under the bed to define the “sleep zone.” Instantly, your eyes read two spaces instead of one big blur.
Pro Moves
- Size matters: A 5′ x 8′ works for a loveseat setup; go 8′ x 10′ if you’ve got a full sofa.
- Mix textures, not chaos: Try a jute rug in the living area and a tufted wool under the bed for contrast.
- Color-code your life: Keep a shared color thread (like terracotta or slate blue) across both rugs for cohesion.
Bonus: Rugs also tame echo in open spaces, so your studio won’t sound like a gymnasium at 7 a.m.
2. Use Bookcases And Screens As Breathable “Walls”
© 2026 AI Illustrator — Inspiration Only
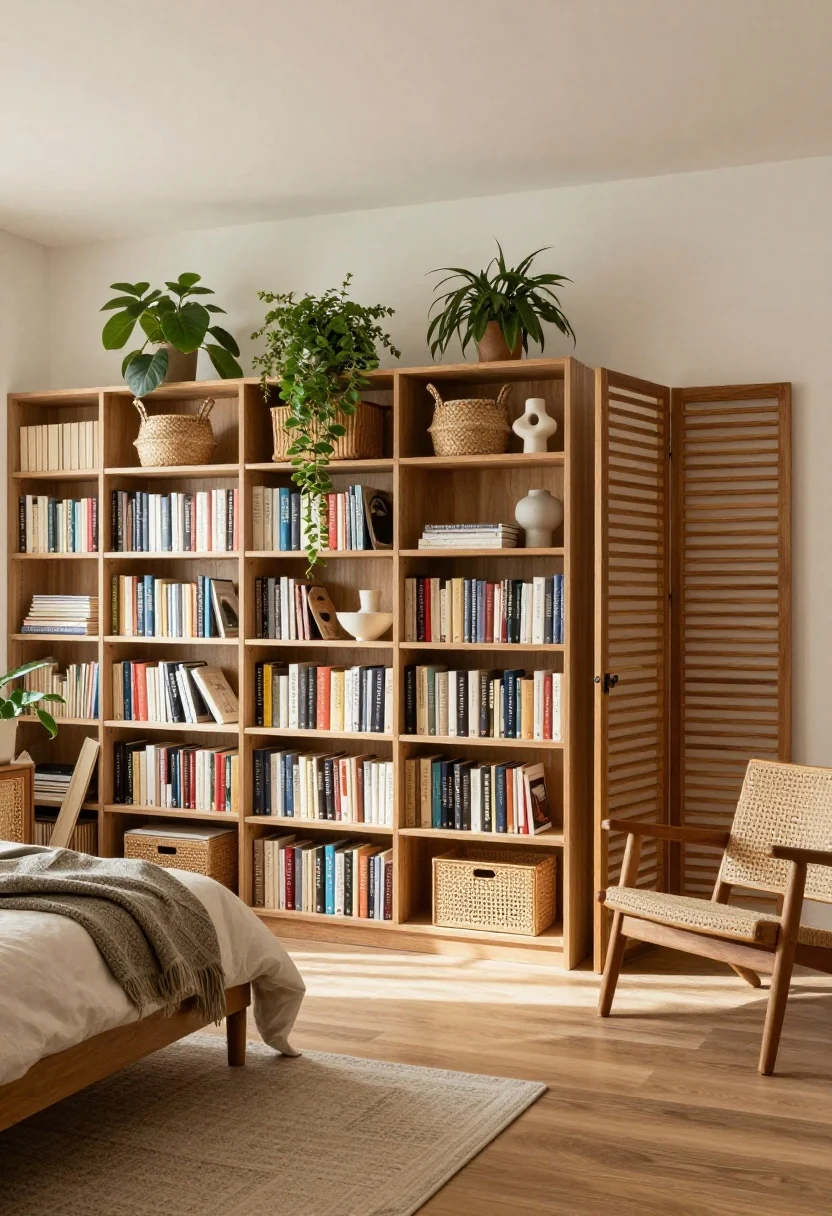
Freestanding dividers do what walls can’t—they separate without stealing light. Open-back bookcases, rice paper screens, and slatted panels offer privacy while keeping the vibe airy.
What Works Best
- Open-back shelves: Style with baskets, plants, and a few sculptural pieces to let light through.
- Folding screens: Look for woven cane, shoji, or fabric-covered options you can tuck away when hosting.
- Slatted panels: Lean two or three side-by-side for a sleek architectural moment—no drilling required.
FYI: Leave at least 24 inches of walking space between the divider and furniture so traffic flow doesn’t feel like an obstacle course.
3. Float Your Furniture (Stop Hugging The Walls)
© 2026 AI Illustrator — Inspiration Only
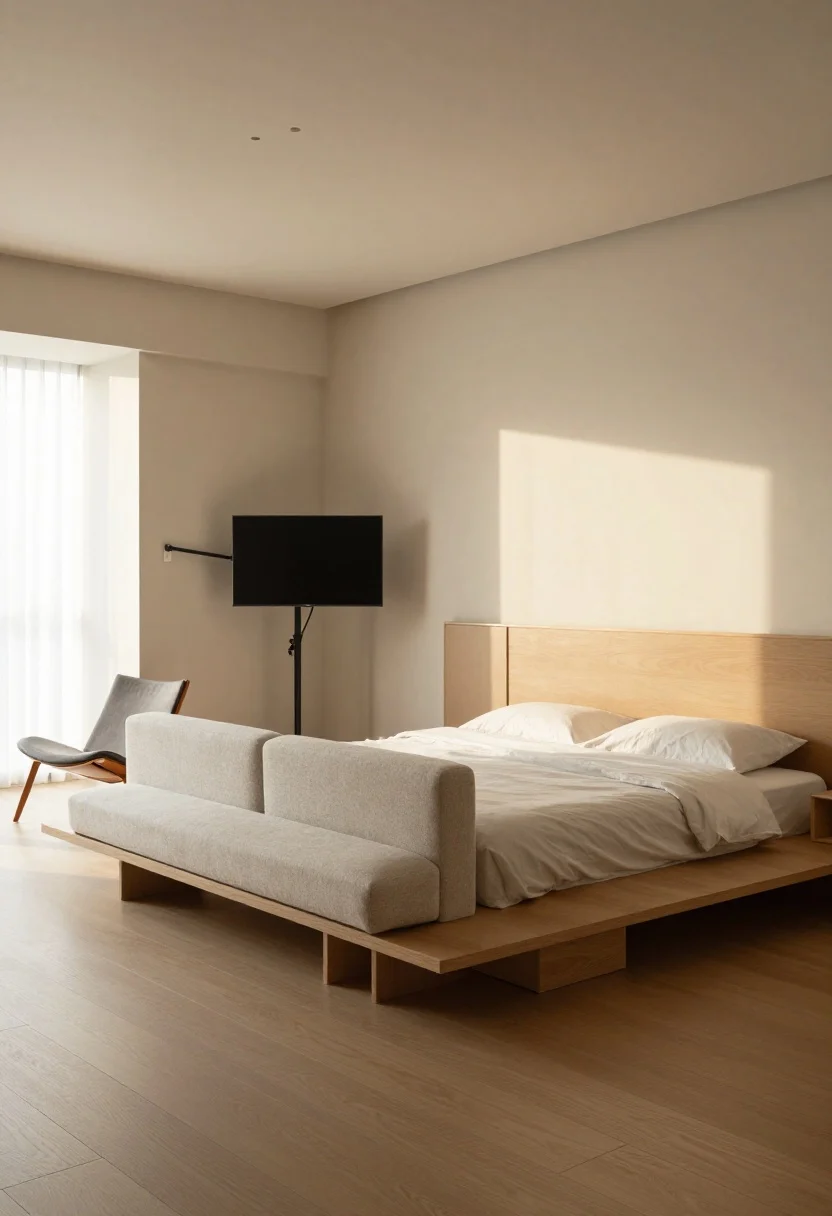
Pushing every piece to the perimeter makes a studio feel like an empty ballroom. Instead, float your sofa to face away from the bed. Back it with a narrow console table for storage and separation—instant living room.
Layout Tricks
- Sofa as boundary: Use a low-profile sofa to define the lounge zone without blocking sightlines.
- Bed placement: Tuck the bed into the “quietest” corner and anchor with a headboard or screen.
- Angle with intention: Even a 10-degree swivel on a chair can create a pathway and a focal point.
Pro tip: If your TV setup complicates things, mount it on a swivel arm so it serves both bed and sofa. Two spaces, one screen—efficient and a little bit genius.
4. Build Vertical Layers: Curtains, Canopies, And Ceiling Tricks
© 2026 AI Illustrator — Inspiration Only
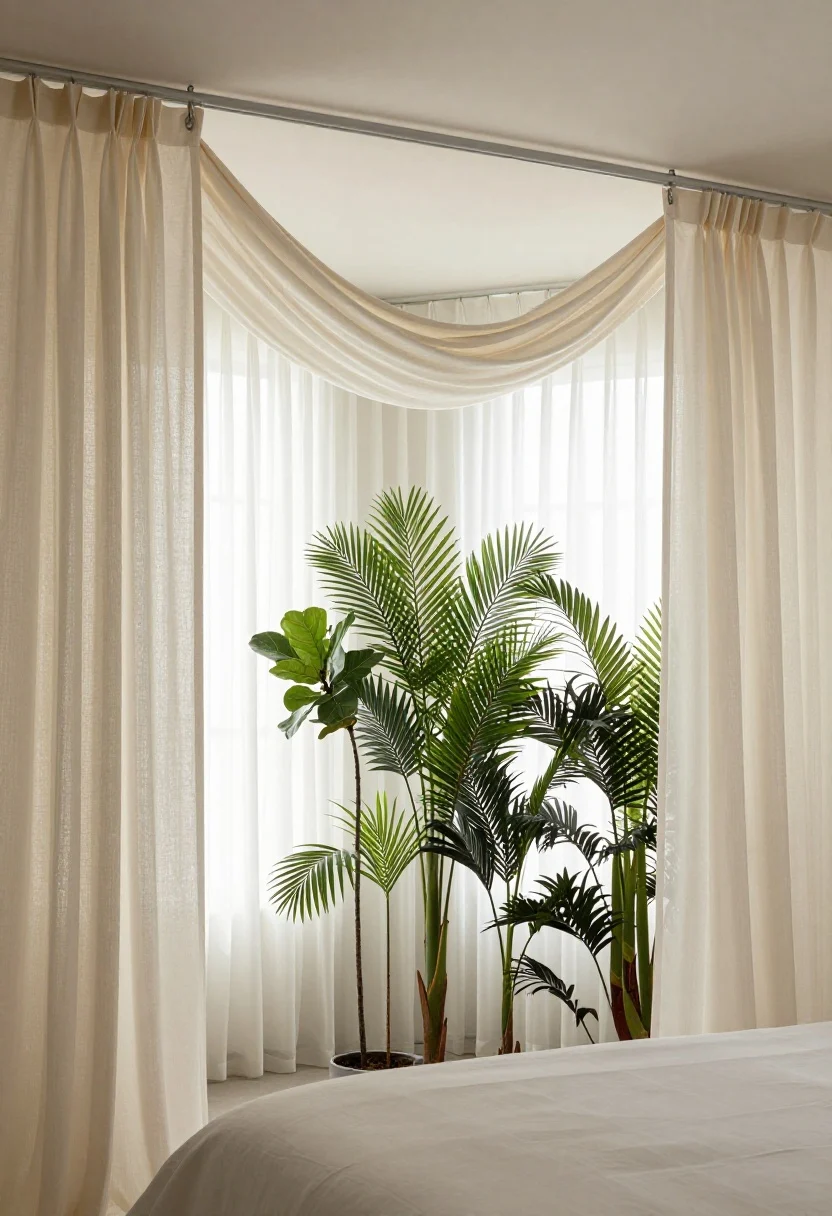
When square footage fails you, look up. Tall curtains, hanging textiles, and canopies create subtle barriers and give your studio visual height. The result? A space that reads curated, not cramped.
Light, Airy, Effective
- Ceiling-mounted curtains: Install a track to sweep sheers around the bed. Privacy when you want it, softness always.
- DIY canopy: Two ceiling hooks + a fabric panel = dreamy “room” within a room.
- Tall plant screens: Line up a few 5–7 foot plants (fiddle leaf fig, areca palm) as a living divider.
Keep fabrics neutral if your space is tiny. Ivory, sand, or foggy gray filters light like a whisper and won’t close the room in.
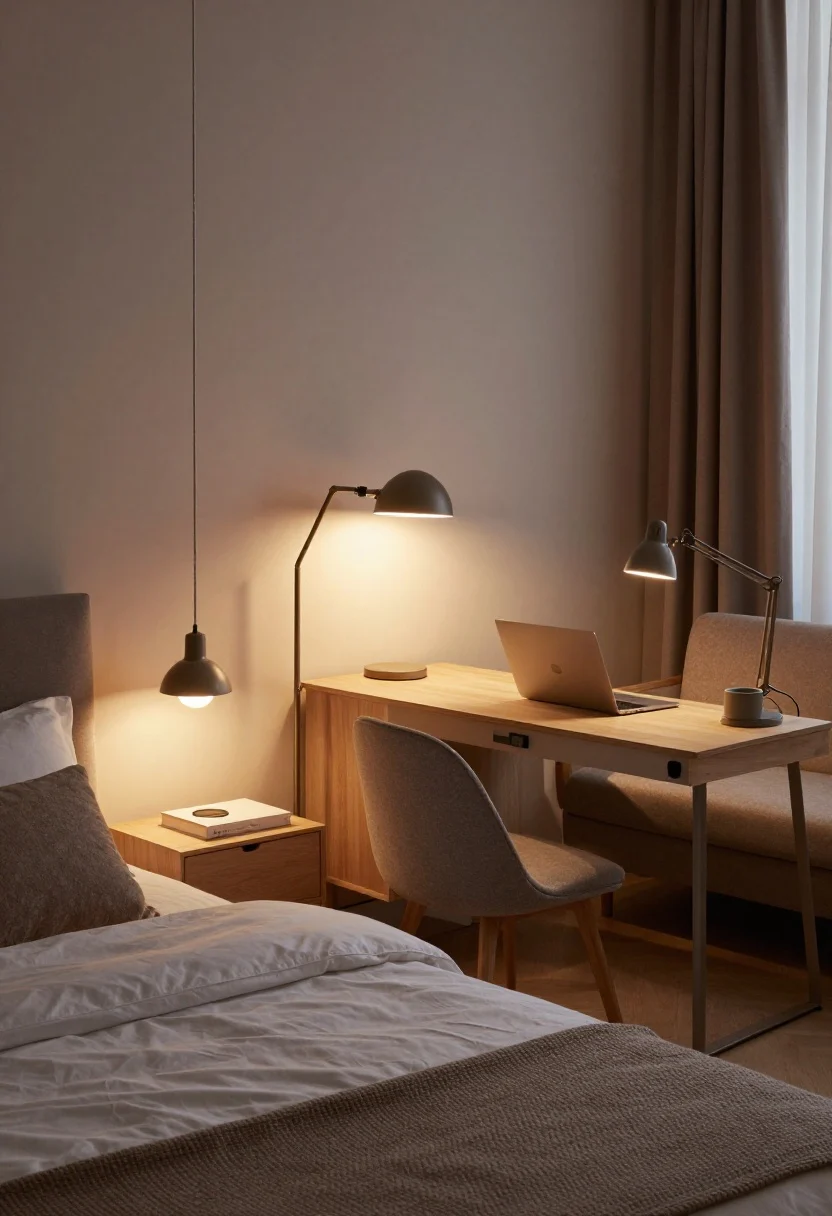
5. Zoning With Lighting: Create Islands Of Glow
© 2026 AI Illustrator — Inspiration Only
Lighting is how you tell your brain, “This is where we chill” versus “This is where we sleep.” Use different lighting temperatures and heights to carve out use-specific pockets.
Light Layering 101
- Bed zone: Warm bedside sconces or plug-in pendants for a cocoon vibe (2700K bulbs are your friend).
- Living zone: A floor lamp behind the sofa and a table lamp on the console to frame the area.
- Work nook: A crisp task lamp (3000–3500K) on a compact desk to cue focus mode.
Dimmer plugs are cheap and magic. Lower the living room lights at night and your studio instantly feels like two different spaces.
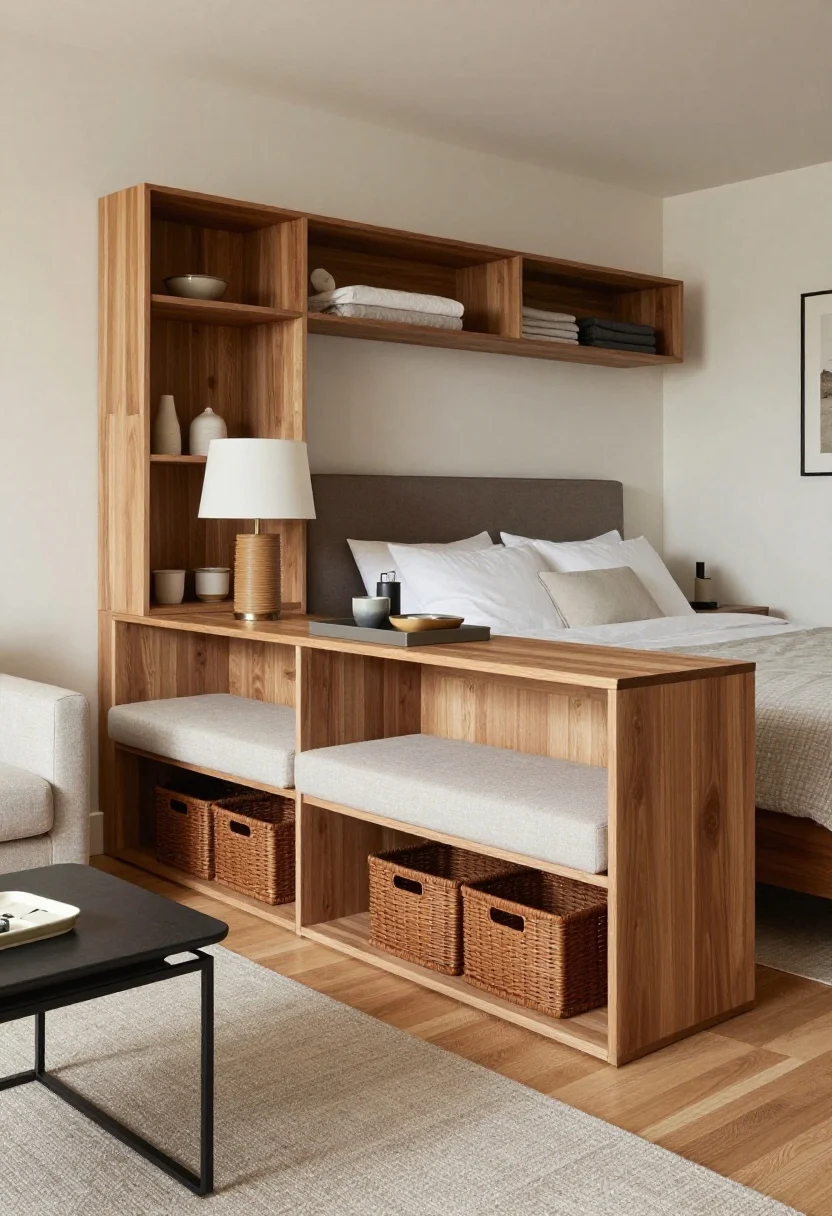
6. Double-Duty Furniture That Divides And Conquers
© 2026 AI Illustrator — Inspiration Only
If it can’t multitask, it can’t live here. Look for pieces that store, separate, and style all at once. Think streamlined, not bulky—clutter is the enemy of the open plan.
Smart Picks
- Storage headboard or footboard: Acts as a mini wall and hides extra linens, chargers, and books.
- Back-to-back consoles: Place one behind the sofa for living-room gear and another facing the bed as a vanity or desk.
- Banquette bench: Use a slim bench to split dining from lounging; stash baskets underneath.
- Nesting tables: Slide them around to serve each zone without committing to bulky side tables.
IMO the MVP is a narrow credenza behind the sofa. It defines space, stores everything, and gives you a surface for lamps, trays, and a rotating display of your personality.
Buyer-Aware Notes
- Height check: Keep dividers and consoles at or below eye level to maintain sightlines.
- Leggy frames: Pieces with visible legs look lighter and keep the room breathing.
- Finish harmony: Repeat woods or metals 2–3 times so zones feel related, not random.
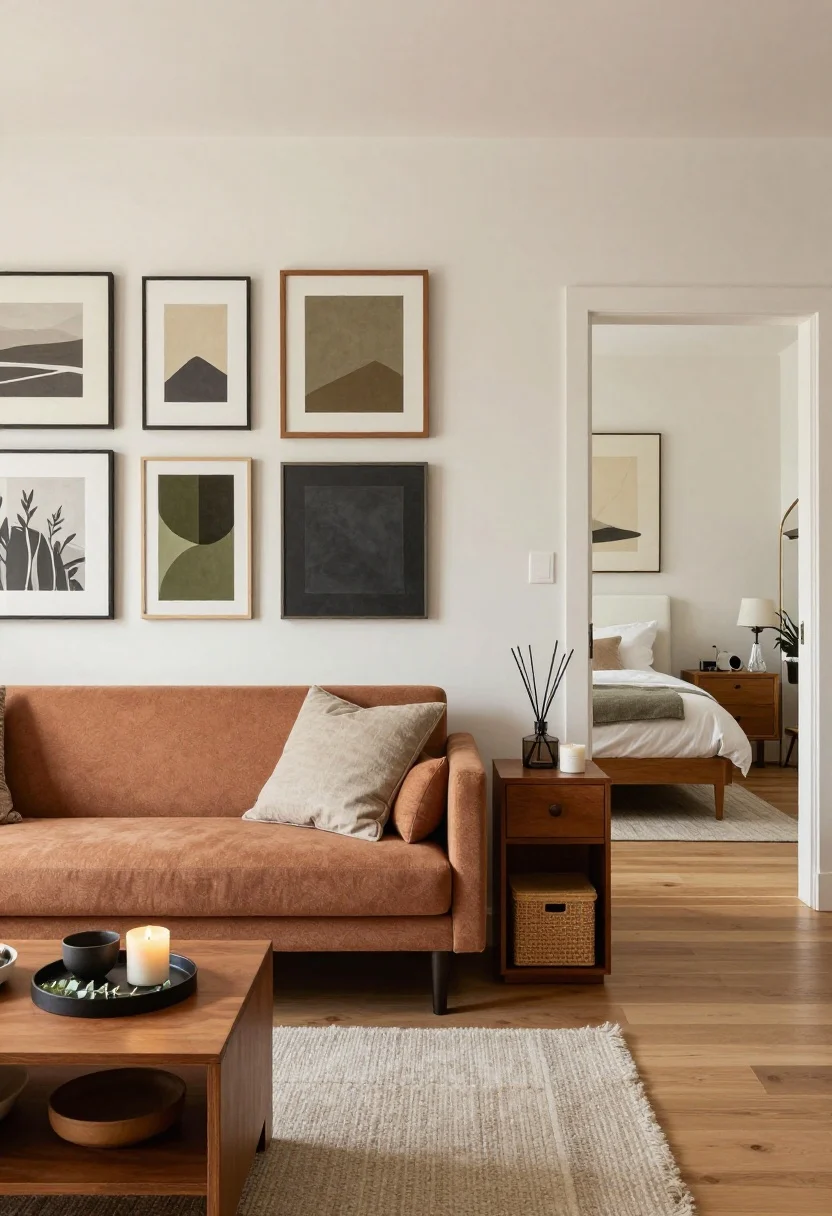
7. Style Each Zone With Intent (Art, Color, And Storage That Behaves)
© 2026 AI Illustrator — Inspiration Only
Now the fun part: the finishing touches that make each zone feel complete. Curate visuals and textures so each area has its own identity but still plays nicely with the others.
Visual Anchors
- Art placement: Hang a gallery grid above the sofa, and a single serene piece above the bed to calm that zone.
- Color narratives: Choose a tight palette (e.g., clay, olive, charcoal). Let the living area take the bolder tones and keep the bed muted.
- Mirrors: Use a tall mirror near the entry or dining corner to bounce light and visually double your square footage.
Clutter-Proofing (Because Mess Eats Square Footage)
- Closed storage for the bedroom side: Nightstands with drawers, lidded baskets under the bed.
- Open storage for the living side: Trays, bowls, and a couple of styled stacks—pretty enough to live out loud.
- Entry catchall: A wall-mounted shelf with hooks keeps bags and keys from invading the “living room.”
FYI: Use fragrance strategically. A calming diffuser by the bed (lavender, cedar) and a brighter scent in the living zone (citrus, eucalyptus) subtly signals different experiences.
Room-By-Room Mini Examples
- Sleep nook: Sheer curtain track + soft rug + plug-in sconce + linen duvet in oat.
- Lounge area: Low sofa + 8′ x 10′ jute rug + arched floor lamp + slim credenza behind.
- Work corner: Wall-mounted desk + task lamp + pinboard + compact rolling file under.
- Dining moment: Round bistro table + two chairs + pendant on swag hook to “center” the scene.
There you have it: seven ways to slice a studio into gorgeous, functional zones—no drywall, no drama. Start with rugs and layout, layer in lighting and dividers, then let styling do the final polish. Your studio isn’t small; it’s just concentrated chic. Go make it work.