
Living in a rental often means working within the limits set by a landlord, especially when it comes to the kitchen. The cabinets may be dated, the finish worn, or the hardware plain, yet the space still feels central to daily life. Fortunately, a kitchen can feel fresh and personalized without the expense or hassle of a full cabinet replacement. Below are seven approaches that let you transform those doors and drawers while keeping everything reversible for the next tenant.
1. Refresh the Surface with Paint or Chalk Finish
© 2026 AI Illustrator — Inspiration Only
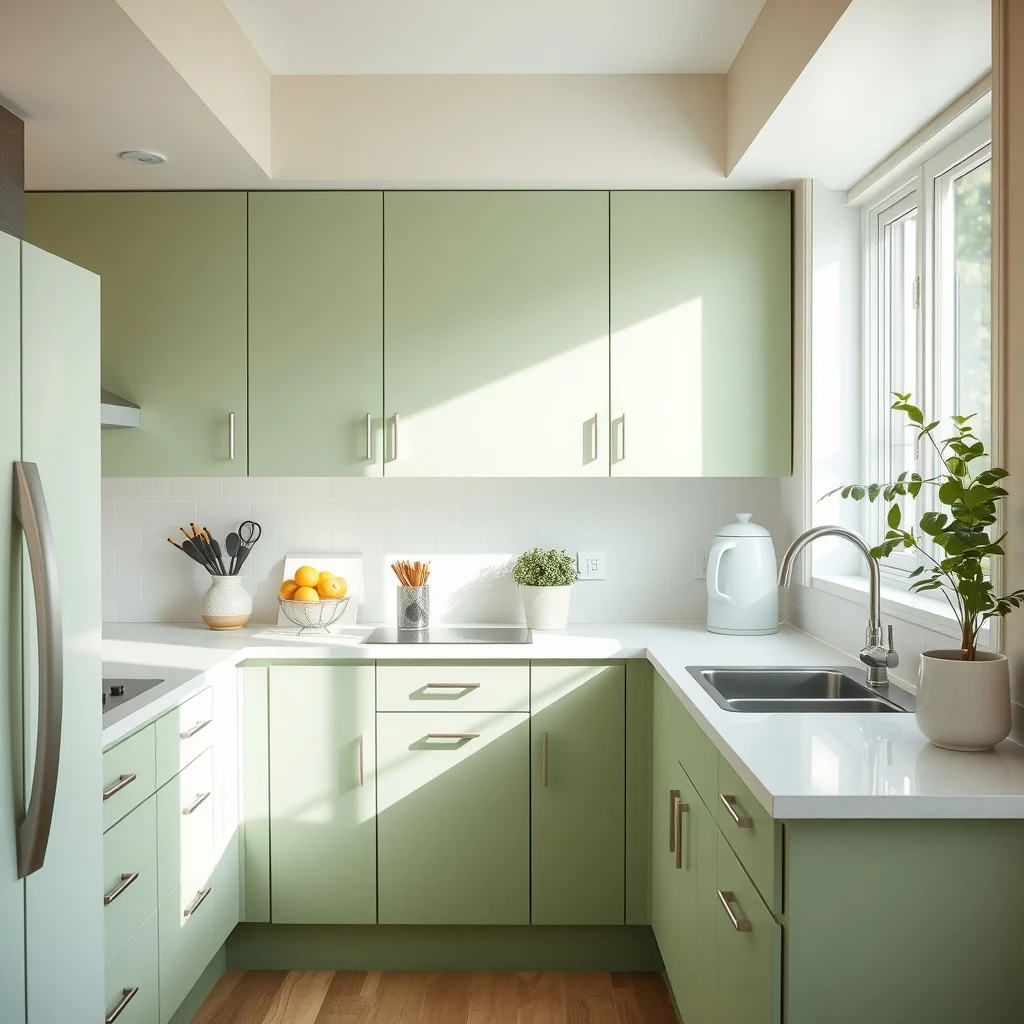
The most noticeable change starts with the cabinet surface itself. A well‑chosen paint can turn a tired laminate into a modern matte or glossy look. Chalk paint, in particular, adheres well to wood, laminate, and even metal, and it requires only a light sanding before application. Once the paint dries, a thin coat of clear wax or water‑based polyurethane protects the color from kitchen splashes and everyday wear. Light neutral tones such as soft greige or muted sage can make a small kitchen feel larger, while deeper hues like navy or charcoal add drama without overwhelming the room. The advantage of paint is its reversibility; a landlord can have the original finish sanded back if needed. The main trade‑off is the time spent taping and covering countertops, but the visual payoff often outweighs the effort.
What’s Your Apartment Decor Style?
Answer these quick questions to discover your perfect decor vibe.
2. Swap Out Hardware for Instant Personality
© 2026 AI Illustrator — Inspiration Only
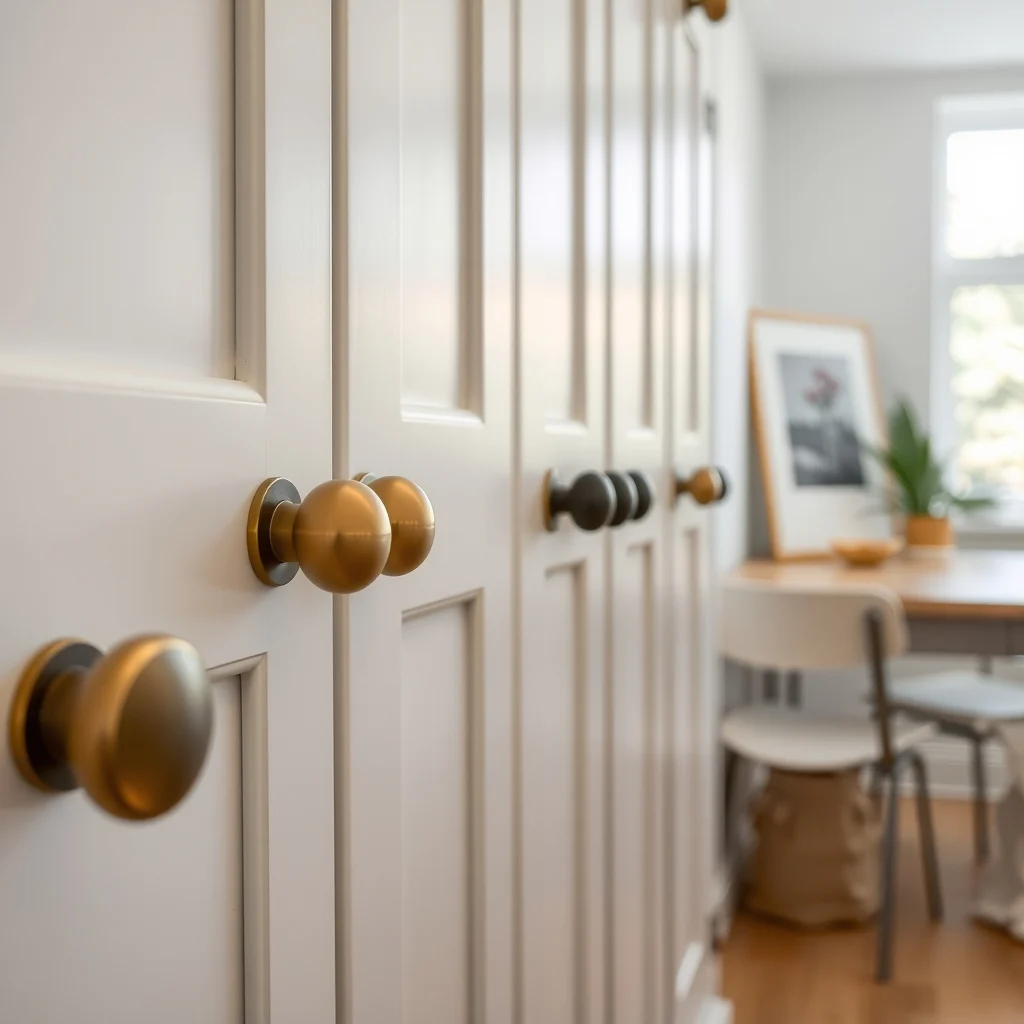
Changing knobs, pulls, and hinges is a quick way to inject style. Modern hardware comes in brushed brass, matte black, polished nickel, and even antique oil‑rubbed bronze, each offering a different mood. When you replace a set of plain white knobs with sleek brushed brass pulls, the cabinets instantly feel more upscale. The process is straightforward: a screwdriver, a few minutes, and the new pieces are in place. For renters concerned about the original hardware, keep the old pieces in a labeled bag for easy reinstallation. One consideration is the spacing of existing holes; most hardware families share standard measurements, but it’s worth checking before buying to avoid mismatched alignment.
3. Apply Removable Wallpaper or Contact Paper
© 2026 AI Illustrator — Inspiration Only
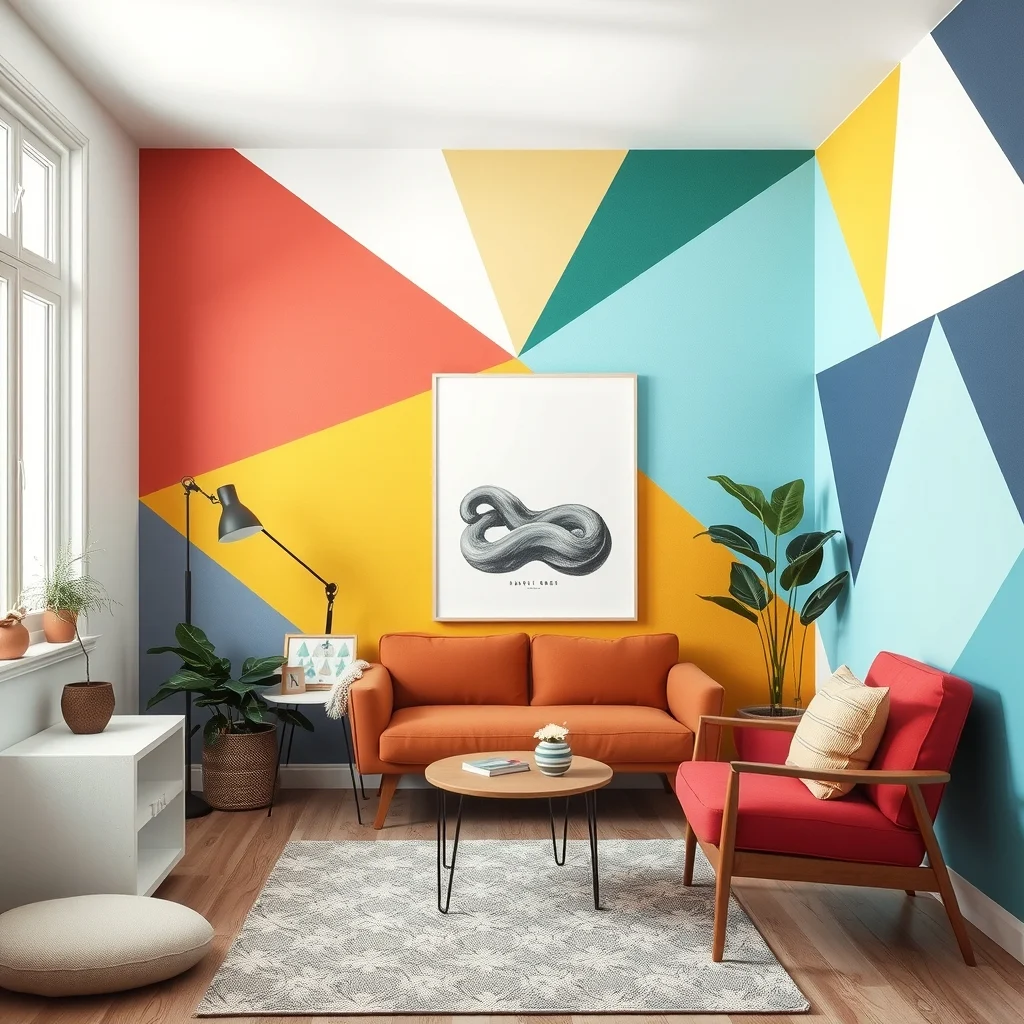
For those who love pattern but fear permanence, removable wallpaper or high‑quality contact paper offers a playful solution. A geometric print or a subtle linen texture can be applied directly to the cabinet doors, covering the original finish without glue that stains. Because the material peels away cleanly, it satisfies both aesthetic ambition and lease agreements. When installing, smooth out air bubbles with a credit card and trim excess with a utility knife for a crisp edge. The only limitation is that very glossy surfaces may not hold the adhesive as well, so a light sanding or a primer spray can improve grip without committing to a permanent change.
4. Install Temporary Veneer or Laminate Sheets
© 2026 AI Illustrator — Inspiration Only
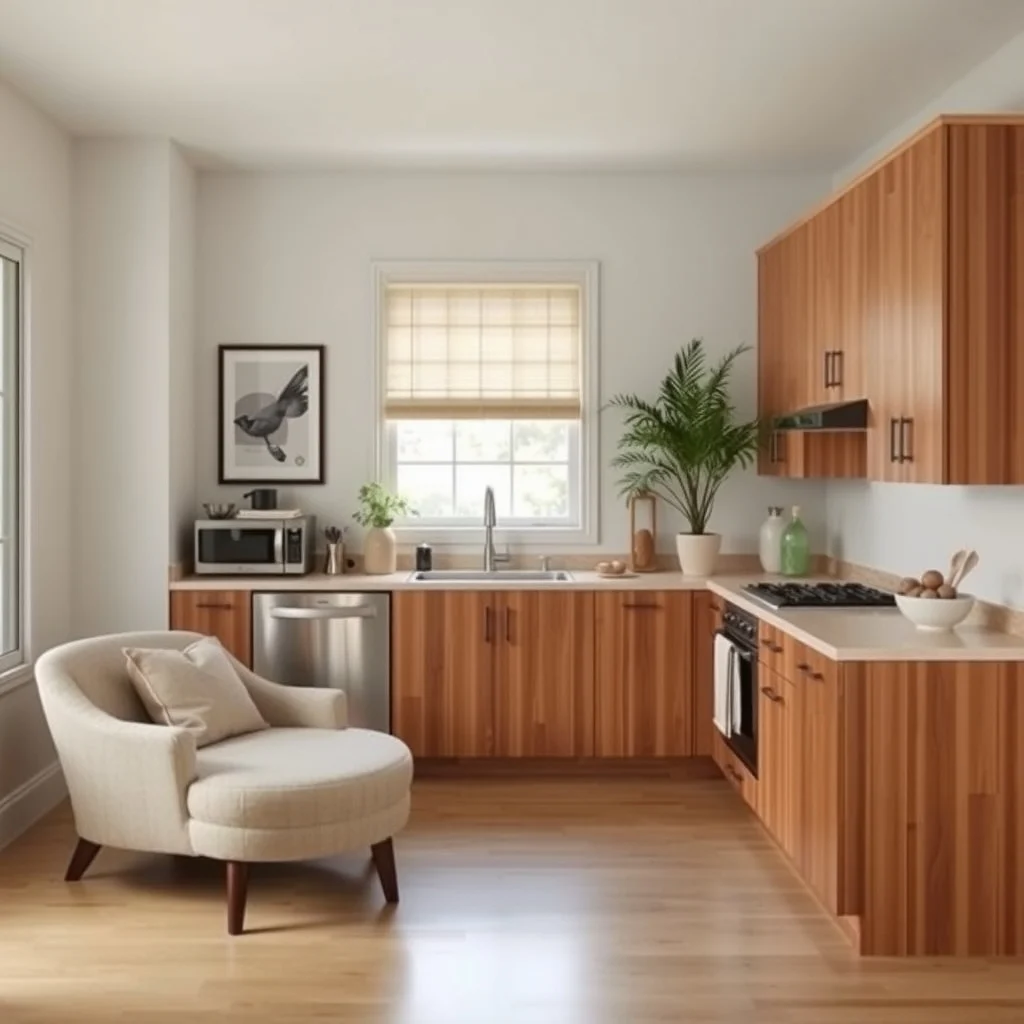
Thin veneer sheets mimic the look of hardwood or high‑gloss laminate without the weight of real wood. They come with self‑adhesive backing, making them a renter‑friendly alternative to professional refacing. By cutting the sheets to the dimensions of each door and applying them carefully, you can achieve a seamless wood grain or a sleek modern finish. This method works especially well on shaker‑style doors where the panel layout is simple. While veneer adds visual depth, it can be prone to bubbling if the underlying surface isn’t flat, so a quick inspection and light sanding of any imperfections will ensure a smoother result. Removal simply involves peeling the sheet away; any residual adhesive can be cleared with a mild citrus cleaner.
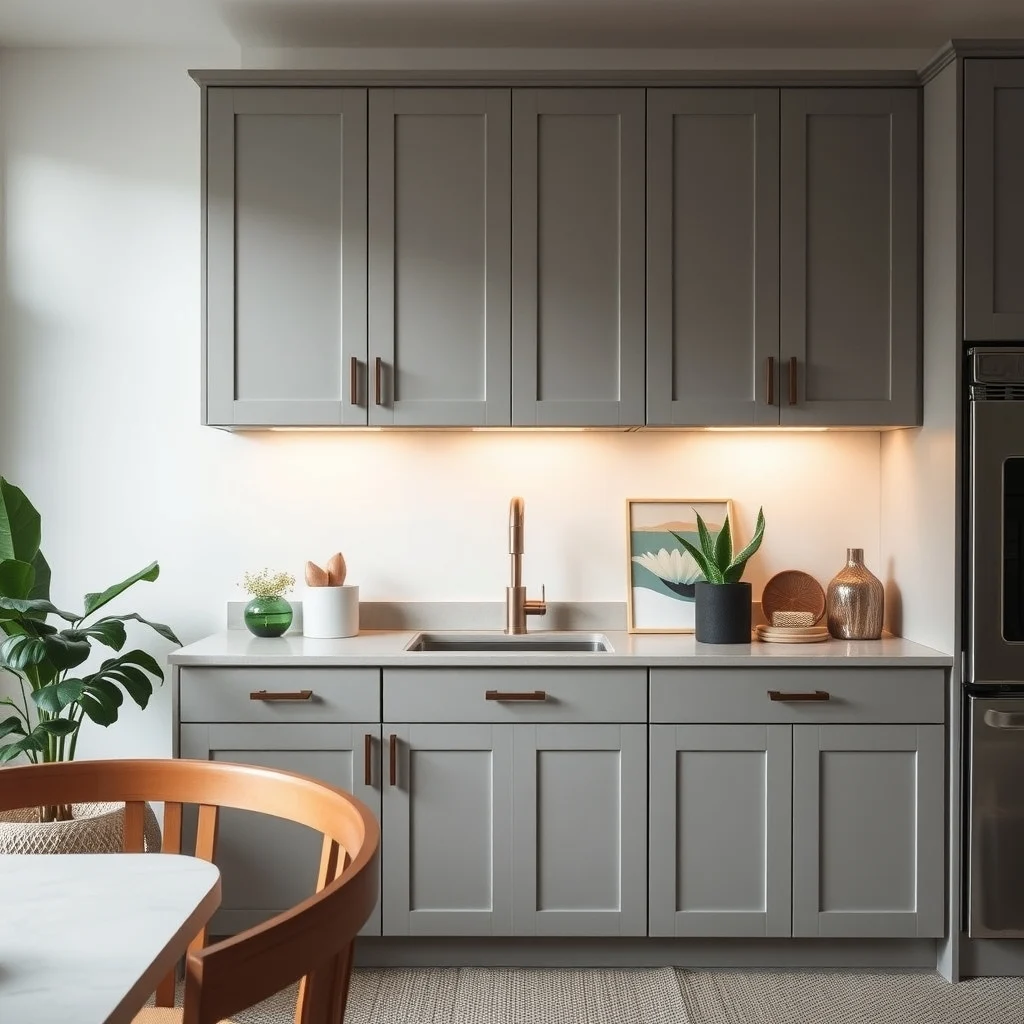
5. Add Under‑Cabinet Lighting for Mood and Function
© 2026 AI Illustrator — Inspiration Only
Lighting does more than illuminate; it reshapes how we perceive color and texture. A strip of LED lights installed along the underside of the cabinets creates a warm wash that highlights the countertop while making the cabinets appear less bulky. Because LED strips are low‑heat, they can be attached with adhesive backing and powered via a plug‑in adapter, eliminating the need for electrical work. The glow accentuates any new paint or hardware, and it adds a modern touch that feels intentional. One thing to watch is the length of the strip; a cut‑to‑size option ensures the light ends cleanly at each cabinet run, preventing an unsightly overhang.
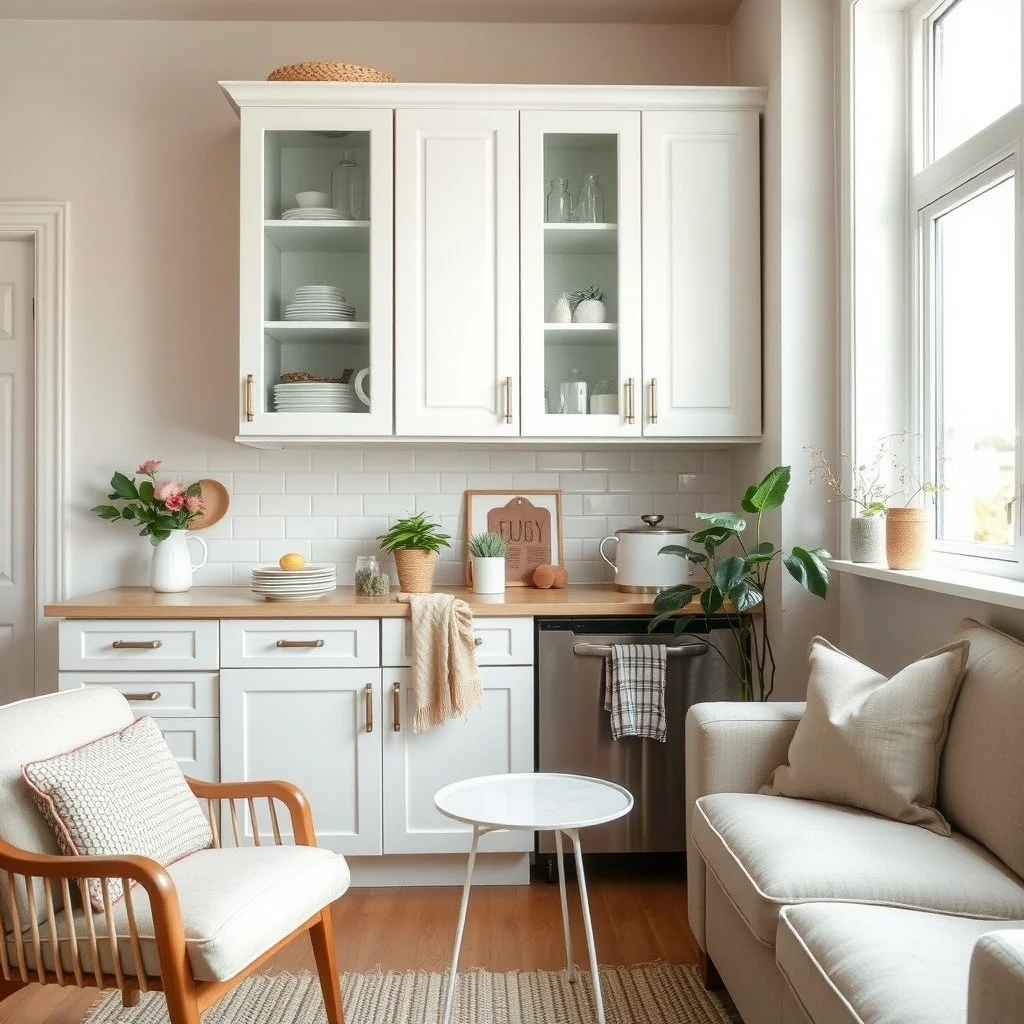
6. Introduce Glass Inserts or Open Shelving Panels
© 2026 AI Illustrator — Inspiration Only
Replacing a solid door with a glass insert instantly lightens the visual weight of a kitchen. Frosted or clear glass panels can be fitted into existing hinges, allowing you to keep the original frame while showing off dishes or decorative jars. If glass feels too permanent, a removable open‑shelf panel—essentially a thin piece of plywood with brackets—offers a similar airy effect. This approach works best in kitchens where the walls receive natural light, as the transparency reflects brightness throughout the space. The downside is that glass may require careful handling, and open shelves can invite dust, so regular cleaning becomes part of the routine.
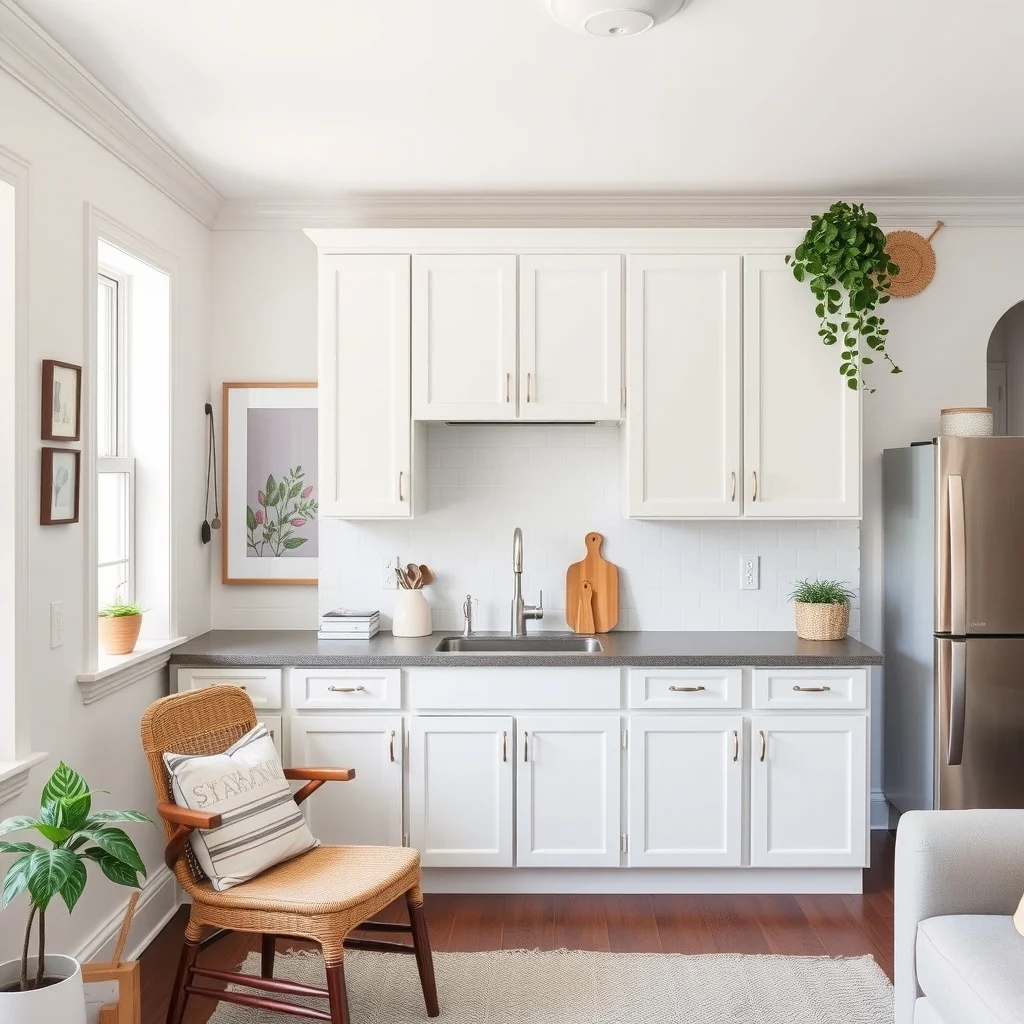
7. Attach Crown Molding or Decorative Trim
© 2026 AI Illustrator — Inspiration Only
Adding a short piece of crown molding or a decorative trim band at the top of the cabinets creates a finished look that mimics custom cabinetry. Simple beadboard or a modest ogee profile can be glued or nailed into place, then painted to match or contrast with the cabinet color. This detail draws the eye upward, making the cabinets appear taller and more tailored. Because the molding is lightweight, it can be removed with a pry bar and the holes patched easily, keeping the rental’s original condition intact. The primary consideration is ensuring the molding does not interfere with any existing lighting or vent fans above the cabinets.
Frequently Asked Questions
© 2026 AI Illustrator — Inspiration Only
Can I paint laminate cabinets without damaging them?
Yes, you can paint laminate cabinets by first cleaning the surface, lightly sanding to create a key, and then applying a bonding primer before the paint. This sequence helps the paint adhere without peeling.
What type of hardware is safest for renters?
Hardware that uses standard screw sizes and includes the original screws for reinstallation is safest. Brushed nickel or matte black finishes are popular because they blend well with many styles.
Is removable wallpaper suitable for a kitchen environment?
Removable wallpaper designed for high‑traffic areas can handle kitchen humidity, especially if you choose a vinyl‑based product. It should be applied to clean, dry surfaces for the best grip.
Do under‑cabinet LED strips require any wiring?
Most plug‑in LED strips come with a power adapter that fits a standard outlet, so no new wiring is needed. Just attach the strip, plug it in, and adjust the brightness if the model offers dimming.
How do I protect glass cabinet inserts from breaking?
Using tempered glass reduces the risk of breakage, and placing a soft cloth or silicone mat on the shelf beneath helps cushion any accidental impacts.
Final Thoughts
© 2026 AI Illustrator — Inspiration Only
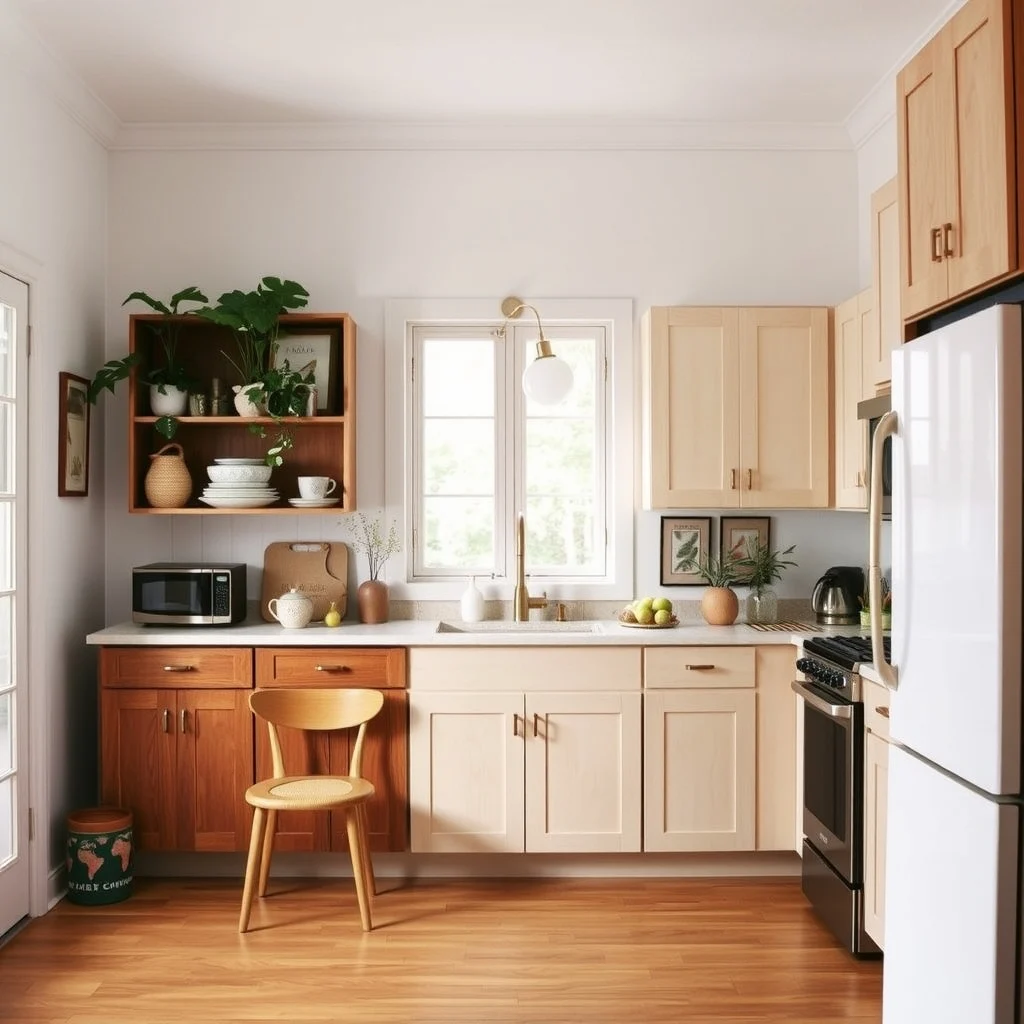
Upgrading rental kitchen cabinets is less about large‑scale renovation and more about thoughtful, reversible interventions. By painting, swapping hardware, adding texture with wallpaper or veneer, enhancing light, or introducing subtle architectural details, you can create a space that feels personal and contemporary without violating a lease. Each method carries its own set of considerations—budget, time, and the landlord’s tolerance—but together they offer a menu of options that fit a range of styles and skill levels. With a little creativity, the kitchen can become a room you truly enjoy, even if you’ll eventually move on.