Advertisement
You know that lonely wall crying for attention? It’s your new secret storage hero. Wall shelves can do more than hold a plant and a dusty candle—they can make a tiny room feel curated, clever, and way more spacious. Let’s style them like a pro so your shelves look intentional, not like a garage sale.
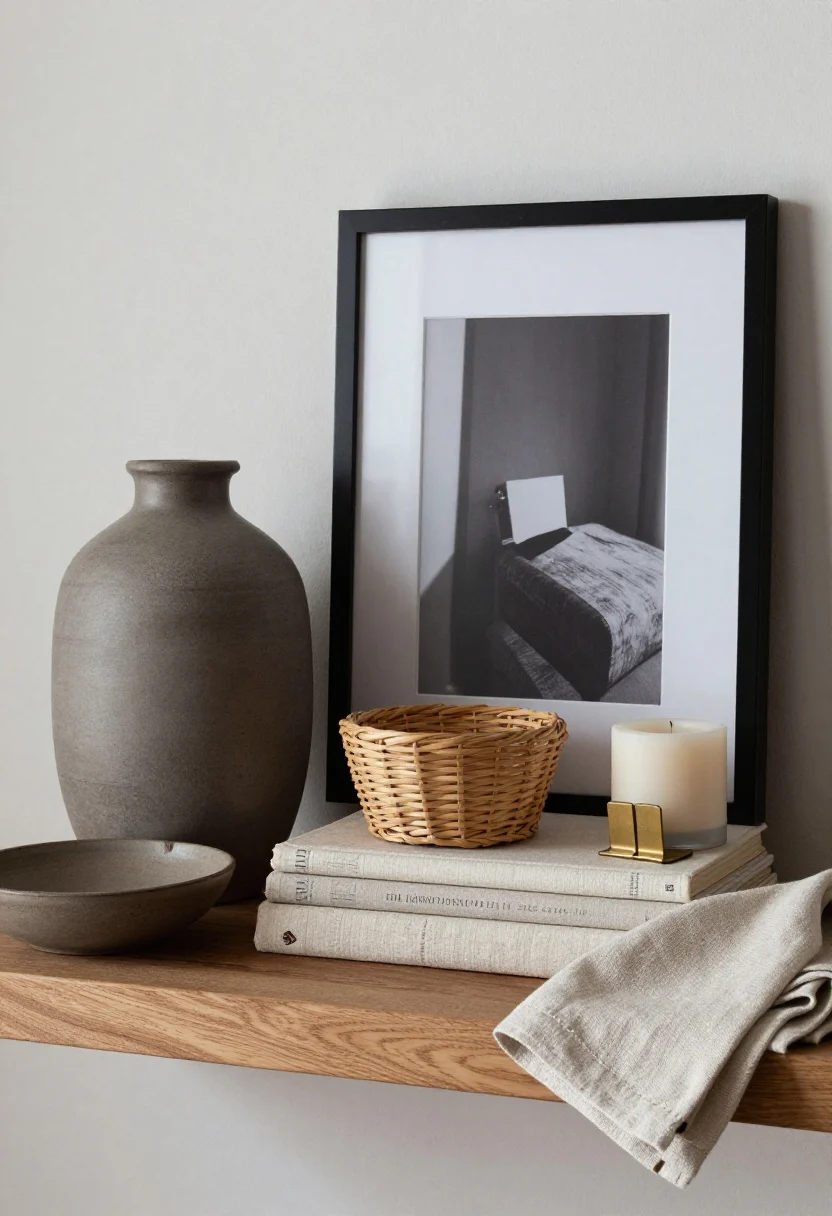
1. Layer Textures Like a Pro
© 2025 AI Illustrator — Inspiration Only
Flat styling reads flat on the eyes. Mix rough with smooth, matte with glossy, and soft with structured to add instant depth without taking up extra space.
What’s Your Apartment Decor Style?
Answer these quick questions to discover your perfect decor vibe.
Why It Works
When your eye hits different textures—like a matte ceramic vase next to a glossy photo frame with a linen-bound book—the shelf looks richer and more “designed.” In small rooms, that visual depth feels luxe and intentional.
- Try this trio: Woven basket + stoneware planter + brass bookends.
- Play with finishes: Pair satin black frames with clear glass and raw wood.
- Add something soft: A folded linen napkin under a candle = subtle texture win.
FYI: Keep your base palette tight (three main tones max) and let texture be the star. You’ll get variety without chaos.
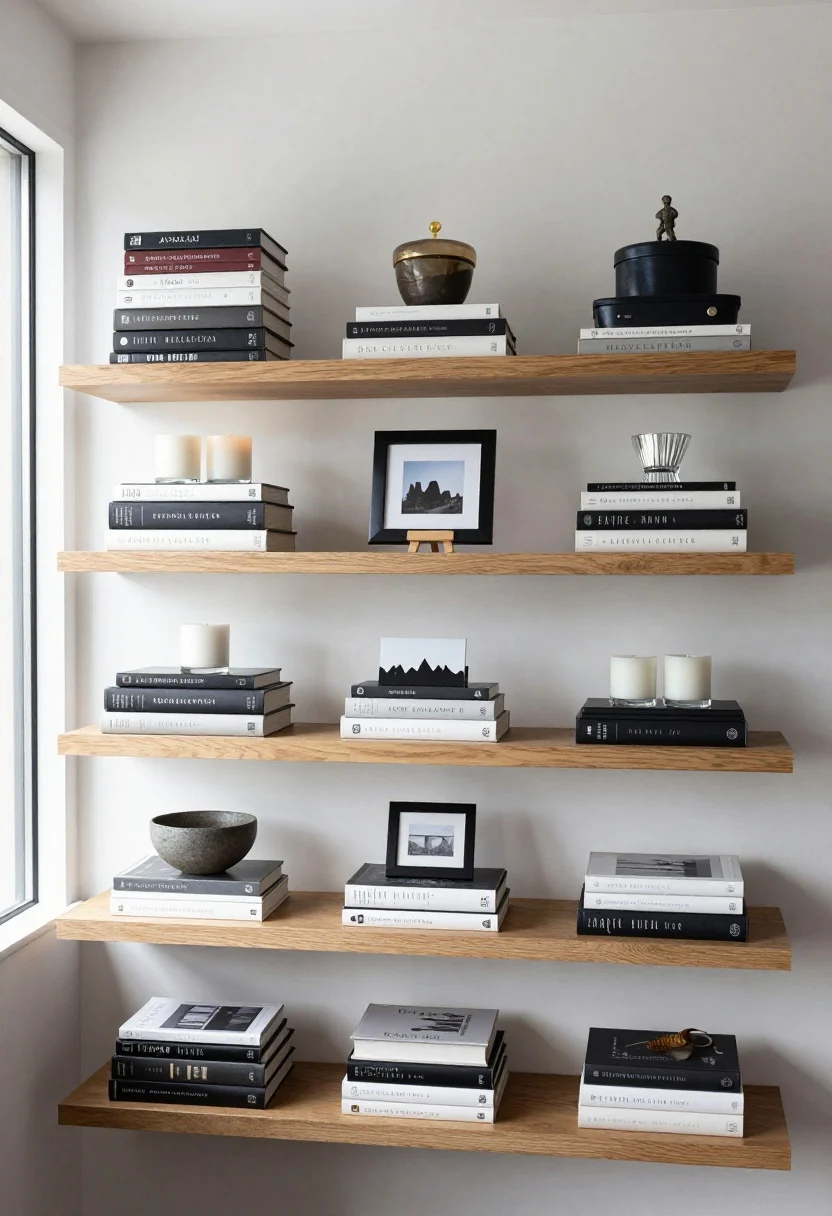
2. Build Height With Stacks and Stands
© 2025 AI Illustrator — Inspiration Only
Short objects marooned in the middle of a shelf? Not cute. Use stacks and risers to create peaks and valleys that guide the eye upward.
Height Hacks
- Book stacks: Flip a few coffee table books horizontally to act as pedestals for candles, small bowls, or a bud vase.
- Mini easels or plate stands: Prop art or a framed photo to add instant height and presence.
- Nested boxes: Two low lacquer boxes? Stack them and perch a tiny sculpture on top.
Pro tip: Aim for a simple skyline—tall left, mid right, short center—or vice versa. Repeating that rhythm across shelves makes everything look cohesive.
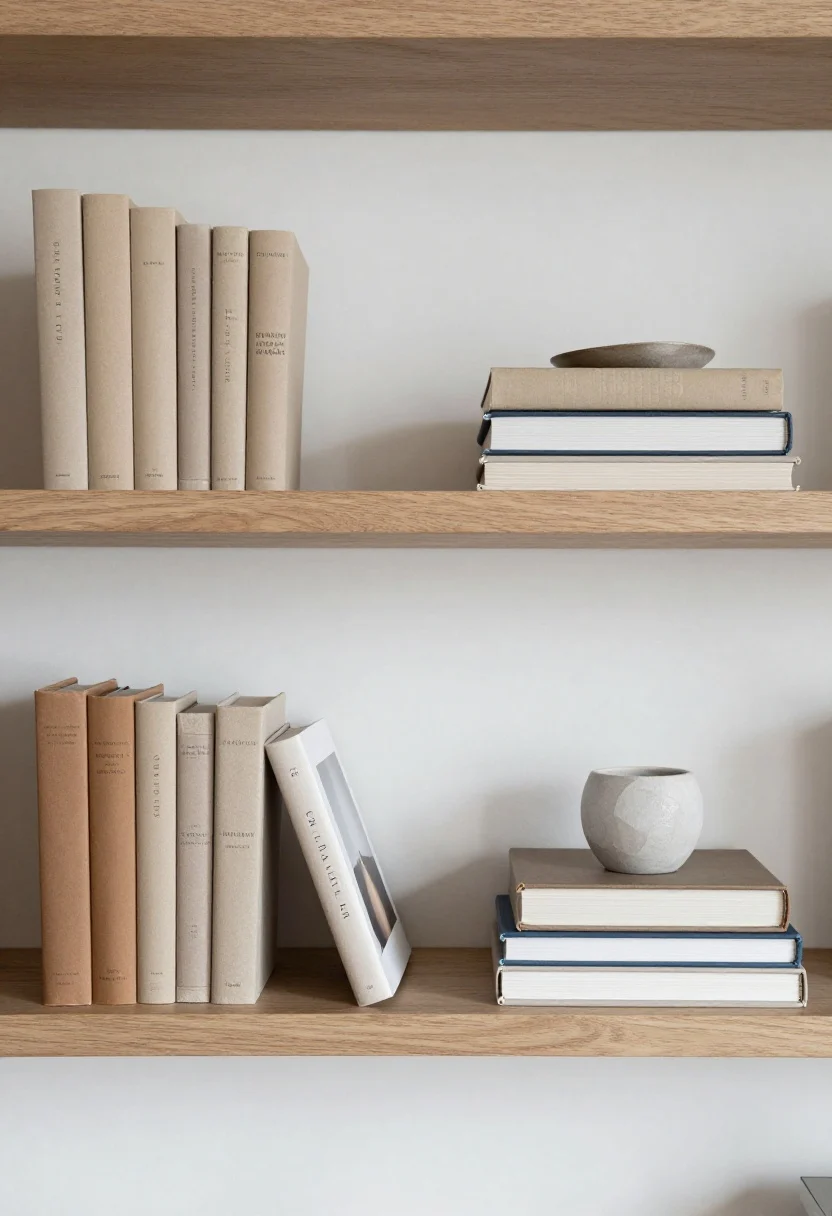
3. Mix Vertical and Horizontal Book Styling
© 2025 AI Illustrator — Inspiration Only
Books are the backbone of great shelves, but a row of all-vertical spines screams library, not living room. Blend directions for movement.
Styling Formula
- Anchor each shelf with one vertical row (5–8 books) and one horizontal stack (2–4 books).
- Color-coordination: Go tonal (all warm neutrals) or micro-ombre from light to dark for a clean look.
- Face-out covers: Pick one pretty cover and lean it like art—especially good on narrow shelves.
Bonus: Turn a few dust jackets inside out for a linen or paper look if your spines are loud. Minimal chic on a zero-dollar budget.
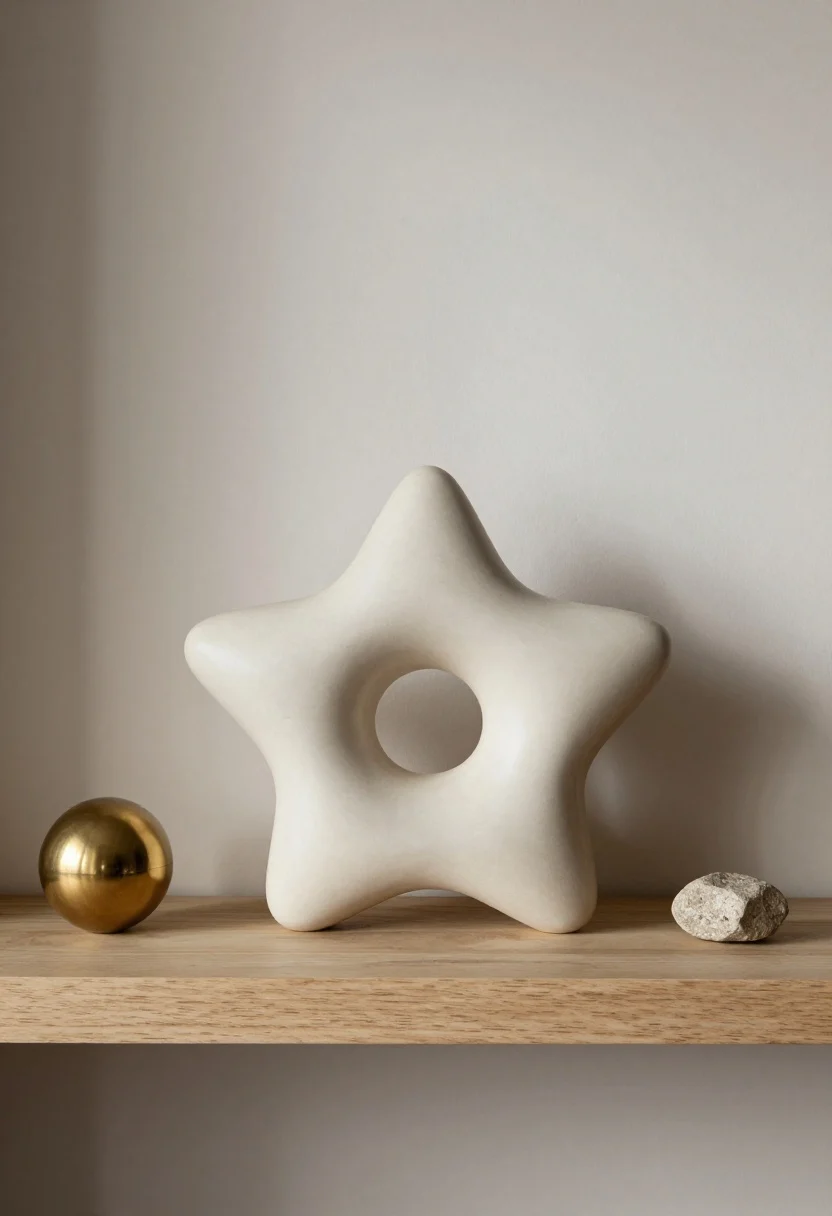
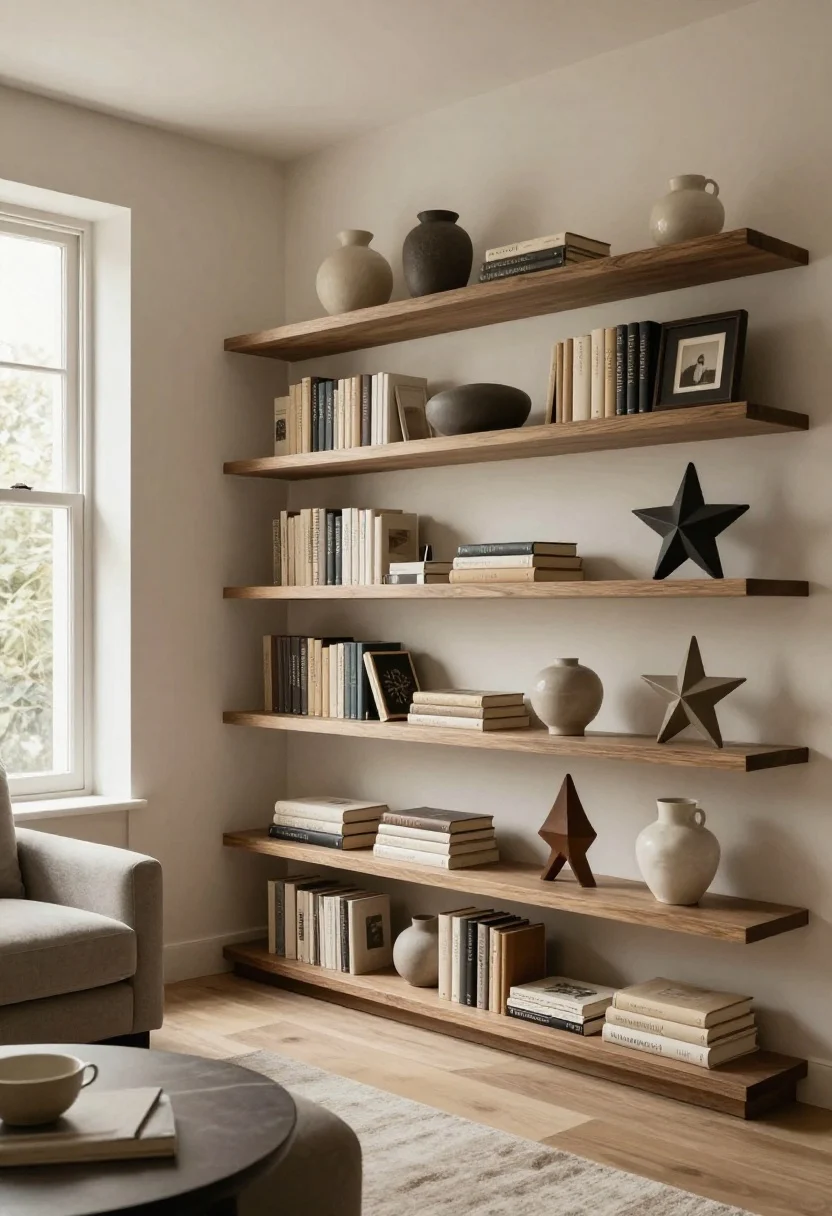
4. Add One Sculptural Moment Per Shelf
© 2025 AI Illustrator — Inspiration Only
Give each shelf a star. A single sculptural piece instantly elevates the mix and keeps your styling from feeling cluttered.
Good Candidates
- Organic shapes: Curvy ceramic knot, handcrafted vase, or a raw stone.
- Geometric brass: Orbs, arches, or a simple metal frame object.
- Natural textures: Driftwood, petrified wood coasters, or a chunky candle.
IMO, this is the “designer secret” nobody admits: one elevated object per shelf makes everything else look intentional and more expensive.
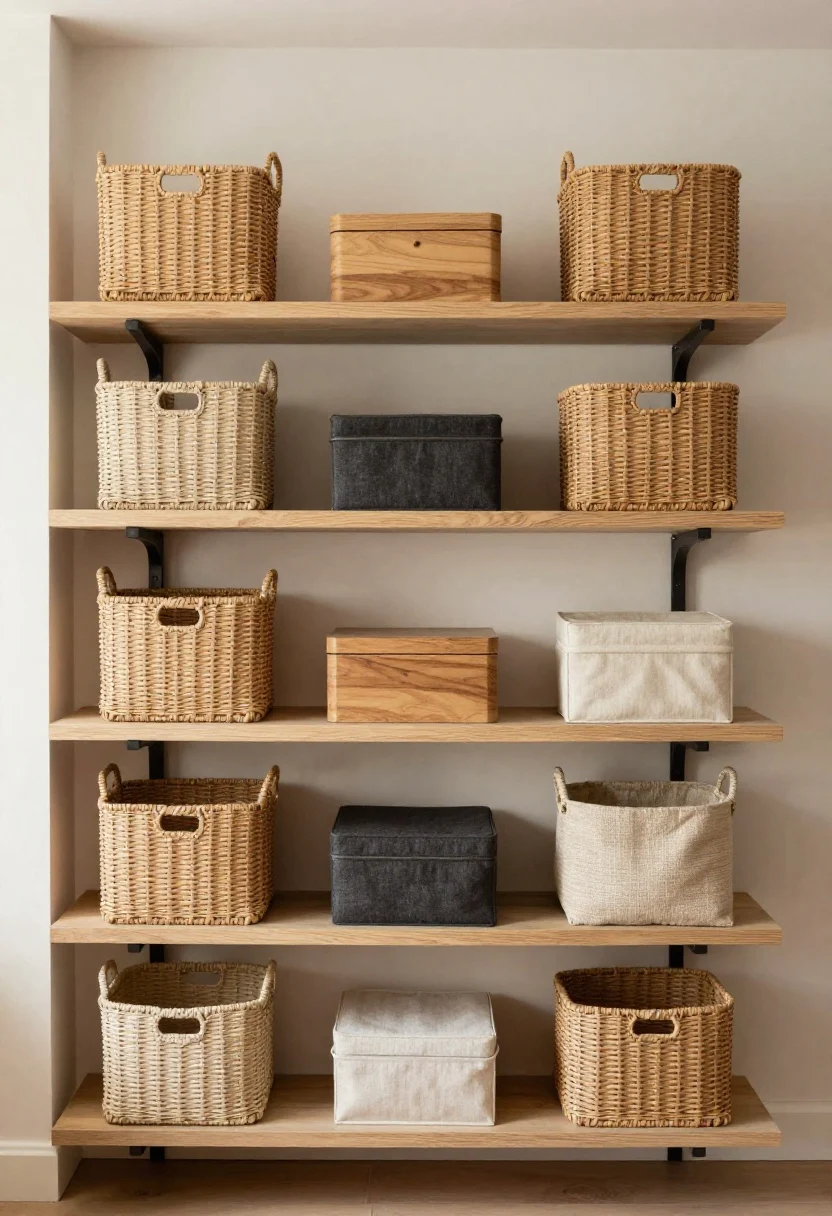
5. Balance Open Space With Stylish Storage
© 2025 AI Illustrator — Inspiration Only
Yes, you need to hide the not-cute stuff. But don’t turn your shelves into a wall of boxes. Balance closed storage with breathing room.
Storage That Looks Good
- Woven baskets for cords, remotes, and random tech gremlins.
- Fabric bins in a tight color palette (think flax, charcoal, cream).
- Lidded boxes in wood or lacquer to keep tiny items organized.
Rules of thumb:
- One-third storage, two-thirds display. That ratio keeps shelves practical but airy.
- Repeat materials across levels—two matching baskets on separate shelves = instant cohesion.
- Negative space is design. Leave a few 6–8 inch gaps for the eye to rest.
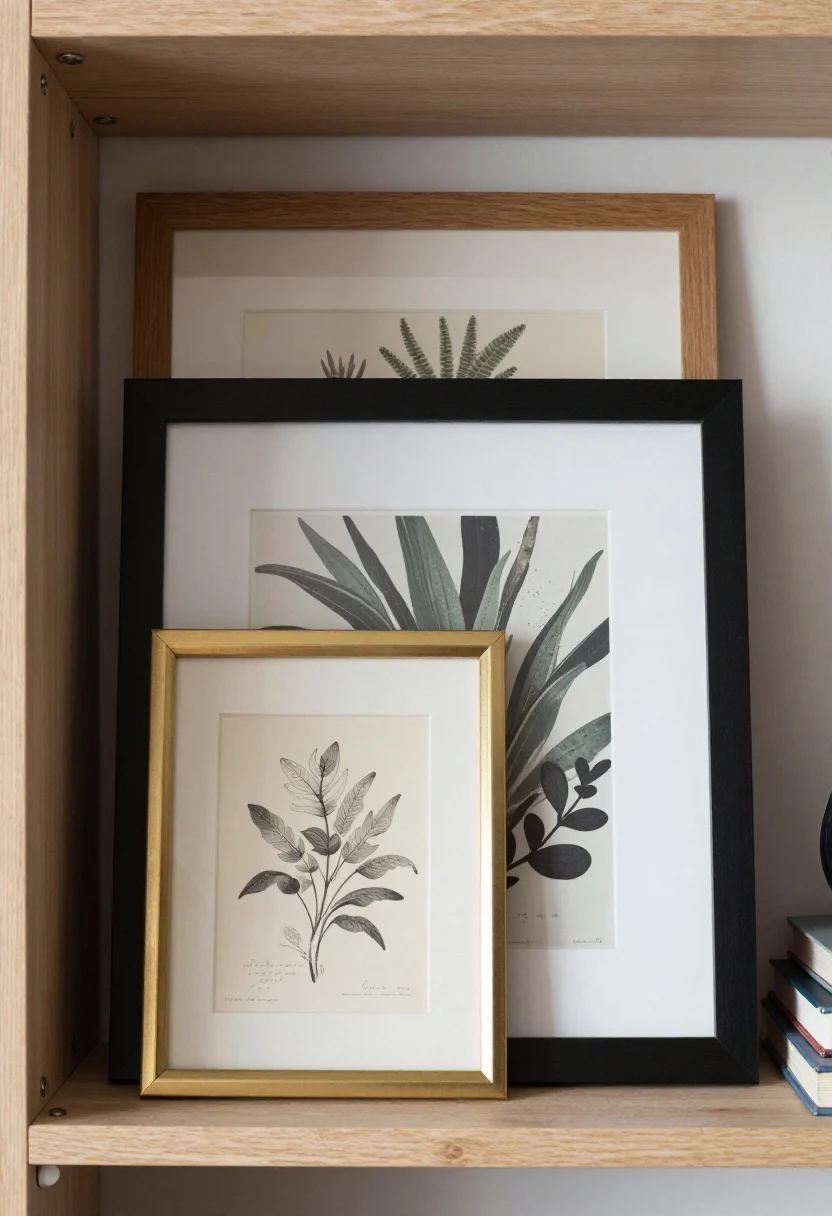
6. Create a Mini Gallery With Leaned Art
© 2025 AI Illustrator — Inspiration Only
Don’t commit to nails? Lean your art. It’s laid-back, layered, and renter-friendly—plus it adds height and personality fast.
Layering Strategy
- Start big in the back: One larger frame or canvas sets the stage.
- Add a mid-size piece: Overlap at a corner for depth—don’t center everything.
- Finish with a small piece: Think postcard art, a framed recipe, or a mini line drawing.
Mix frame finishes subtly—black, oak, and brass play nicely. Keep your art theme cohesive (botanicals, abstracts, travel snaps) so it reads as a collection, not chaos.
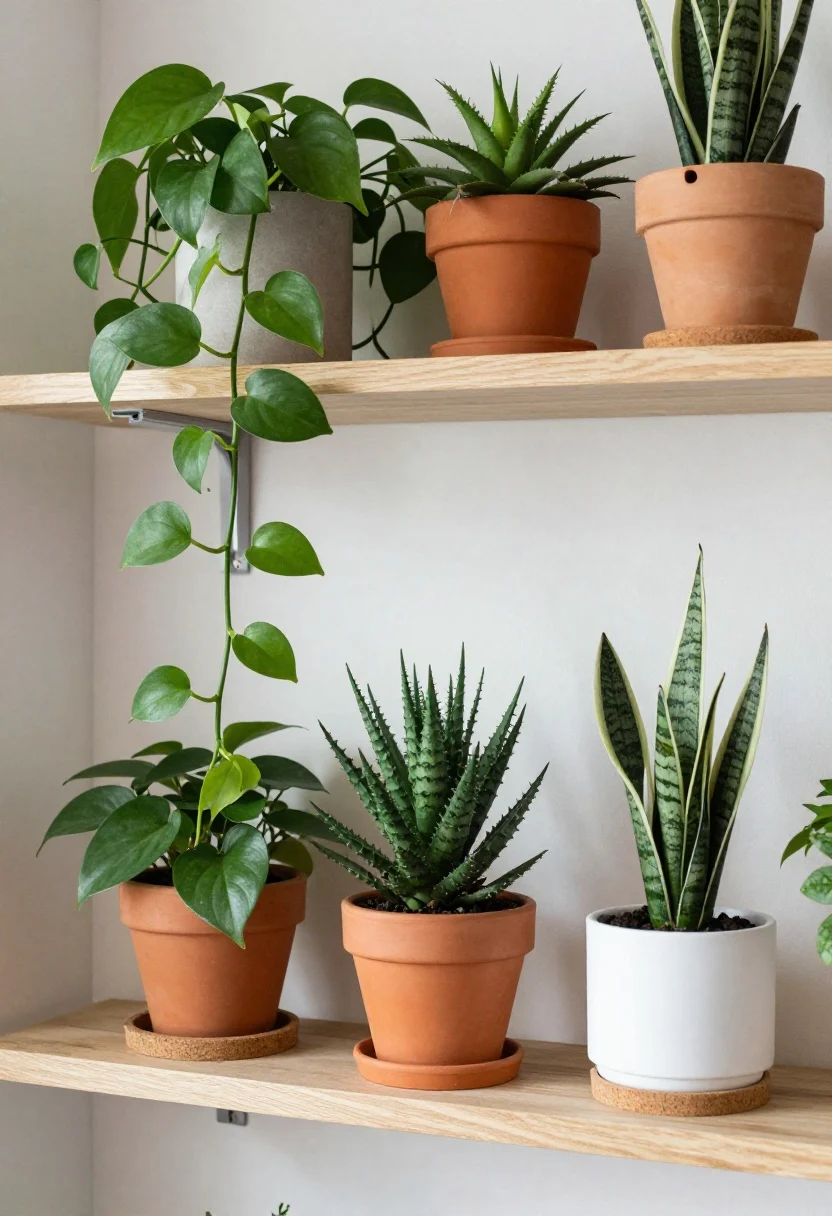
7. Go Green (But Keep It Manageable)
© 2025 AI Illustrator — Inspiration Only
Plants = life. But a jungle on a narrow shelf gets messy fast. Curate your greens and make them part of the architecture.
Plant Picks for Shelves
- Trailing heroes: Pothos, string of hearts, or philodendron to soften edges.
- Upright minis: ZZ babies, snake plant pups, or haworthia for structure.
- Low-light champs: Chinese evergreen or pothos if your shelf gets minimal sun.
Pot them in coordinated vessels—terracotta for warmth, matte white for minimal. Add a small elevated drip tray or cork coasters to protect shelves (ask me how I know). And please rotate plants monthly for even growth.
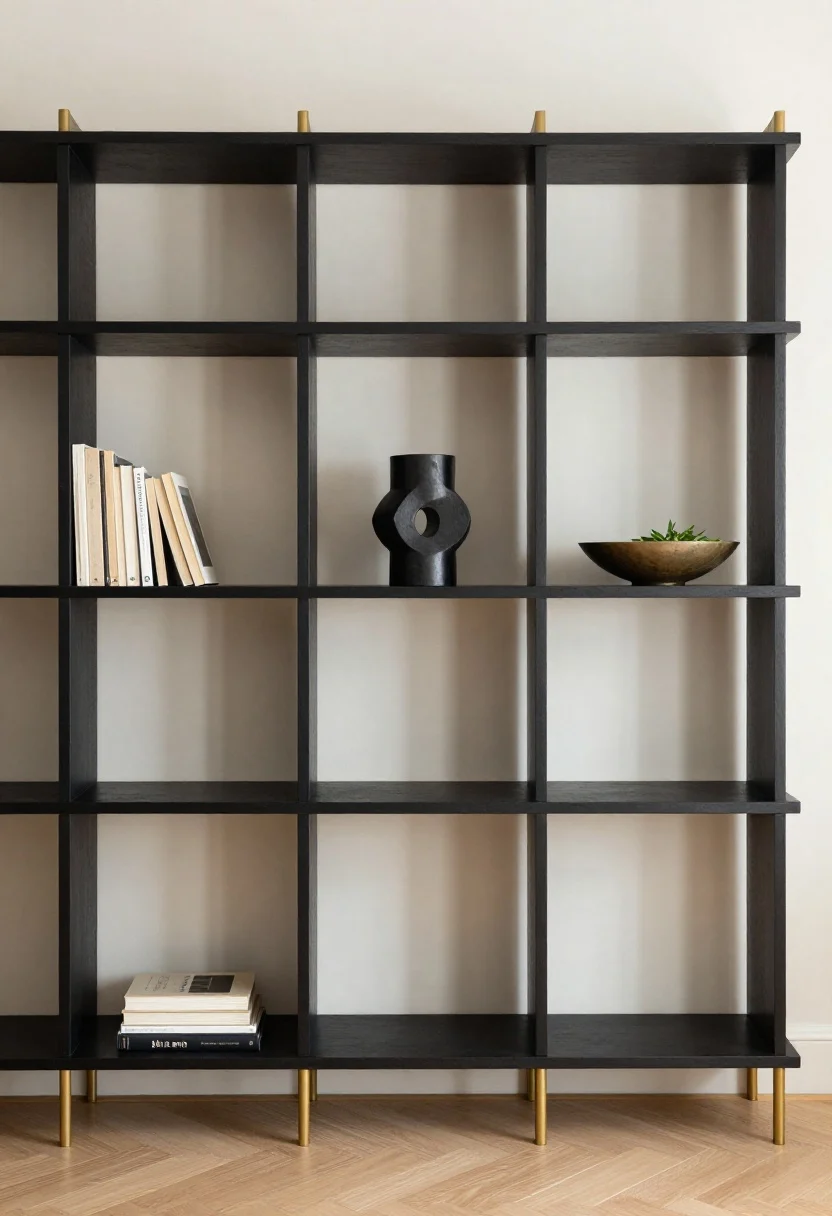
8. Style By Zones: The “Rule of Thirds” Shelving Method
© 2025 AI Illustrator — Inspiration Only
If your shelves still look off, you probably need structure. Divide each shelf into three visual zones—left, center, right—and assign a “role” to each. This keeps small spaces tidy and elevated.
How to Do It
- Left zone: Anchor with height—vertical books or leaned art.
- Center zone: Statement piece or stack with a sculptural object.
- Right zone: Soft landing—a plant, a bowl, or a short book stack.
Repeat the pattern on the next shelf, but flip it—anchor on the right, statement in the middle, soft landing on the left. The alternating rhythm feels balanced without being copy-paste.
Quick Fixes for Common Mistakes
- Too many tiny items? Group them on a tray or stack them on books to read as one larger piece.
- Everything the same height? Add risers, book stacks, or a tall vase to break the line.
- Looks busy? Pull 20% off the shelf and give the remaining pieces room to breathe.
Conclusion
© 2025 AI Illustrator — Inspiration Only
Great shelves are 50% styling and 50% editing. Keep your palette tight, mix textures, give each shelf one star moment, and leave some blessed empty space. Start with one shelf, nail the rhythm, then repeat. You’ll be shocked how much bigger and calmer your small space feels—no renovation required.